 |
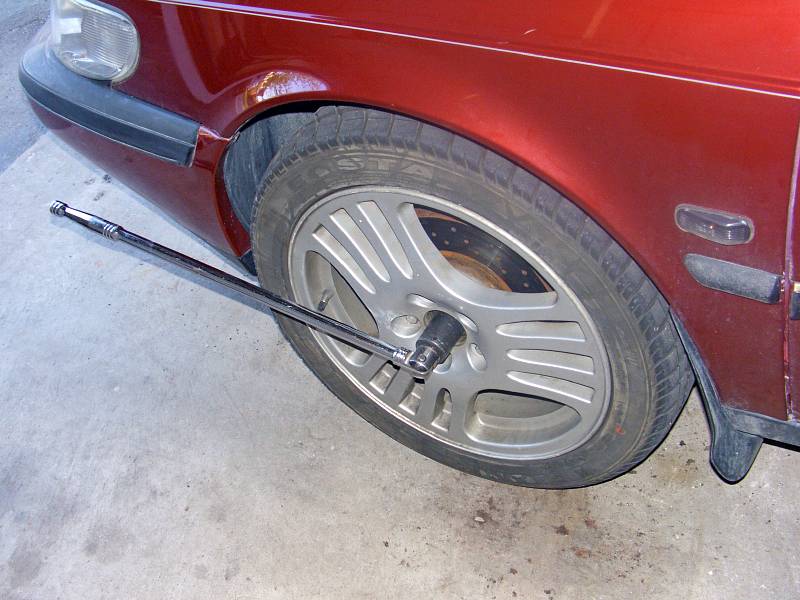
| 22.05.2007: Axle nut |
|
While the car is still on the ground, pop the cover in the middle of the
wheel and loosen the axle nut using a 32 mm socket on a large breaker bar.
|
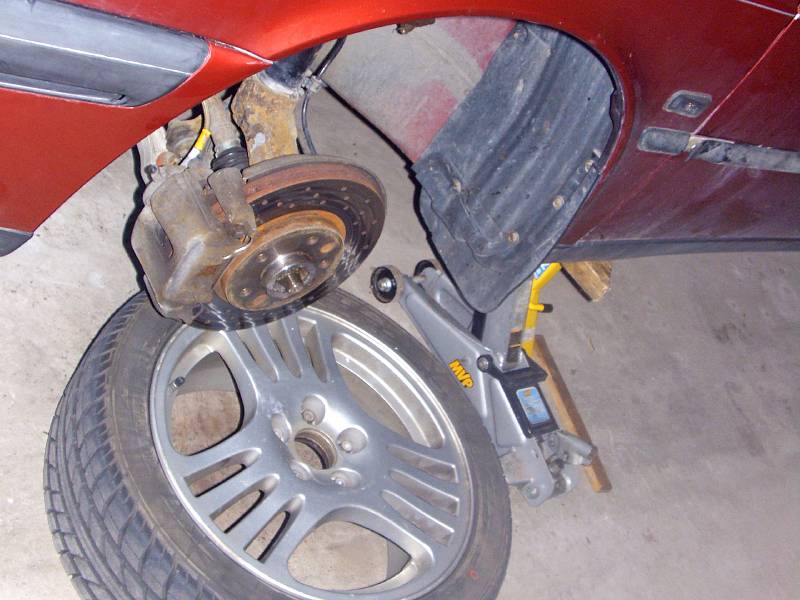 |
| 22.05.2007: Wheel |
|
Raise the car, secure it on jack stands and remove the front wheel.
|
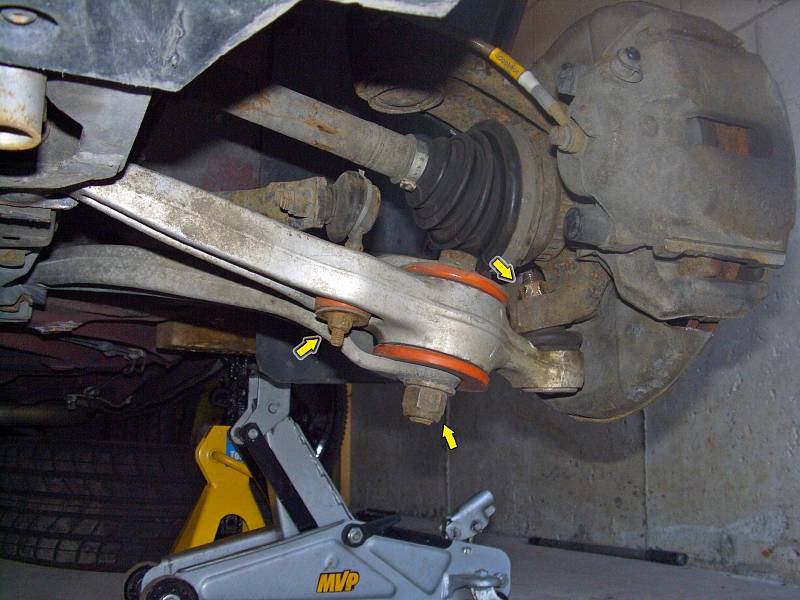 |
| 22.05.2007: Nuts |
|
Undo the nuts on the sway bar link, outer bushing and the ball joint.
If you have OEM outer bushings, you won't be able to undo the bolt just
yet since the CV joint it blocking it.
|
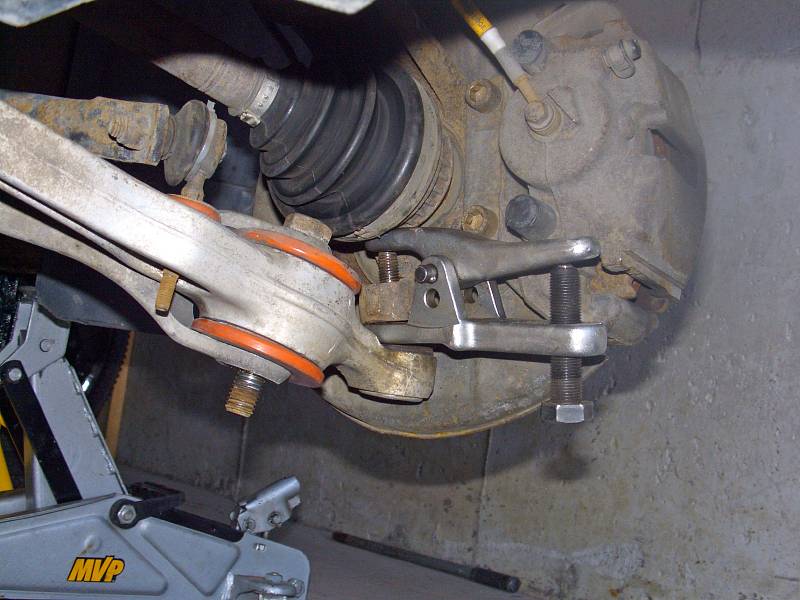 |
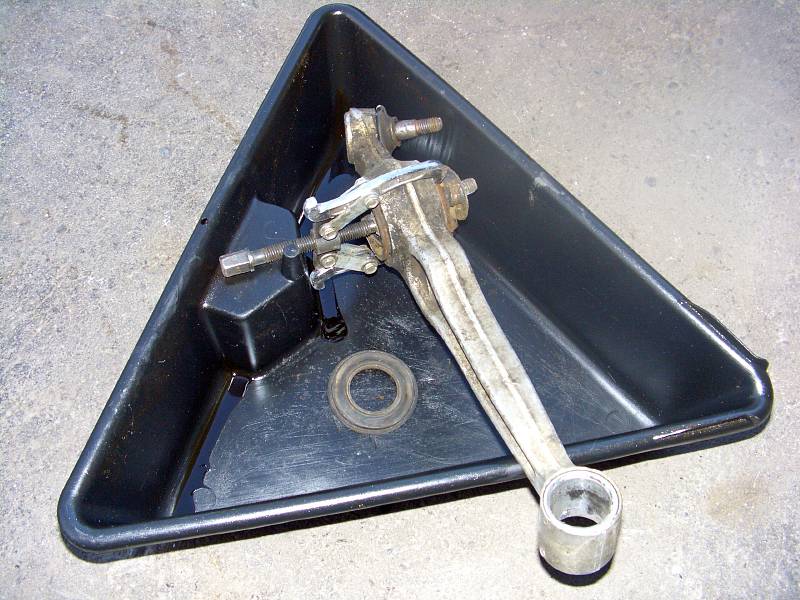
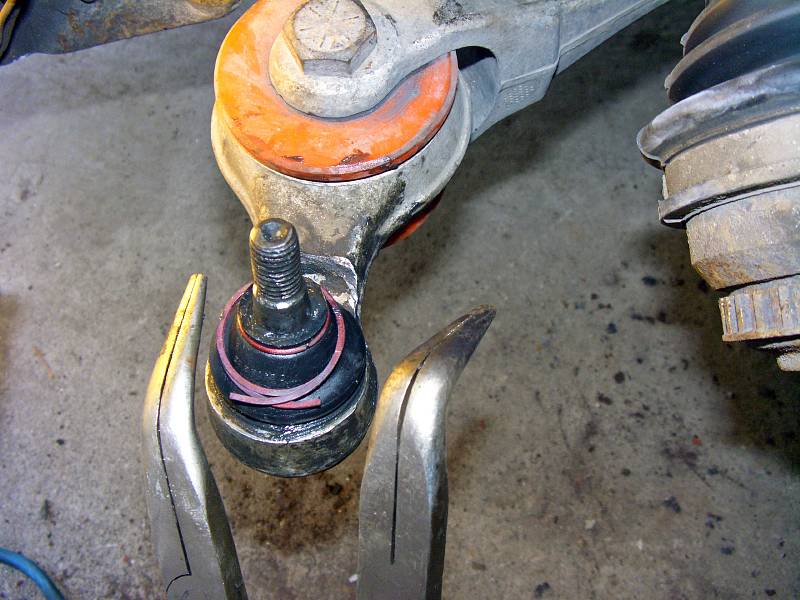
| 22.05.2007: Ball joint |
|
Separate the ball joint using a proper separator. On the other hand, if
you're planning to replace the arm anyway, you can go ahead and use the
fork separator.
|
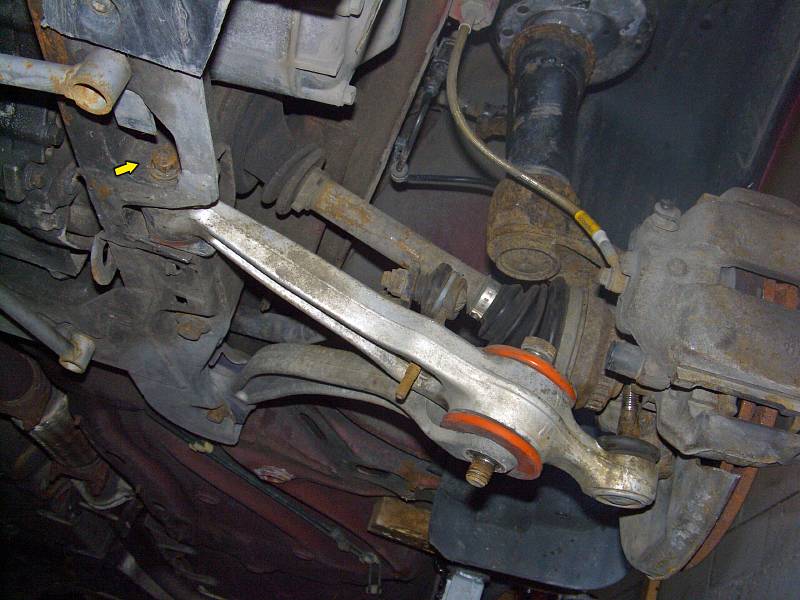 |
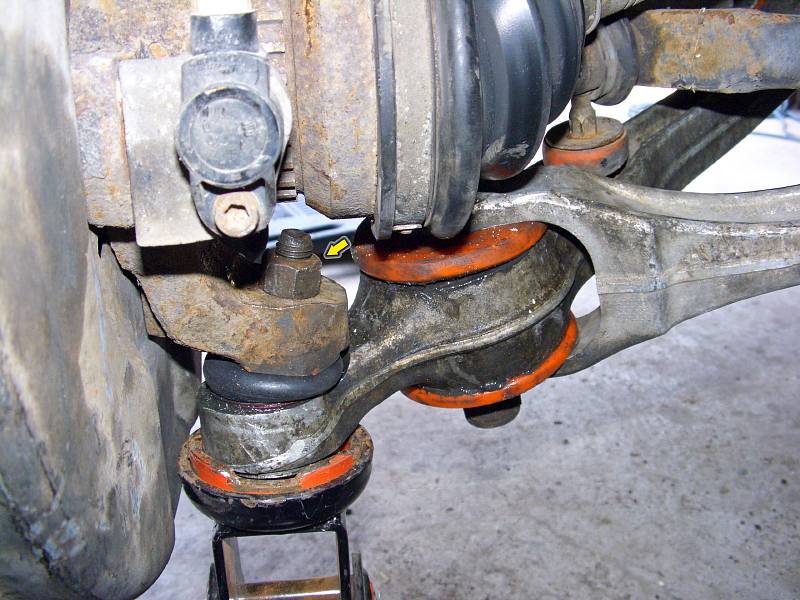
| 22.05.2007: Subframe bolt |
|
Unbolt the control arm from the subframe. You can see that the 6-point
brace mounting bar severily limits the access to the control arm bolt.
|
 |
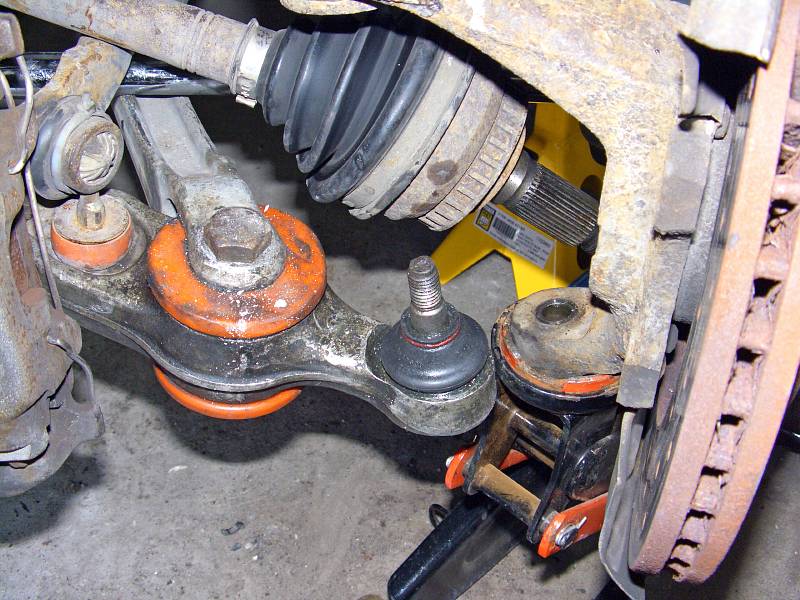
| 22.05.2007: Detached |
|
Detach the control arm from the subframe. If you have OEM outer
bushing bolts, you should have enough clearance to unbolt it now.
|
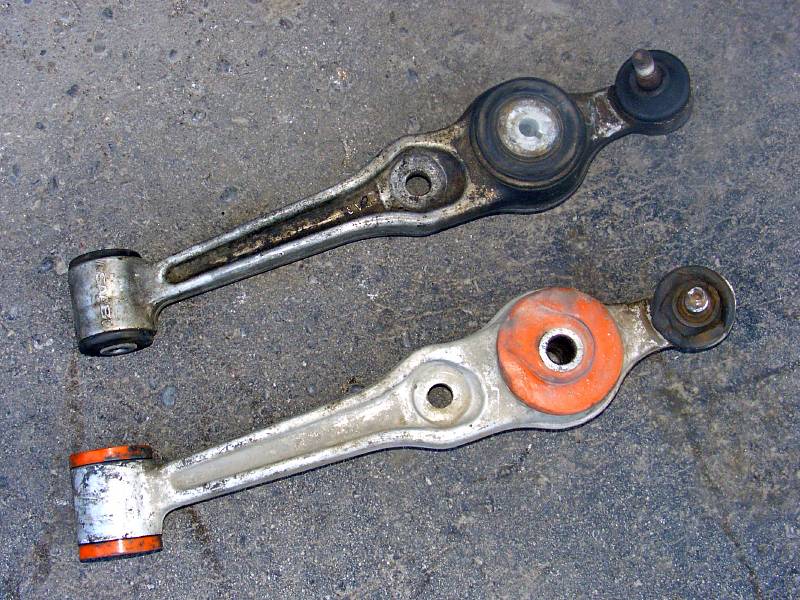 |
| 22.05.2007: Used replacement |
|
I'm using a replacement from a junk yard - it comes with a tight ball joint.
The bushings aren't as good, but they will have to go anyway.
|
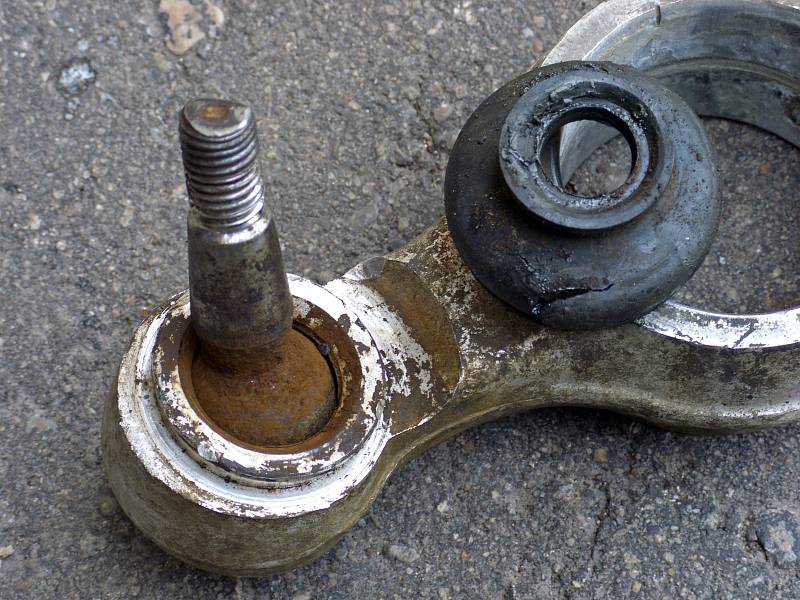 |
| 22.05.2007: Bad boot |
|
This is what happens when the ball joint boot cracks and runs out of grease.
The whole arm is junk now.
|
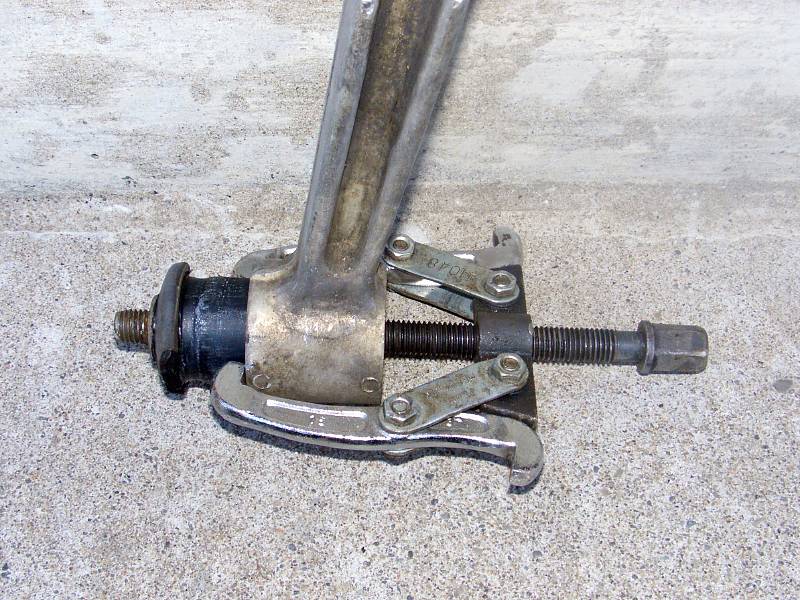 |
| 22.05.2007: Inner bushing |
|
I need to transfer poly bushings from the old arm, so the rubber ones have
to go. A small gear puller easily takes care of the inner one.
|
 |
| 22.05.2007: Outer bushing |
|
The bigger outer bushing can also be pressed out with a gear puller, at least
the rubber part of it. Use a pan to catch the hydraulic oil that will leak
out.
|
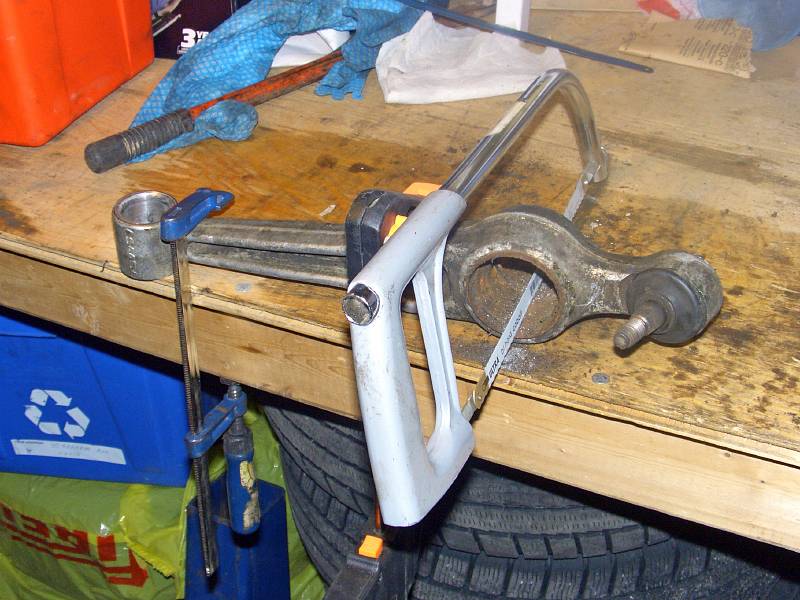 |
| 22.05.2007: Hacksaw |
|
The metal sleeve of the outer bushing is a tougher task. Start by assembling
a hacksaw inside the bushing and cutting through the sleeve.
|
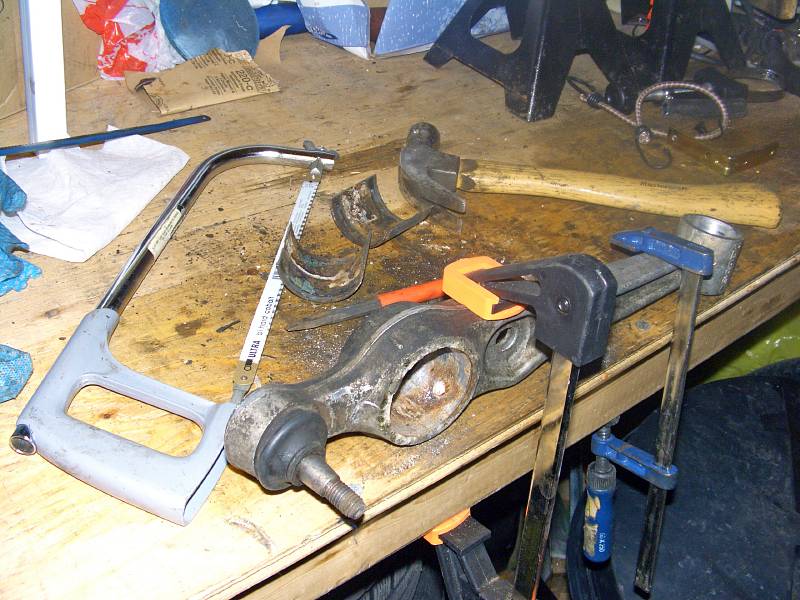 |
| 22.05.2007: Sleeve cut |
|
Then flip the arm around and cut the sleeve on the opposite side. After
that you can chisel out the two halves of the sleeve.
|
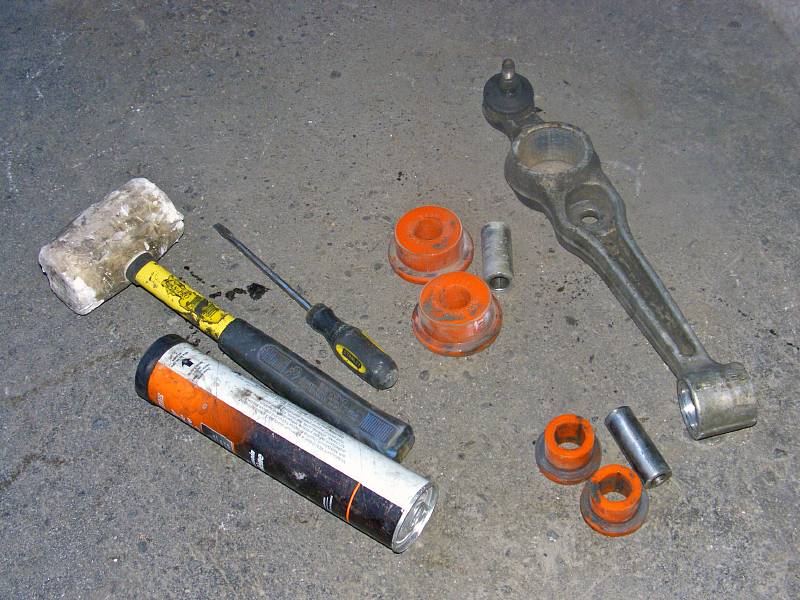 |
| 22.05.2007: Poly bushings |
|
Apply some lubricant on the poly bushings and use a rubber mallet to
drive them in. Discard the old ball joint boot.
|
 |
| 22.05.2007: New boot |
|
Pack the joint with fresh grease and slide a new boot on.
Make sure the boot is seated correctly on the rim and use a pair of long
nose pliers to fit the retaining ring. Take extra care not to rip the boot.
|
 |
| 22.05.2007: Back in |
|
Tighten the subframe bolt to 85 ft-lbs and the outer bolt to 120 ft-lbs
(68 ft-lbs if you have an OEM bolt).
|
 |
| 22.05.2007: Ball joint |
|
Connect the ball joint and tighten the nut to 55 ft-lbs, sway bar link to
7 ft-lbs, wheels bolt to 81 ft-lbs and axle nut to 214 ft-lbs.
|


