 |
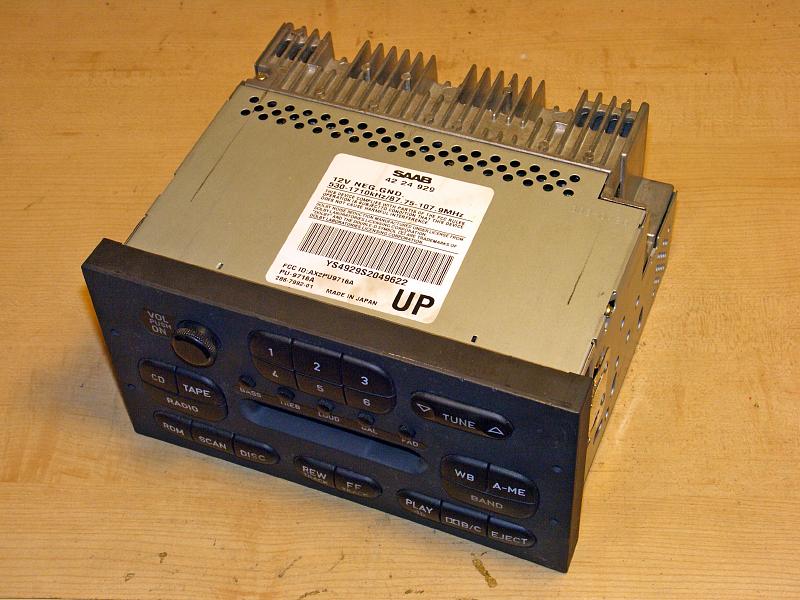
| 24.09.2006: Head unit |
|
Remove the head unit from a car. Use a stereo removal tool, or simply
pop the SID and push the stereo from behind. Make sure you have the
security code before unplugging the wires!
|
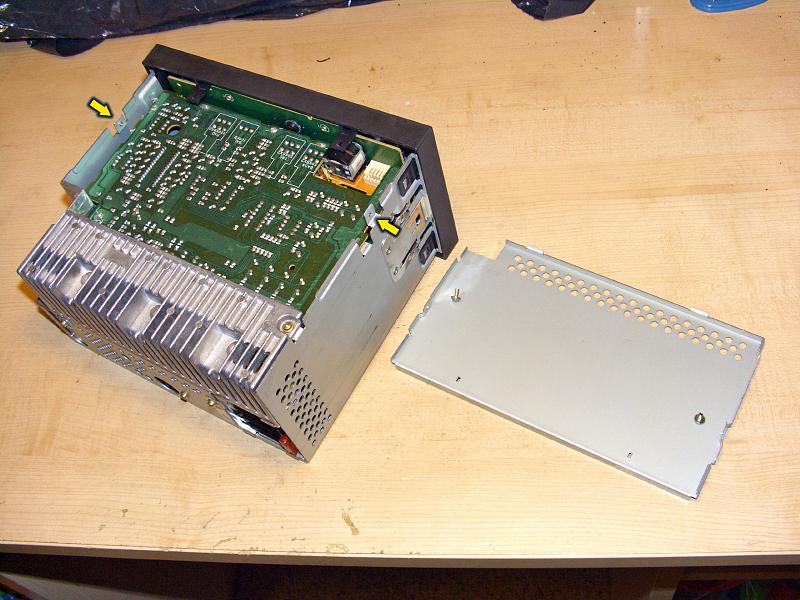 |
| 24.09.2006: Top cover |
|
Start the disassembly by removing the top cover. It's held by two screws
(you need a small Philips screwdriver).
|
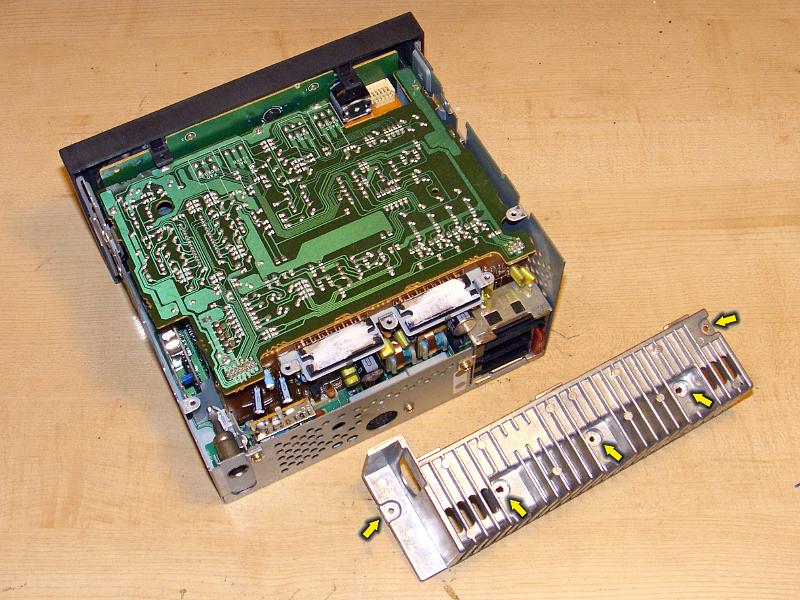 |
| 24.09.2006: Radiator |
|
Five more screws, and you can take off the radiator in the rear.
|
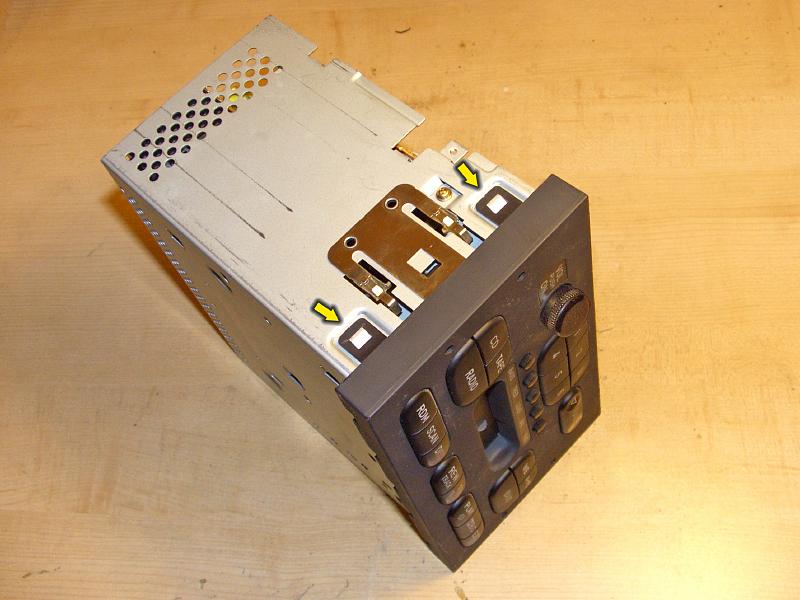 |
| 24.09.2006: Face panel |
|
The face panel is secured by four latches (two on each side). Unlock
those and detach the panel - it's plugged into the connector on the
main board.
|
 |
| 24.09.2006: Open |
|
Unscrew the top board and pull it up - it's plugged into two small
connectors at the rear of the stereo.
|
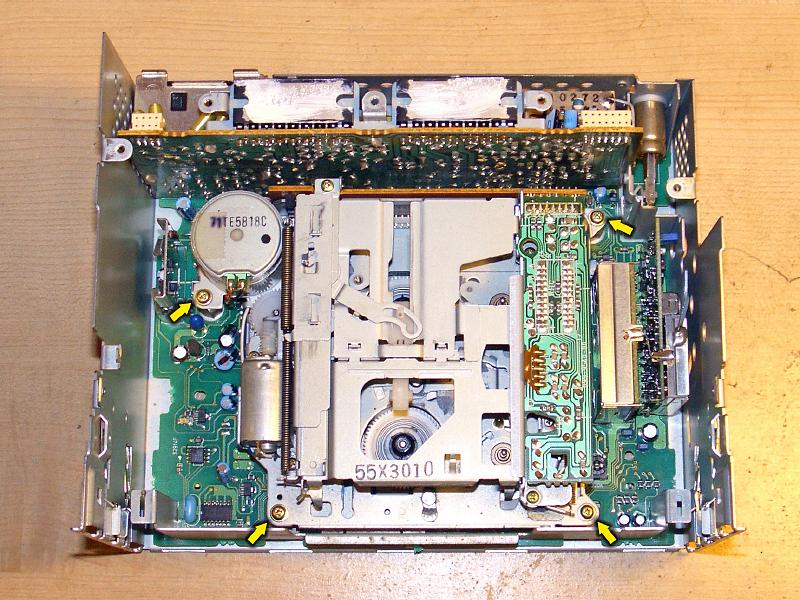 |
| 24.09.2006: Cassette unit |
|
Take out the screws that hold the cassette mechanism and lift the whole
unit (its connector is soldered to the bottom of the small vertical board).
|
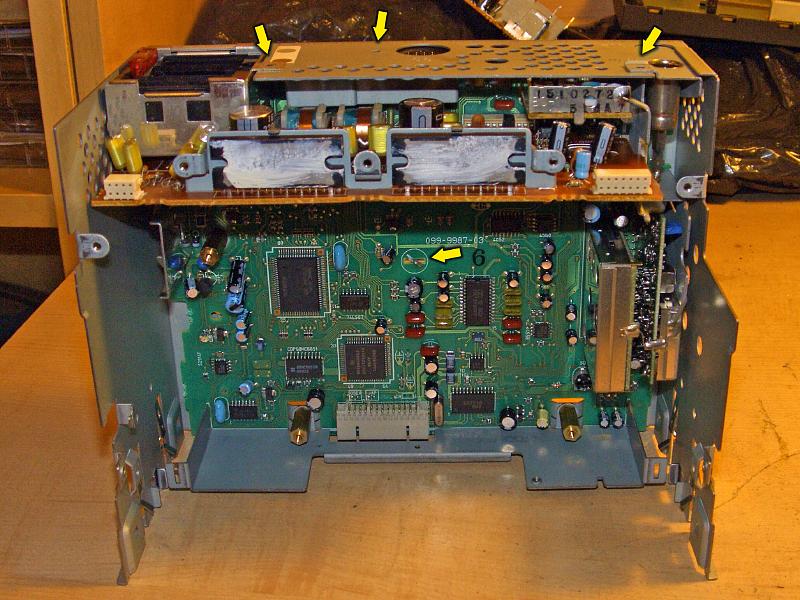 |
| 24.09.2006: Rear board |
|
Remove the last screws on the rear of the unit, twist the lock in the
middle of the board and remove the main board out of the case.
|
 |
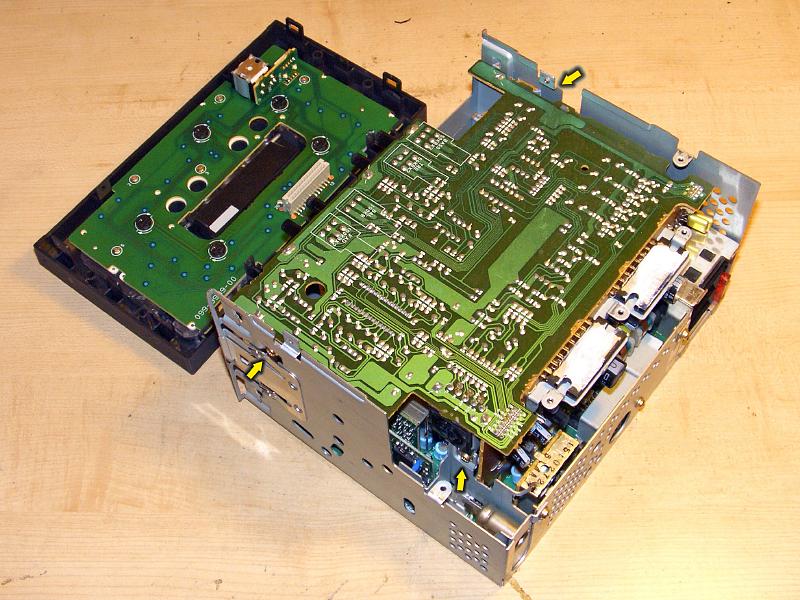
| 24.09.2006: Out of the case |
|
The big vertical board can be also detached from the main board. Be
careful around electric parts, they don't like static electricity.
|
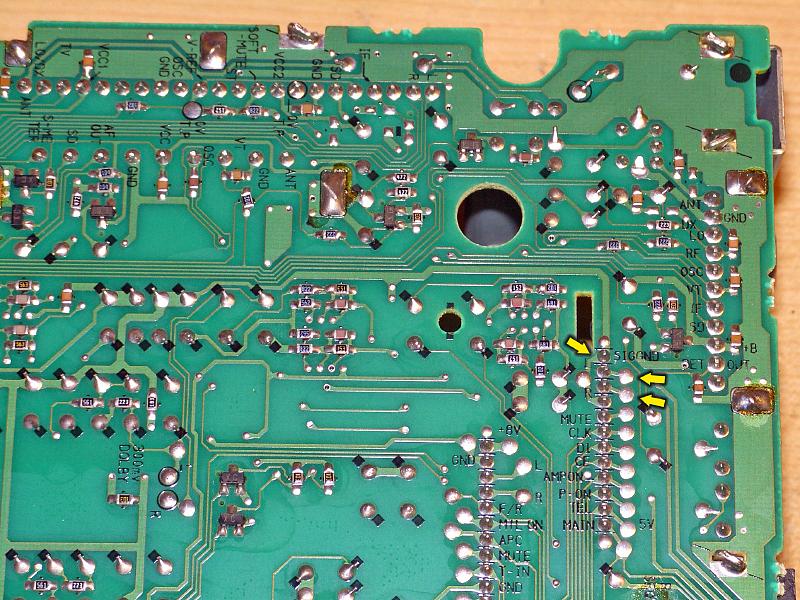 |
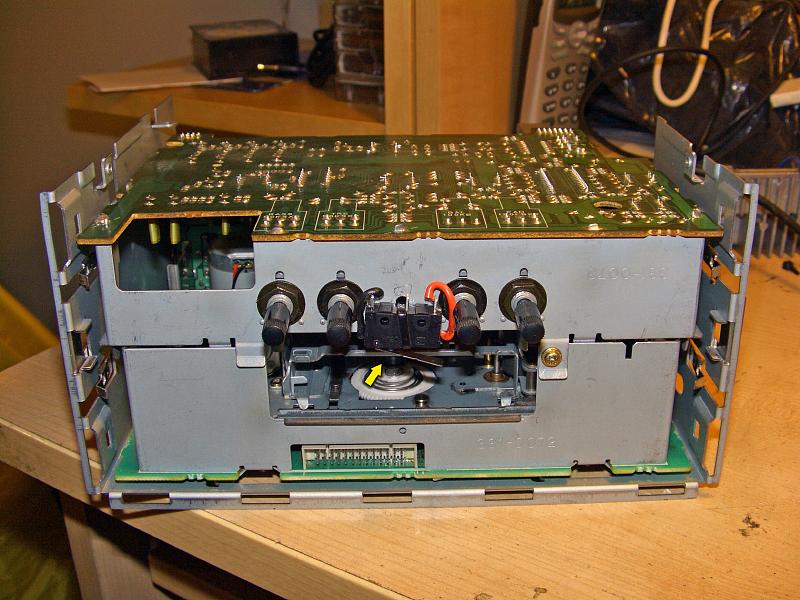
| 24.09.2006: Main board |
|
The underside of the main board has the inputs clearly marked on the
tape unit connector. You can tap right here, to the "SIGGND", "L" and "R"
(pins 2-4).
|
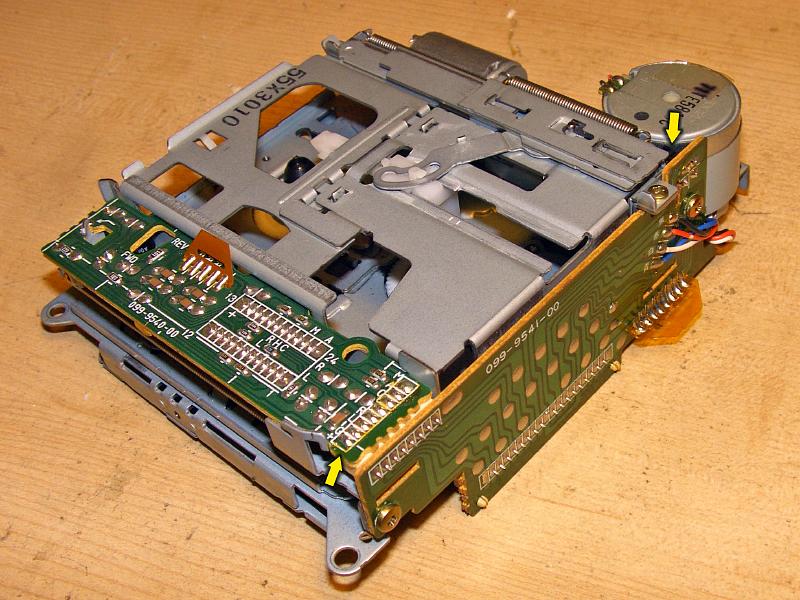 |
| 24.09.2006: Cassette unit |
|
Alternatively, you can use the tape unit itself - same signals are
marked on the upper connector ("G", "L", "R", pins 2-4), and the vertical
board offers lots of room and good soldering spots. Take a note of the
small switch on the far side, you will need it later.
|
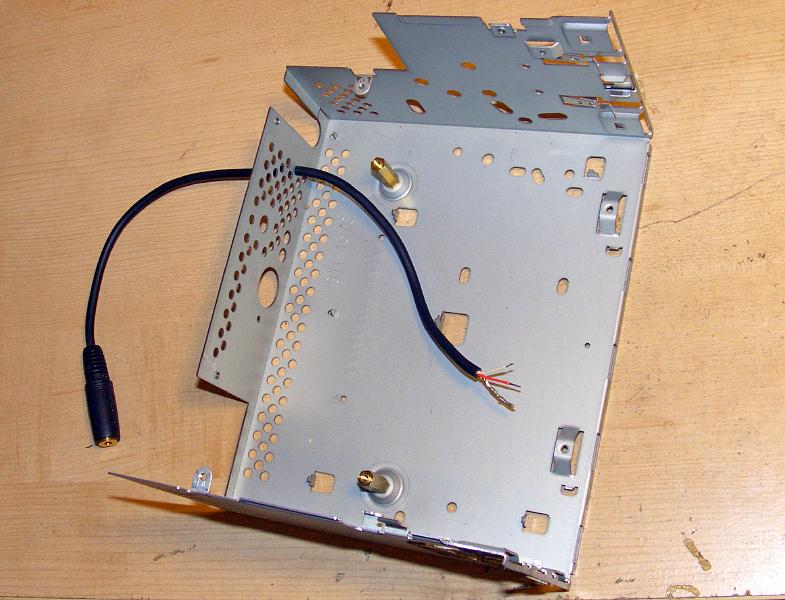 |
| 24.09.2006: Cable |
|
Pull a shielded stereo cable through the holes in the back of the
case and install the main board.
|
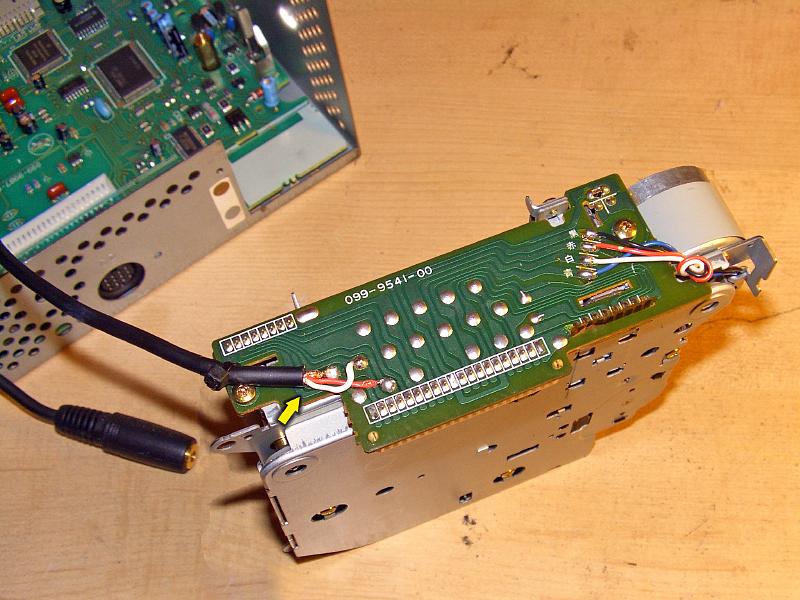 |
| 24.09.2006: Soldered |
|
Solder the stereo cable to the vertical board on the tape unit and secure
the cable with a zip-tie to protect it from vibration.
If you're worried about possible interference with the signal from the
actual ape unit, you can unplug the tape board from the connector
in the upper left corner (see the previous picture), but I haven't noticed
any feedback on my unit.
|
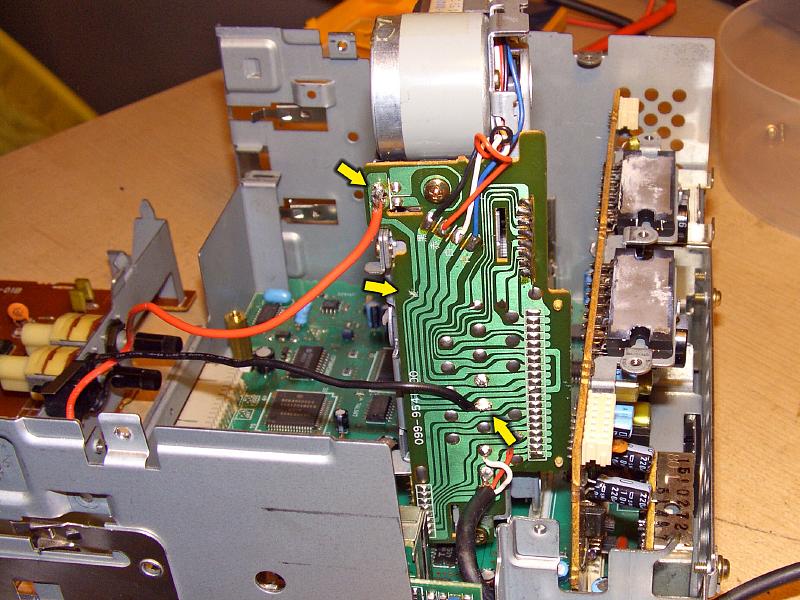 |
| 24.09.2006: Circuit cut |
|
Cut the top lead from the switch and solder a wire on each side of the cut.
The switch is normally closed (short to ground) when the tape deck is empty
and open when a cassette is playing. We want to fool the player
into thinking there's a cassette inside.
|
 |
| 24.09.2006: Switch |
|
Install the tape deck and the top board back in place. Connect
the wires from the cut lead to a momentary switch and fit it between the
knobs right above the cassette door. The circuit should be normally closed,
and pressing the switch would interrupt it.
|
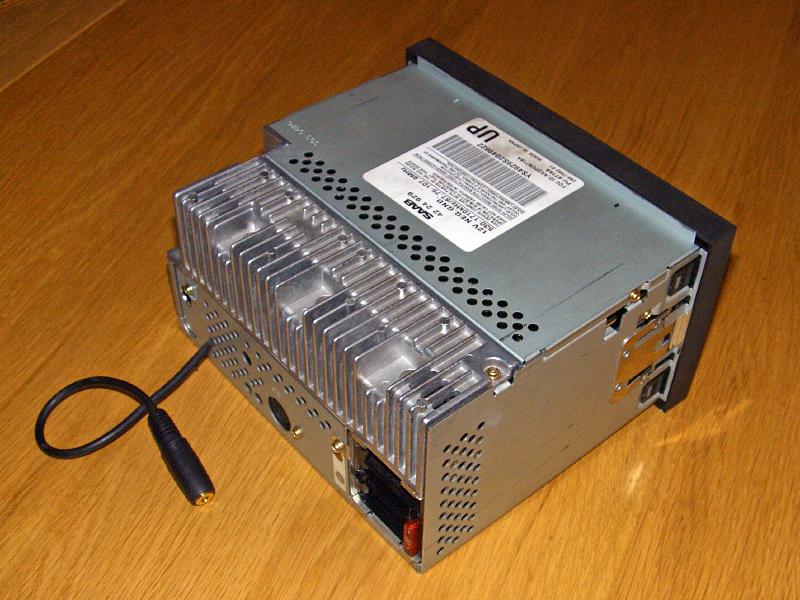 |
| 24.09.2006: Assembled |
|
Assemble the head unit. You will now have a stereo jack sticking out in the
back. Check the cassette door operation - it should activate the hidden
switch when you push the door inward.
|
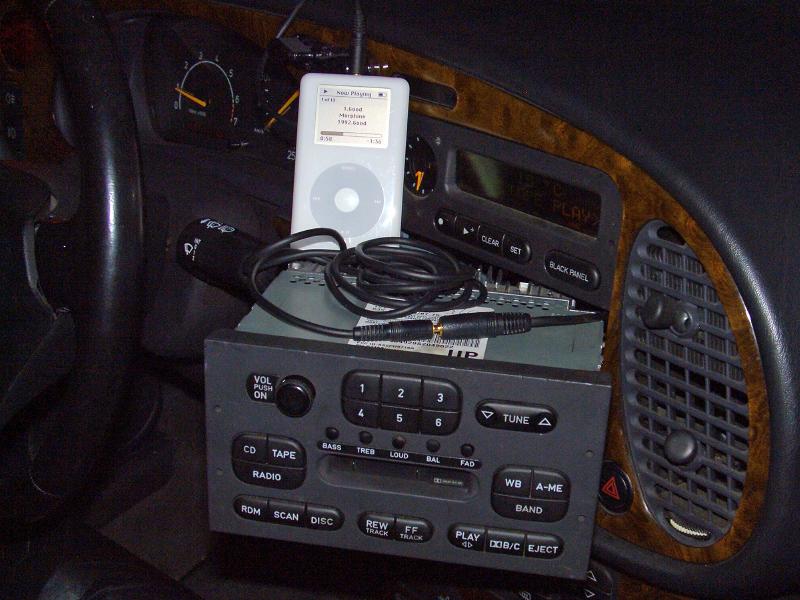 |
| 24.09.2006: Testing |
|
Test the operation in the car. Push the cassette door in to hit the switch.
The head unit will load the empty tray and activate the cassette input. You
should hear the sound from your MP3 player connected to the stereo jack in
the back.
|
 |
| 24.09.2006: Installation |
|
Connect the stereo cable and feed it through the centre console into the
location of your choice. For instance, there's a gap under the left lower
corner of the ashtray, just wide enough to pull the cable through.
|
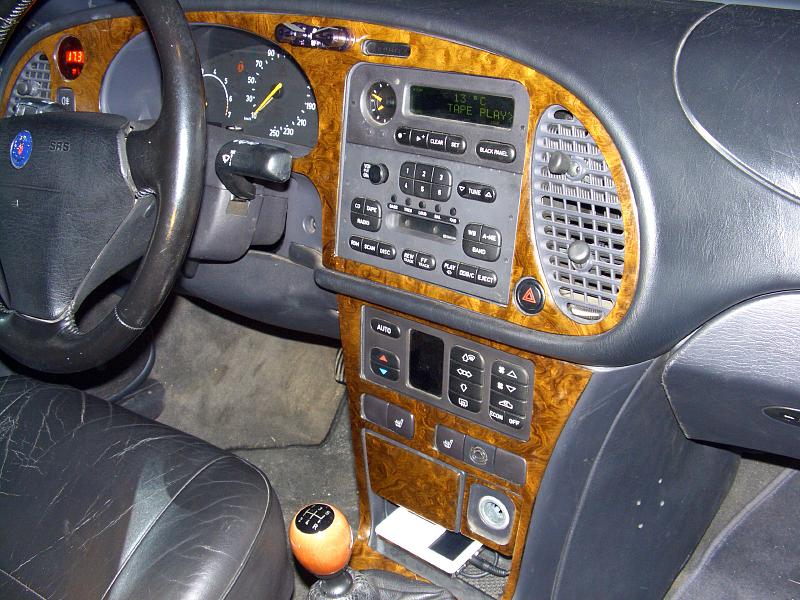 |
| 24.09.2006: In action |
|
The line input will be always on now, so you can simply switch from the
CD or radio to "TAPE" and instantly have your MP3 music on. If you ever need
to reset the deck (e.g. to play an actual cassette), just press "eject".
|


