 |
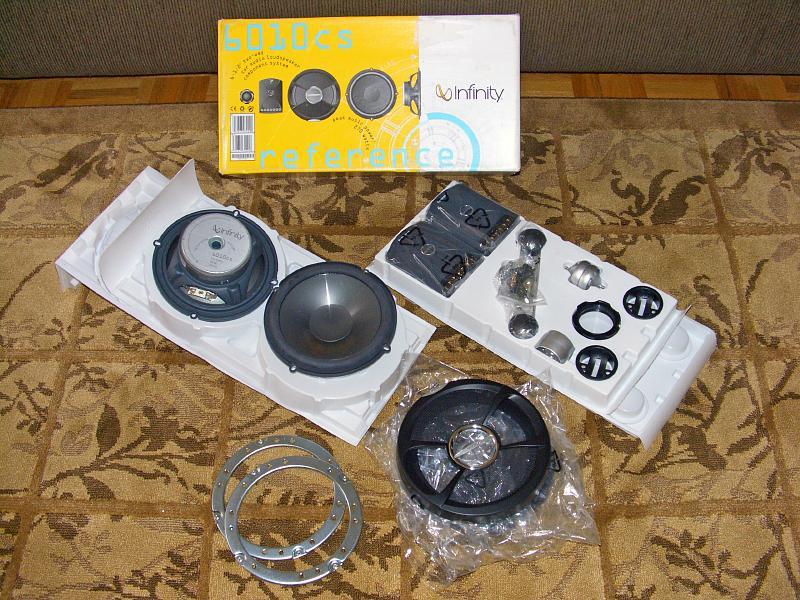
| 15.07.2006: Front speakers |
|
Infinity Reference 6010cs component speakers. The tweeters will go up
on the dash, and the woofers are a perfect match for the factory 6½"
mounting locations in the doors.
|
 |
| 15.07.2006: Rear speakers |
|
Infinity Reference 9613i three-way speakers. These 9x6" speakers were
purchased to hatchback specifications, but I'm hoping to fit them
instead of the 5¼" factory speakers in the rear.
|
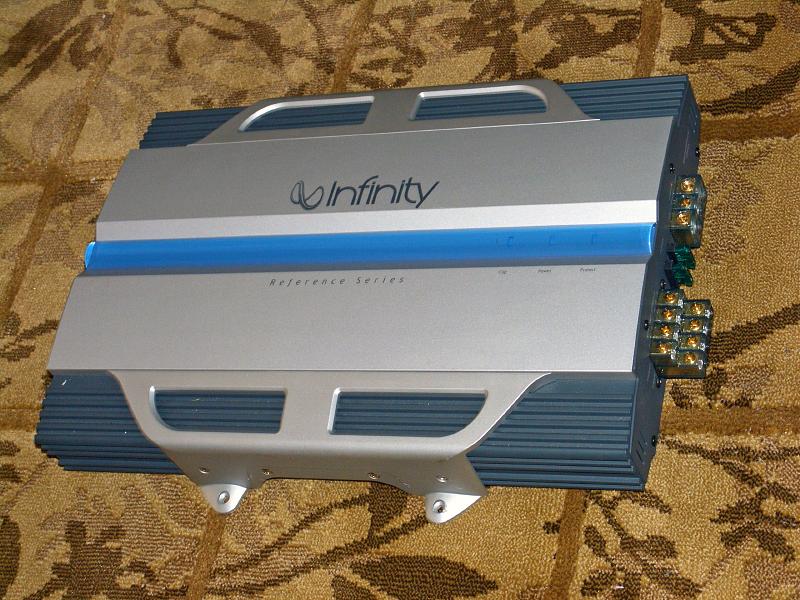 |
| 15.07.2006: Amplifier |
|
Infinity Reference 7541a four-channel amplifier. This should have the
power to produce a sufficient volume at highway speeds with the roof down,
and has just the right size to fit into the ski pass-through.
|
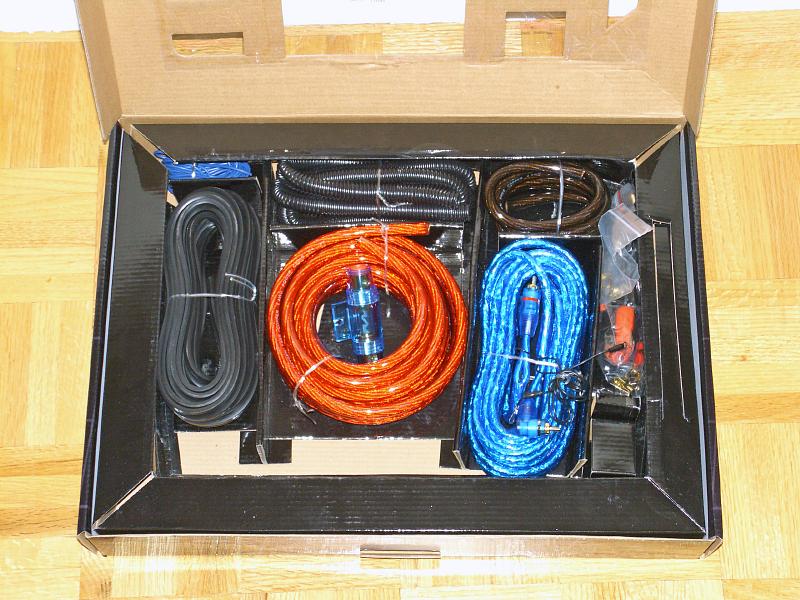 |
| 15.07.2006: Wiring kit |
|
An amplifier wiring kit from eBay. It contains shielded interconnects,
12 gauge OFC speaker wire, 4 gauge power lines, fuses, connectors, wire
ties and everything else you will need to rewire your stereo.
|
 |
| 06.08.2006: Interconnects |
|
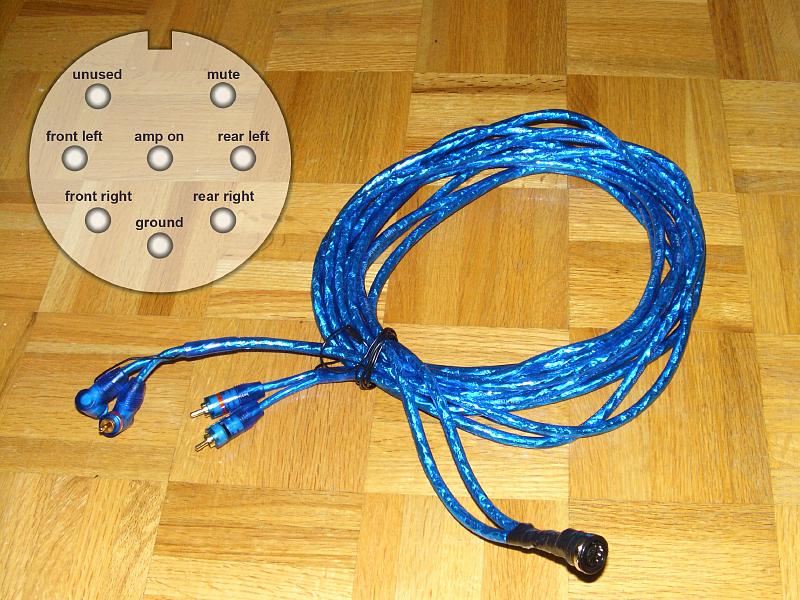
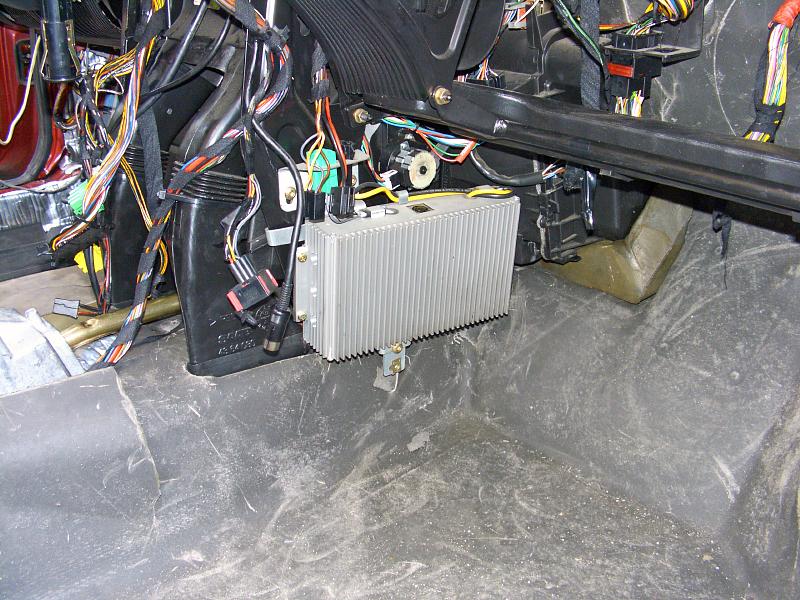
The head unit has a proper pre-amp output. A DIN-8 jack might be
hard to locate, but I was fortunate to find a female connector that
plugs right into the factory amplifier cable. Solder it to the interconnect
cable, you will need the four channels and the "amp turn-on" signal. Most
interconnects will already come with an integrated turn-on wire.
|
 |
| 06.08.2006: Stock amp |
|
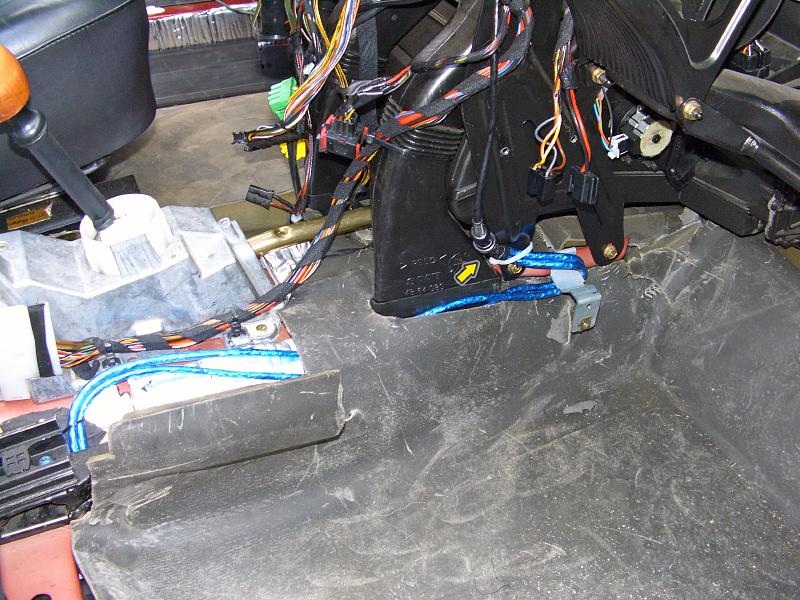
If you have an SE model, it will come with an external 40 Watt amplifier.
It has three harnesses connected to it: a DIN-8 cable from the head unit,
door speaker wires and power. Keep the wiring and remove the amp. They
are in demand since these SE audio kits (amplifier and door speakers) cost
good money at the dealer. Consider selling it to a fellow Saab owner.
|
 |
| 06.08.2006: Connected |
|
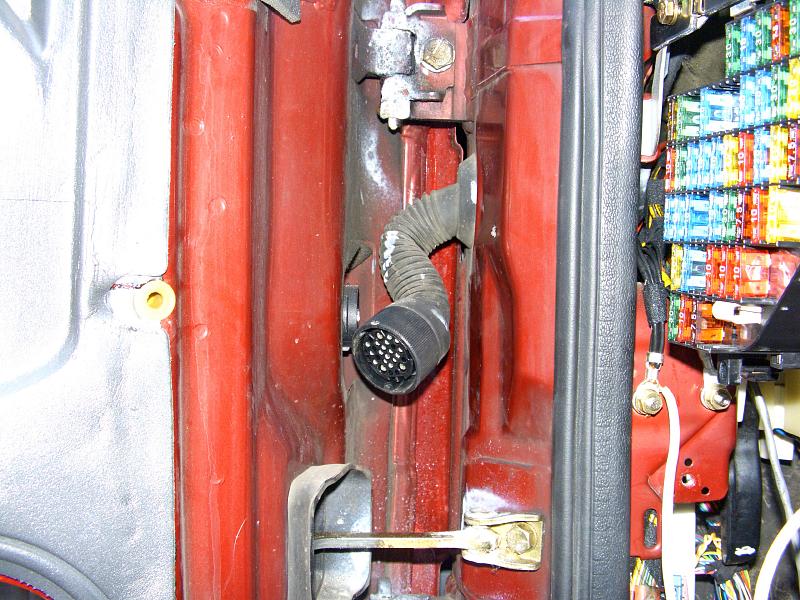
Plug the interconnects into the DIN-8 jack and route the cable to your
preferred amplifier location.
|
 |
| 06.08.2006: Door harness |
|
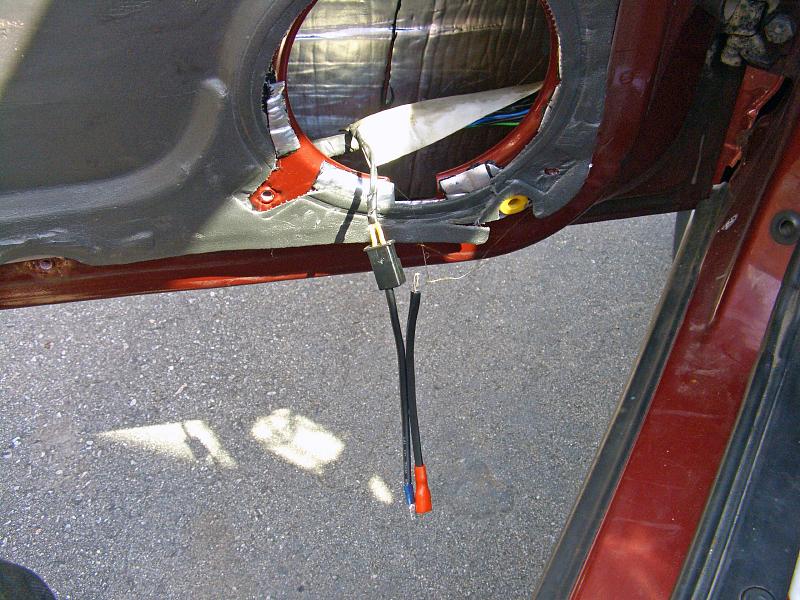
The doors have a fancy weather-proof harness for all electrical wiring,
so there's no way to feed a new speaker cable through. The only option
is to use factory wiring.
|
 |
| 06.08.2006: Speaker wire |
|
It looks like a good idea to keep the original connectors. If they don't
fit your speakers, splice into the wires or use a short extention cable.
|
 |
| 06.08.2006: Door speaker |
|
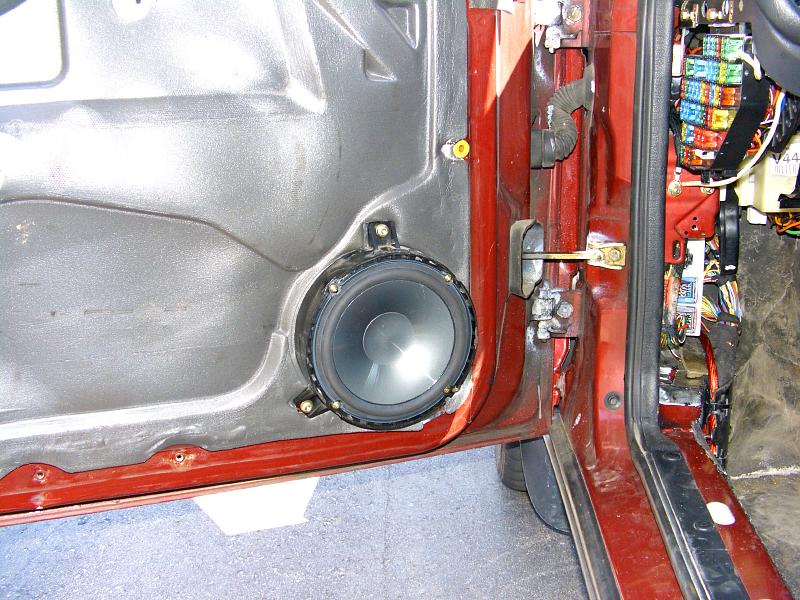
The 6½" speakers fit perfectly into the factory mounting
brackets. There's more than enough room inside the door, so don't
worry about your speakers being too deep.
|
 |
| 06.08.2006: Adapters |
|
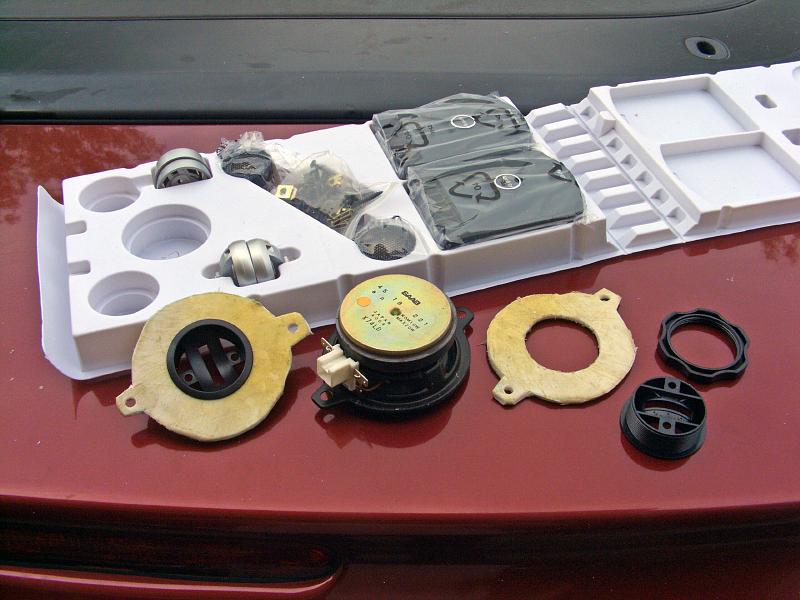
Small tweeters obviously won't mount that easily into the 3½"
speaker socket up on the dash. I cut a pair of plastic adapters using
an old speaker as a template. Some manufacturers offer similar plates
with their speaker mounting kits.
|
 |
| 06.08.2006: Tweeter |
|
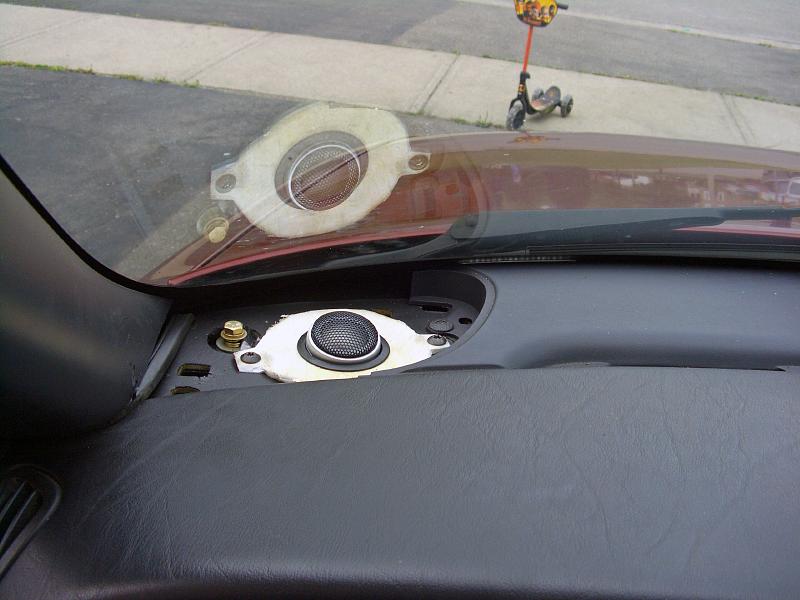
Tweeter on the dash. The Infinity kit came with a clever mount that
allowed to rotate the speakers and tilt them forward for better
sound stage positioning.
|
 |
| 06.08.2006: Crossover |
|
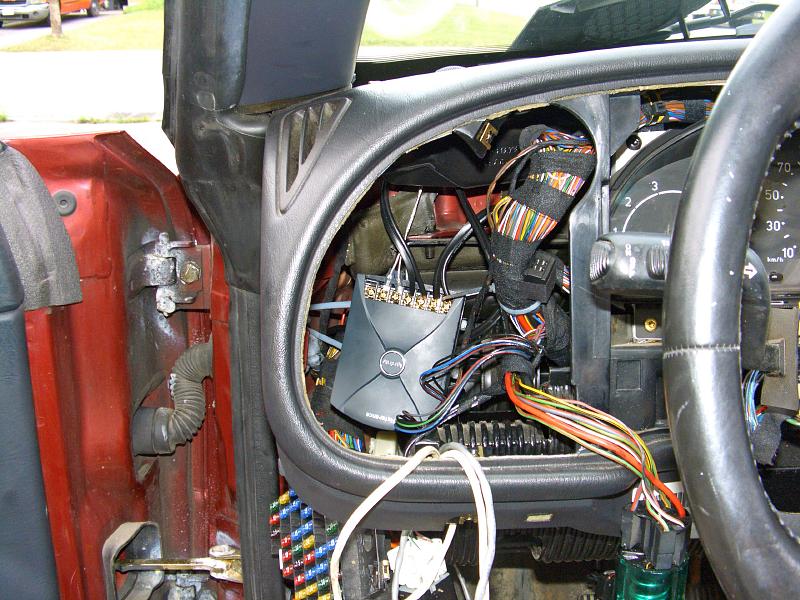
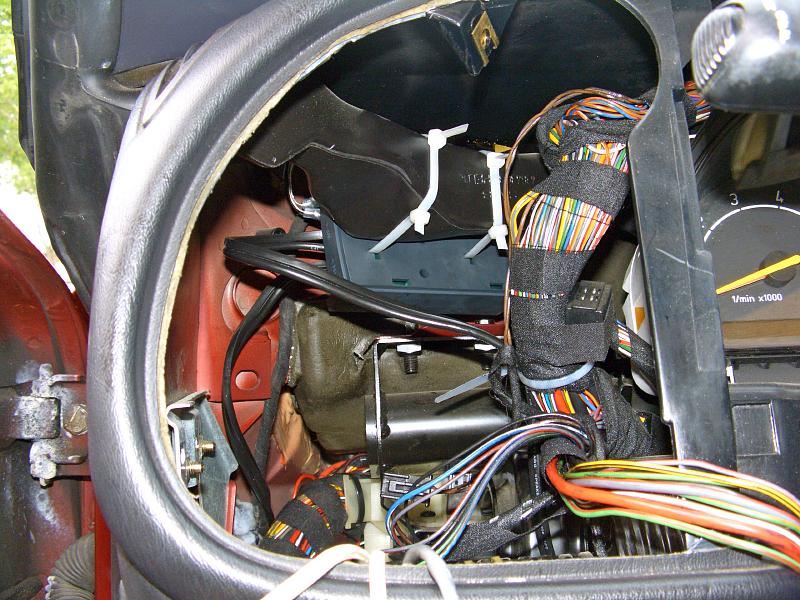
There's just enough rooms to fit the crossovers under the tweeters so
you won't have to extend short tweeter wires.
|
 |
| 06.08.2006: Crossover |
|
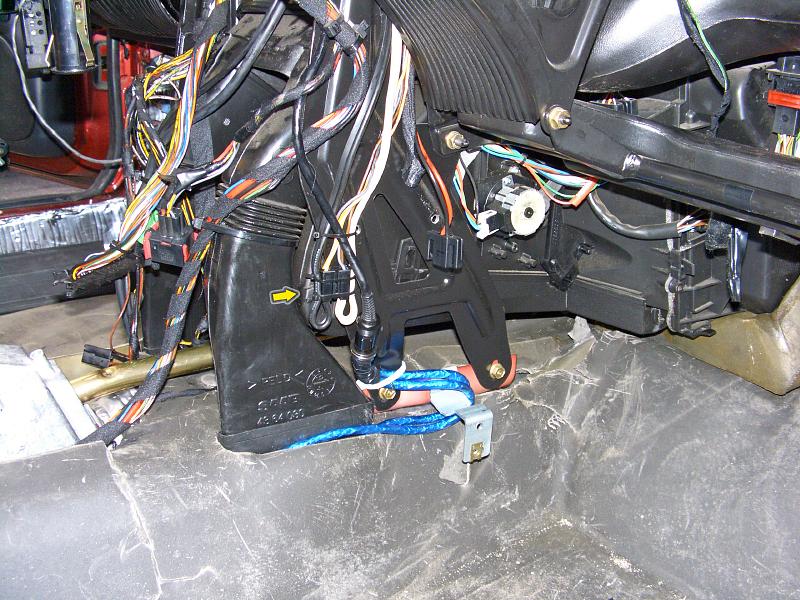
Connect all the speaker wires and secure the crossovers so they don't
rattle. I found it convenient to zip-tie them to the air vents.
|
 |
| 06.08.2006: Harness |
|
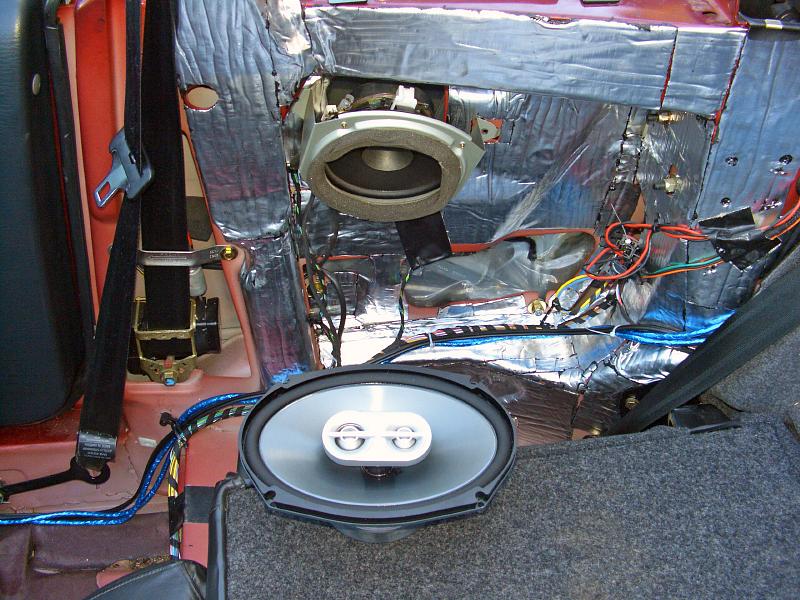
Feed the woofer leads from the crossovers and plug them into the old door
speaker harness that used to be connected to the factory amplifier.
|
 |
| 08.08.2006: New vs old |
|
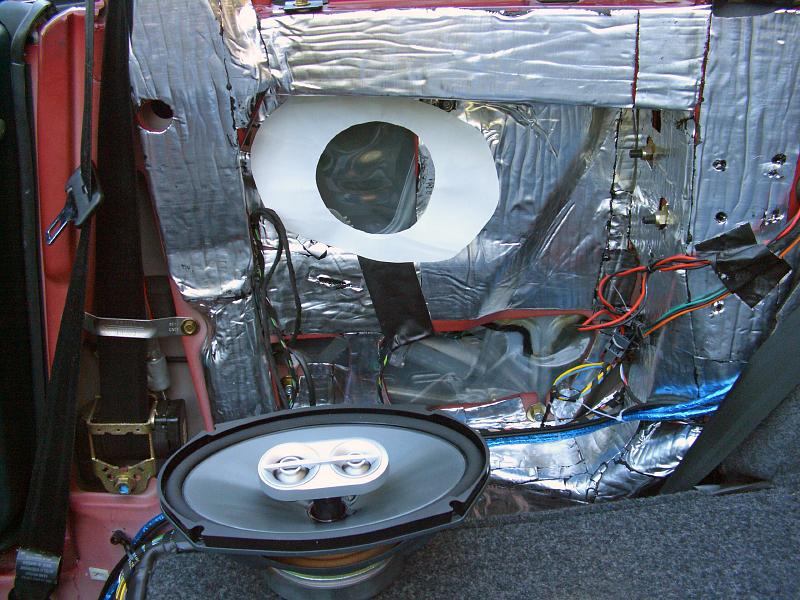
The rear speakers presented a challenge, since my replacements were
almost twice as big as the originals.
|
 |
| 08.08.2006: Template |
|
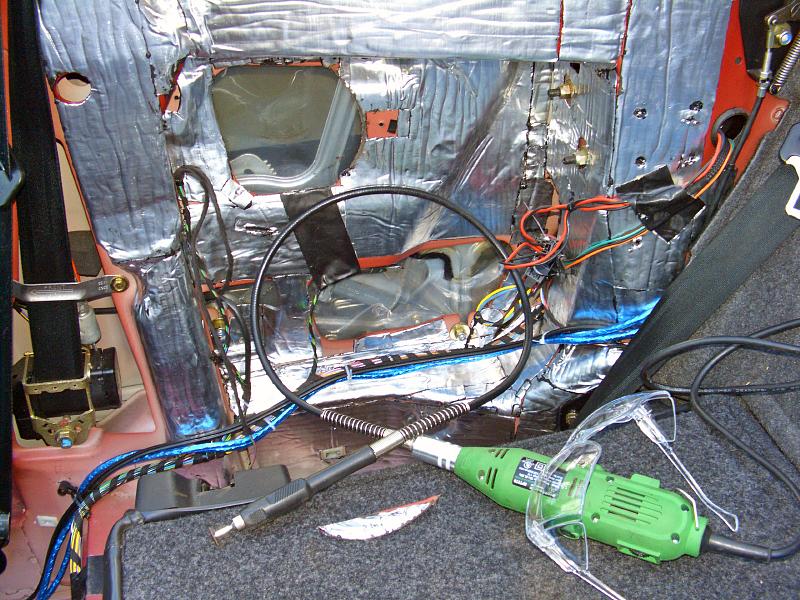
A paper template attached to the side panel shows that the magnets won't
fit into the old hole, and some of the metal has to be trimmed.
|
 |
| 08.08.2006: Hole cut |
|
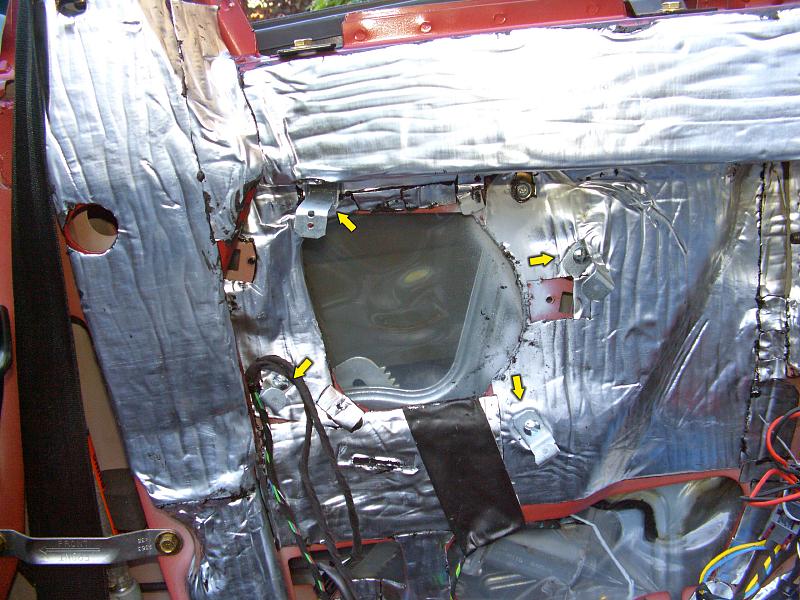
A couple of minutes with heavy duty Dremel cut-off wheels gets the job
done. Prime and paint the cut to prevent the rust from spreading.
|
 |
| 08.08.2006: Supports |
|
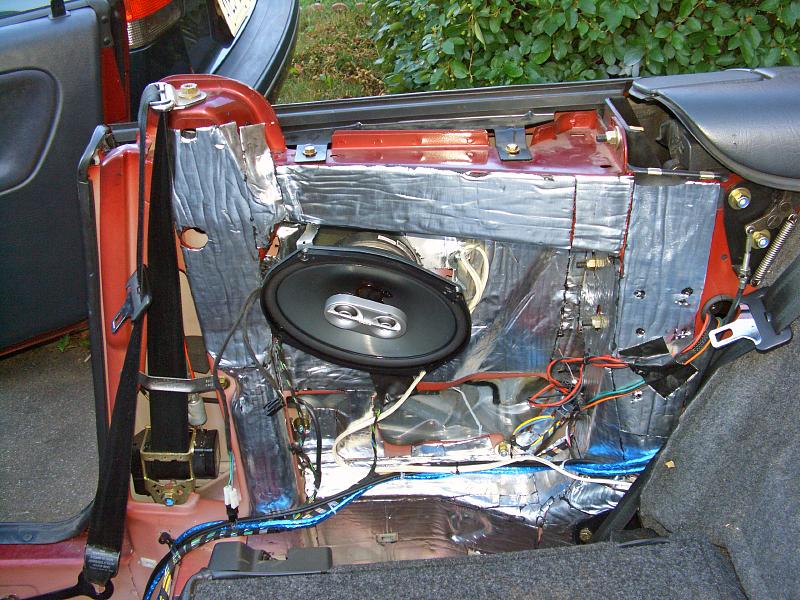
Due to the way the speaker should be tilted, all the support brackets
should have a different length. I used some basic Home Depot parts and
cut them to size.
|
 |
| 08.08.2006: Rear speaker |
|
The rear speaker is mounted securely. It was a tight fit with the panel
cover, but it did fit with no struggle. I just had to trim some foam inside
the panel cover.
|
 |
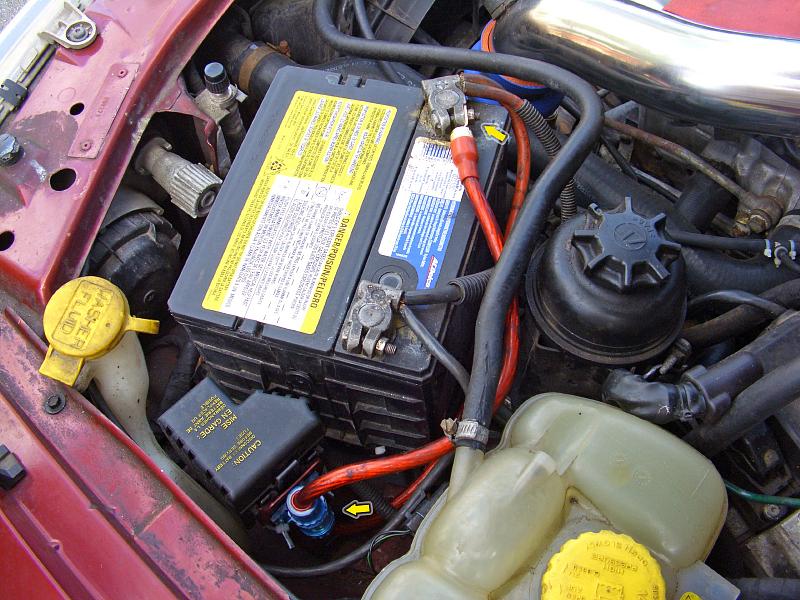
| 08.08.2006: Positive cable |
|
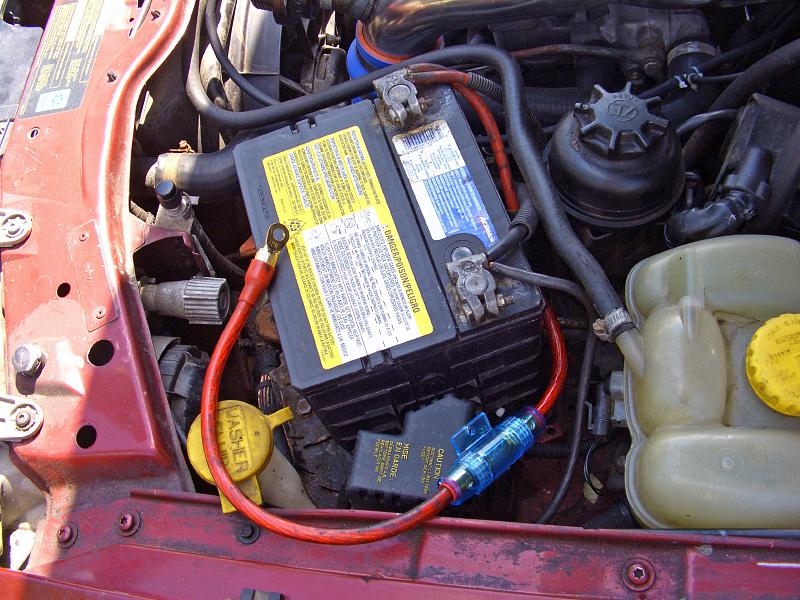
The power for the amplifier has to come directly from the battery. Route
the cable to the battery and install a fuse matching the current specified
for your amplifier.
|
 |
| 08.08.2006: Firewall |
|
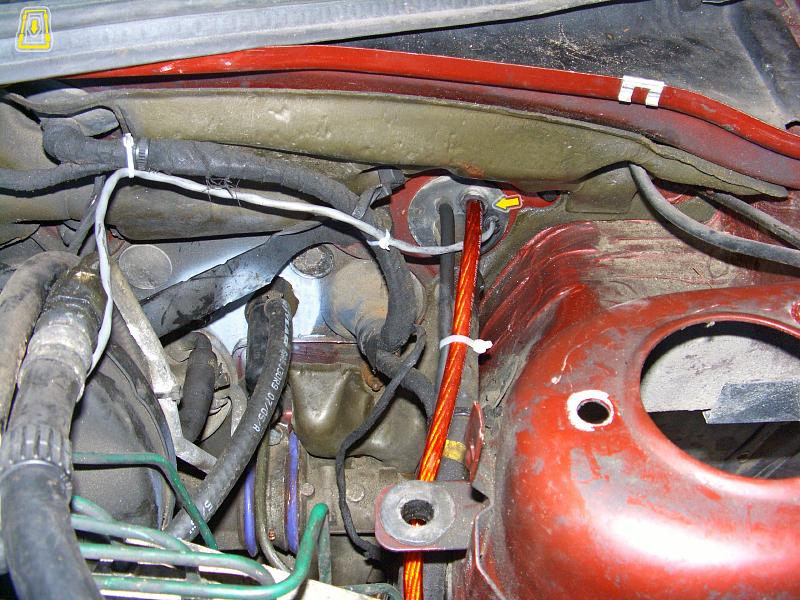
The rubber grommet by the driver side strut tower looks like a perfect
spot to pass the cable through the firewall.
This
picture shows how to remove the fuse box that hides the grommet.
|
 |
| 08.08.2006: Cable routing |
|
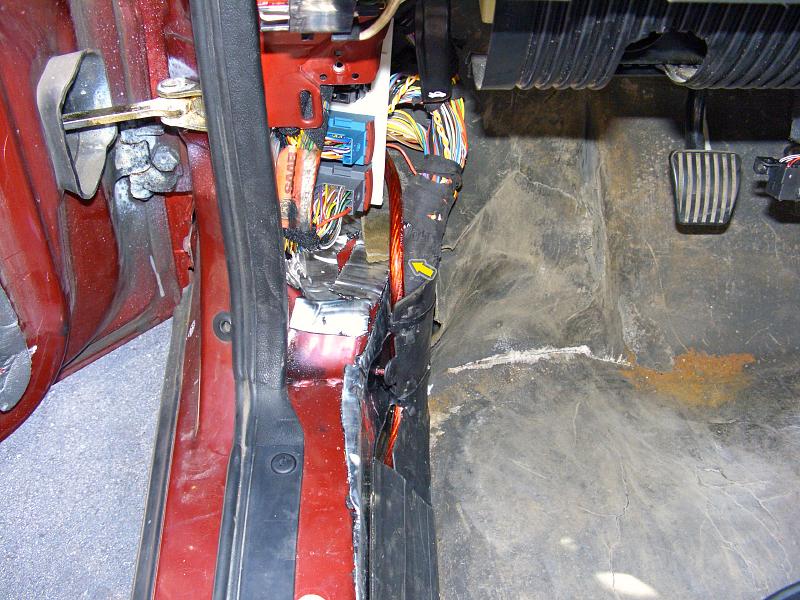
Route the cable down to the floor and further back along the door sill.
|
 |
| 08.08.2006: Cables |
|
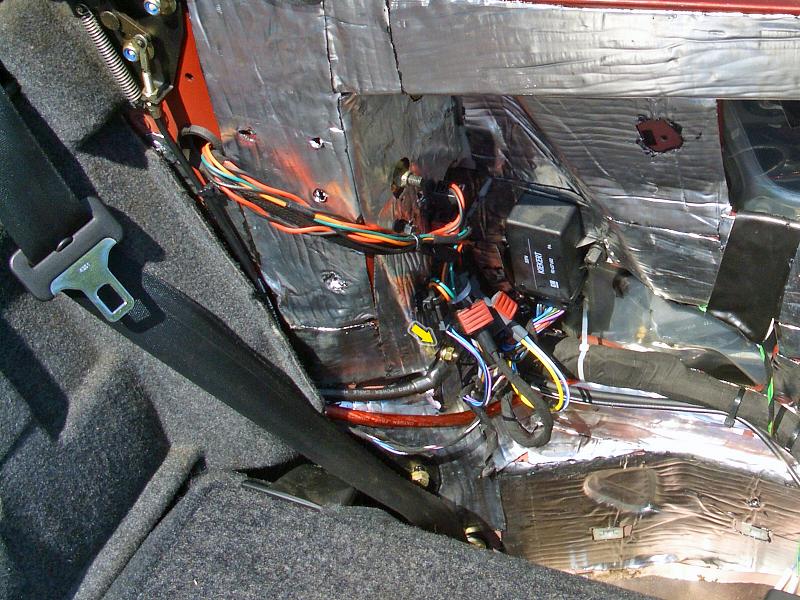
There's a grounding point on the driver side rear panel - a great location
to hook up the negative cable for the amplifier.
|
 |
| 08.08.2006: Amplifier |
|
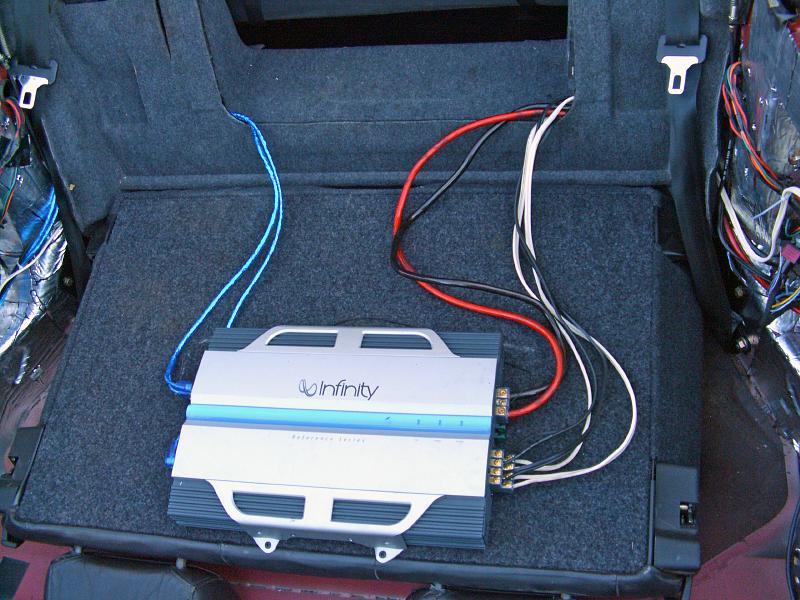
Mount the amplifier (mine was a perfect size for the ski pass-through) and
connect all the wires.
|
 |
| 08.08.2006: Connected |
|
Bolt the positive cable to the battery and turn the system on. Enjoy your
music!
|