 |
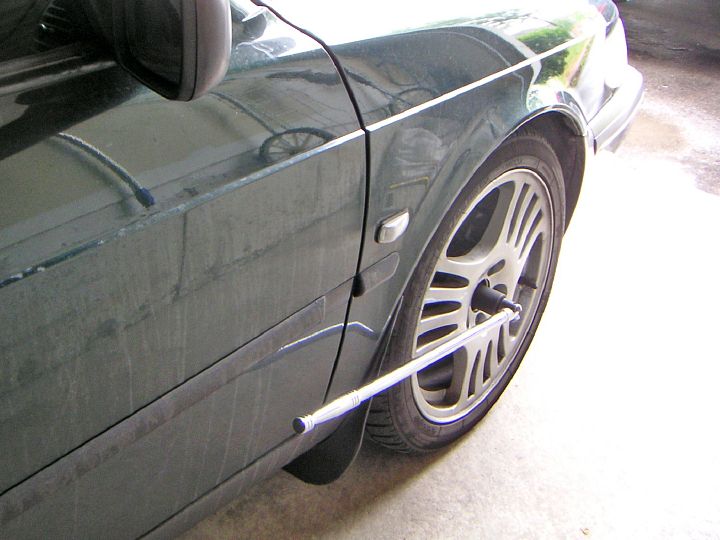
| 16.07.2005: Hub nut |
|
With the car still on the ground, remove the centre cap from the wheel and
loosen the hub nut using a 32 mm socket (a 1¼" will do) and a
breaker bar. Loosen the wheel bolts while you're at it too (17 mm socket).
|
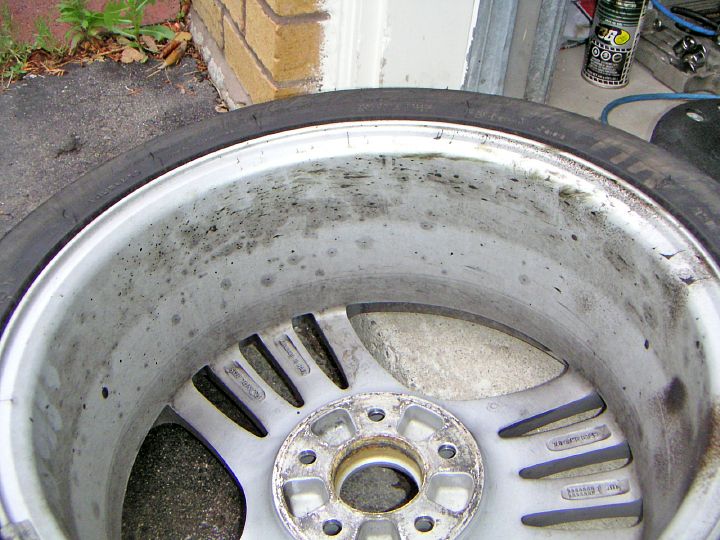 |
| 17.07.2005: Rim |
|
Raise the car and remove the wheel. These little grease splatters on the
inside on the rim are a clear sign of the problem. The side where the
grease is concentrated the most can help locate the crack in the boot.
|
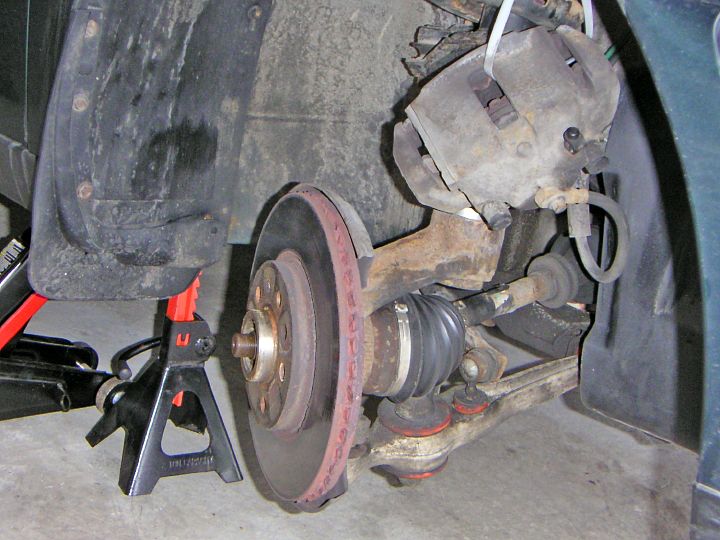 |
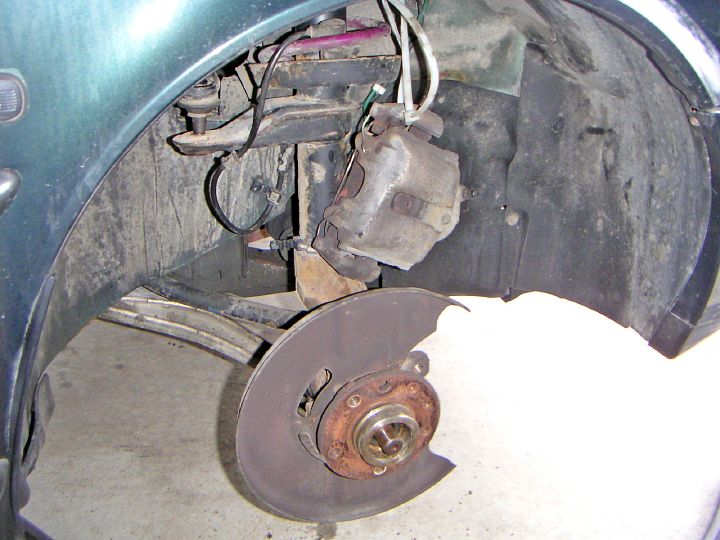
| 17.07.2005: Caliper |
|
Undo the hub hut completely. Remove the caliper (10 mm Allen socket) and
hang it onto something so no load is placed on the brake line.
|
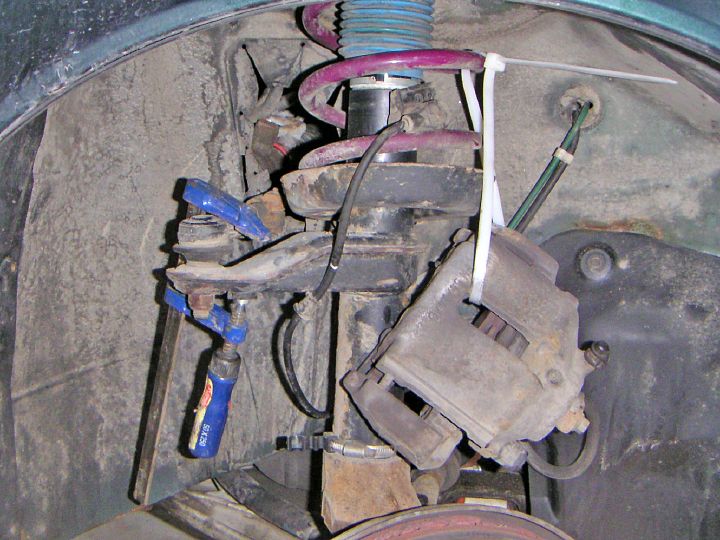 |
| 17.07.2005: Tie-rod |
|
Clamp the tie-rod and undo the nut (18 mm socket). Use a gear puller to
separate the rod end. You may also remove the ABS sensor to clear the way
(5 mm Allen key).
|
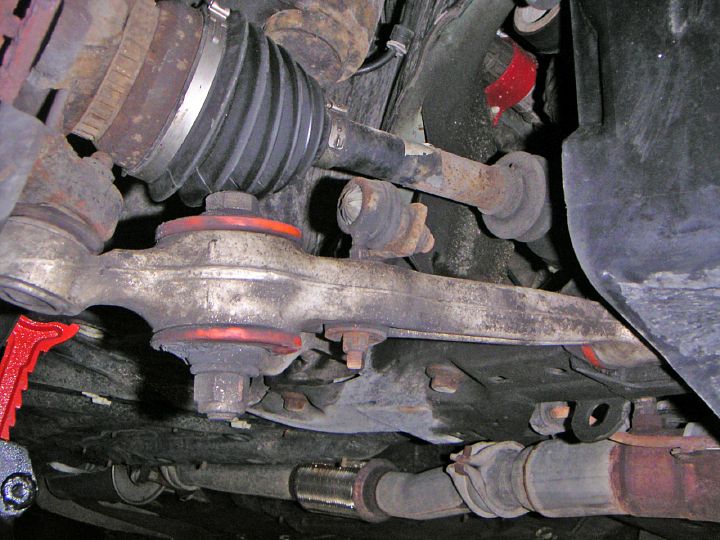 |
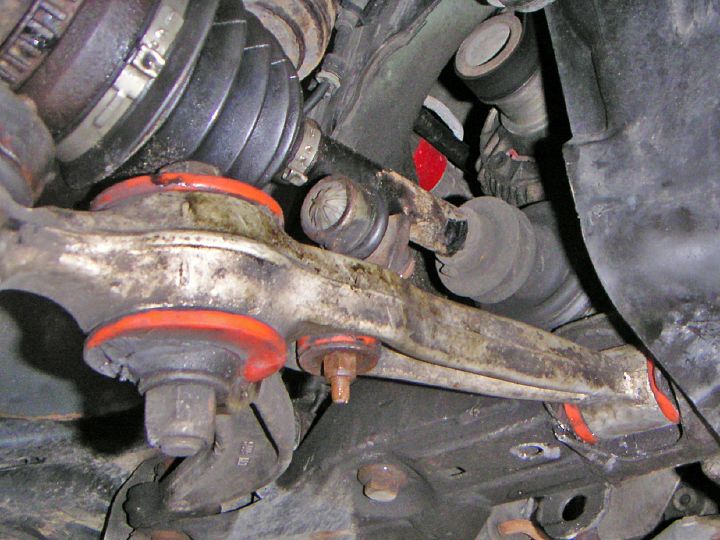
| 17.07.2005: Control arm |
|
Disconnect the anti-roll bar link from the control arm. Use a 13 mm socket
on the nut and a 11 mm spanner on the top end.
|
 |
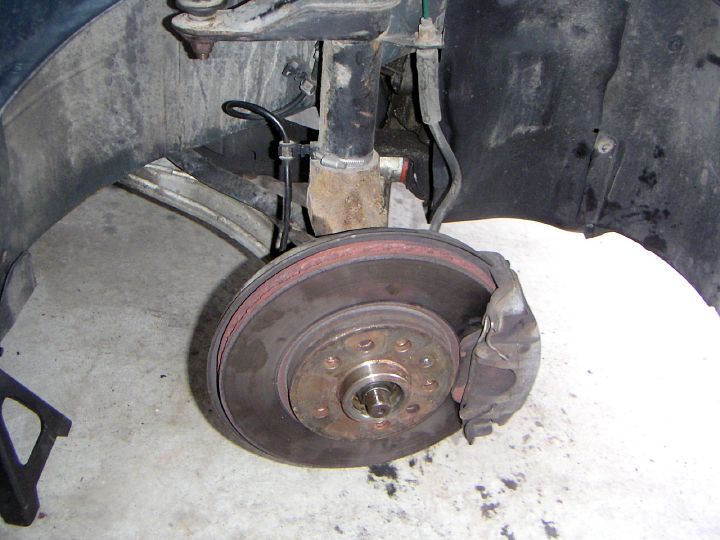
| 17.07.2005: Rotor off |
|
Remove the index screw
(see here for
possible solutions if it gets stuck) and take the rotor off.
|
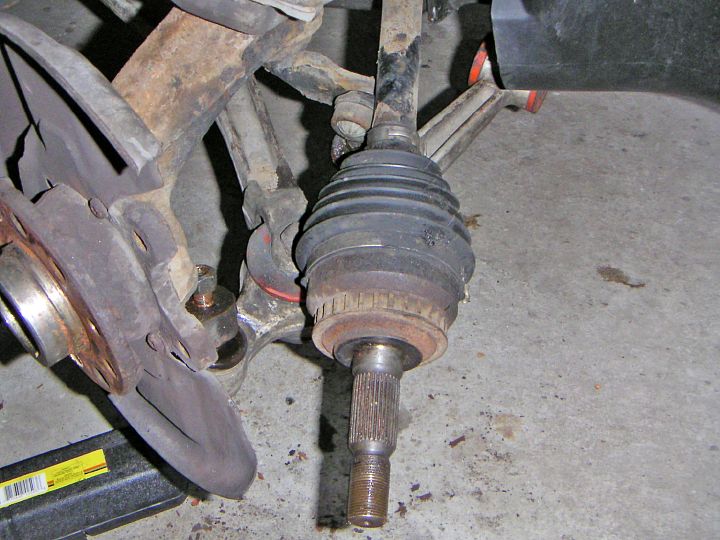 |
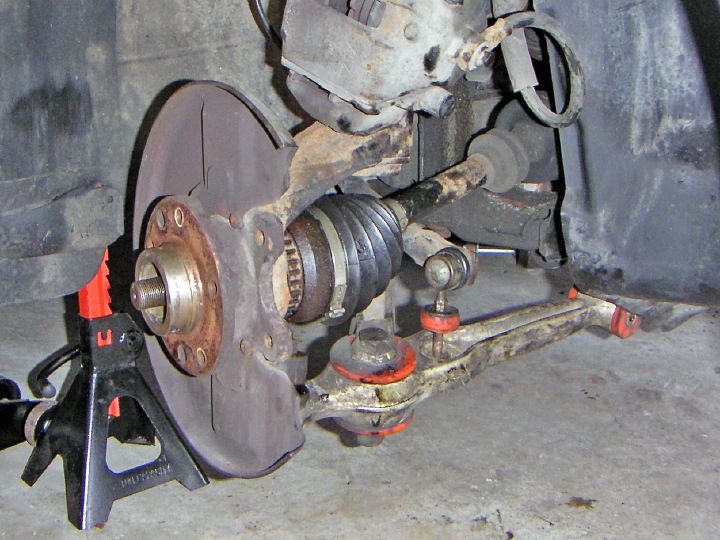
| 17.07.2005: Disconnected |
|
If you have a proper ball-joint separator (NOT a fork-type!), you can undo
the ball joint. I found it easier to unbolt the control arm from the
subframe instead (15 mm socket). Tilt the strut out of the way and pull
the axle out.
|
 |
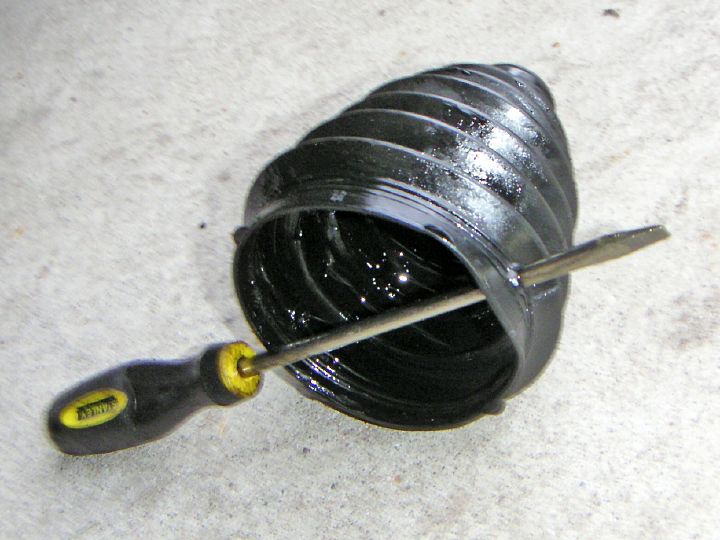
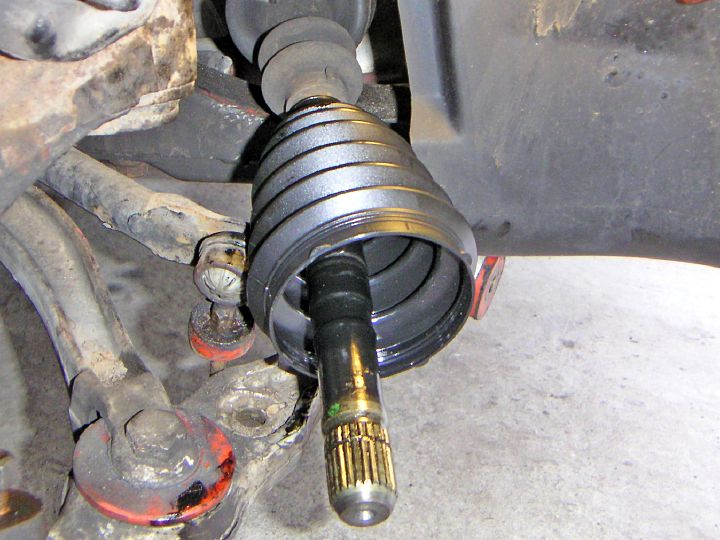
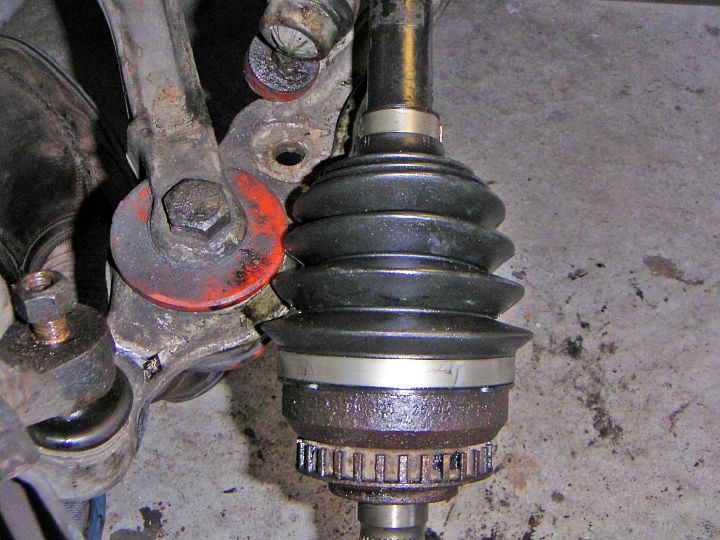
| 17.07.2005: Clamps |
|
Remove the old clamps from the boot with a chisel or a big screwdriver.
Slide the boot up the shaft and start removing the grease.
The joint is firmly seated on the driveshaft and secured by a snap ring.
|
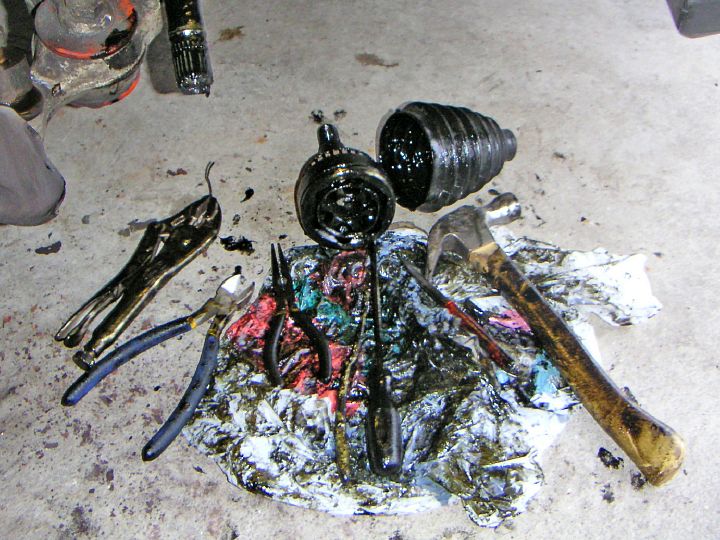 |
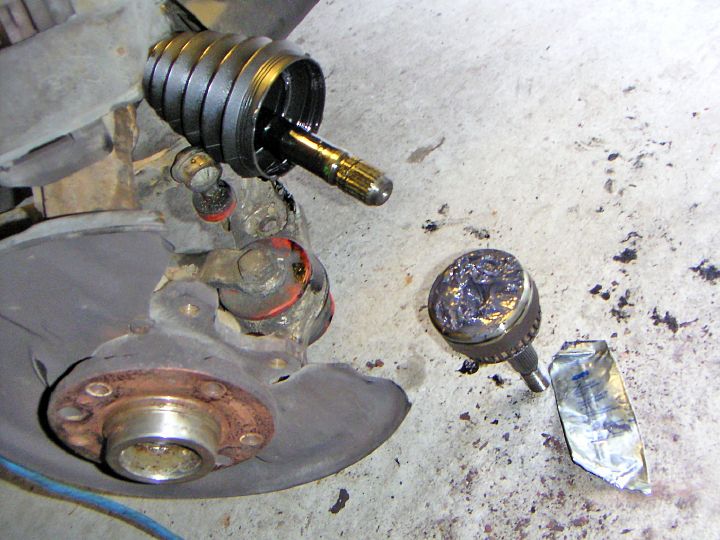
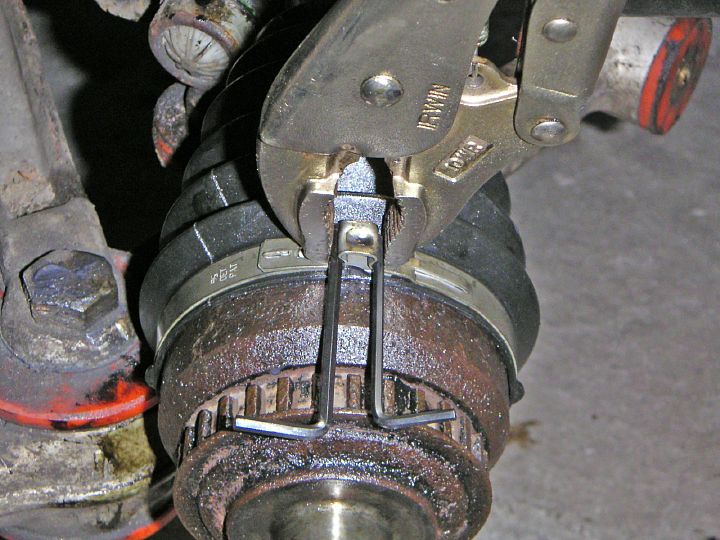
| 17.07.2005: Joint removed |
|
Once you dig the ring from under the layer of grease, do you best to remove
it. I ended up pulling it out with vice-grips, which straightened it
completely (and thus destroyed). Gently tap the CV joint until it comes off
the axle.
|
 |
| 17.07.2005: Boot |
|
This is where the crack in the boot was. It didn't seem big, and there
was enough grease to last for the next half a year until it all leaks out,
but I didn't want to take my chances.
|
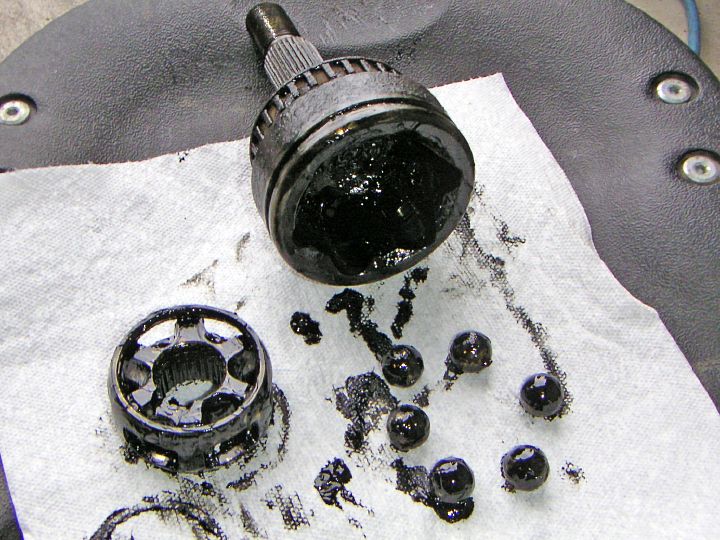 |
| 17.07.2005: Disassembled |
|
Disassemble the joint. First, turn the inner part sideways to take
out the balls one by one, then remove the remaining parts.
|
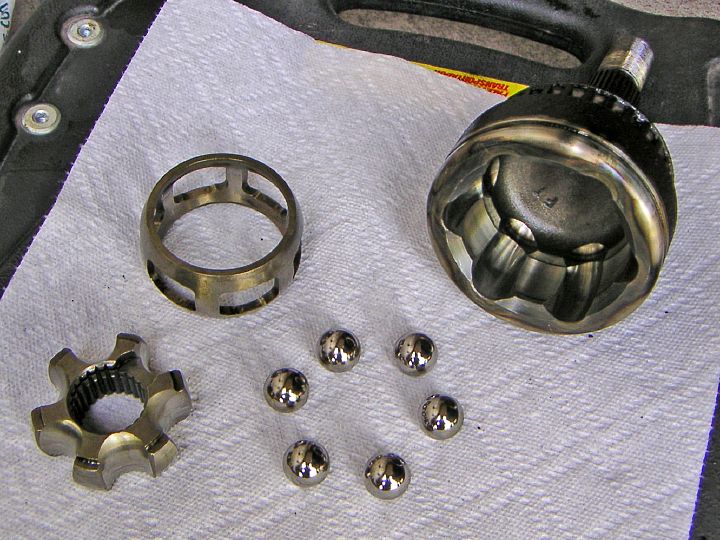 |
| 17.07.2005: Cleaned up |
|
Clean everything thoroughly to wipe out all of the old grease. Do not
let the dirt to get into the joint from now on.
|
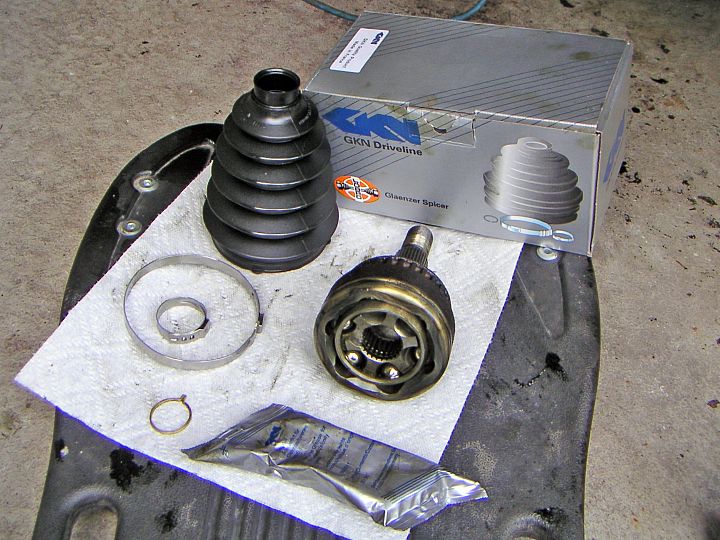 |
| 17.07.2005: New kit |
|
Here's the new boot kit from
eEuroparts. It contains a new boot,
two stainless clamps, a replacement snap ring and a tube of fresh grease.
|
 |
| 17.07.2005: Boot on |
|
Put the boot on and inspect how the joint assembly connects to the axle.
|
 |
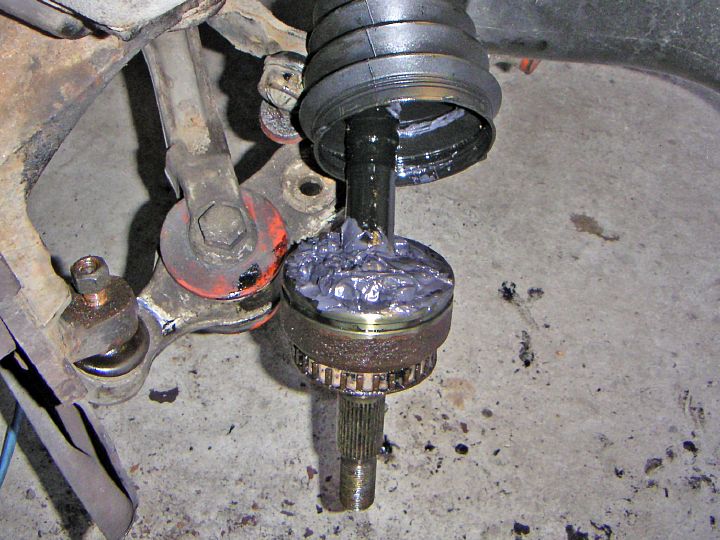
| 17.07.2005: Packed |
|
Put the new snap ring into the joint so the angled ends are seated in the
opening in the star-shaped centre part, and fill the bearing with grease.
|
 |
| 17.07.2005: Installed |
|
Gently tap the joint on until the ring clicks into the groove
in the shaft.
|
 |
| 17.07.2005: Clamp |
|
Put the boot on. There are grooves in the joint body and the axle that
help you position the boot properly. Put the clamp on.
|
 |
| 17.07.2005: Crimping |
|
If you don't have a specialized crimping tool, the job can be done with
a pair of thin Allen keys and the mighty vice-grips.
|
 |
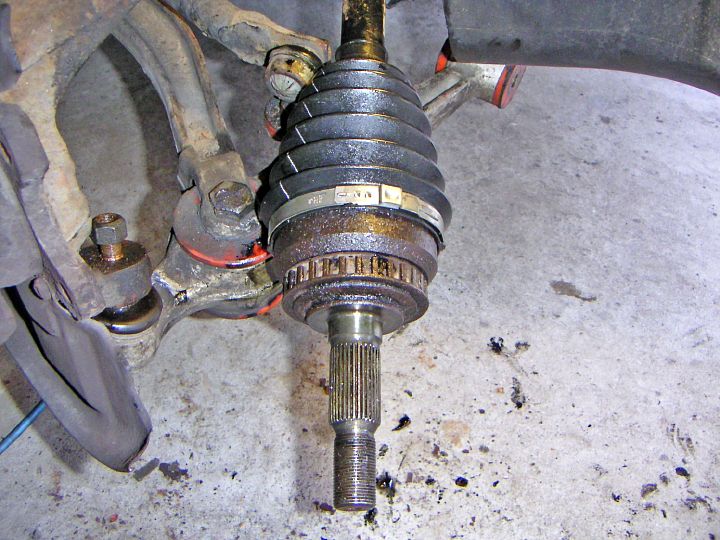
| 17.07.2005: Joint finished |
|
Put the second clamp on and inspect the boot.
|
 |
| 17.07.2005: Axle installed |
|
Insert the axle into the hub.
|
 |
| 17.07.2005: Control arm |
|
Bolt the control arm to the subframe (85 ft-lbs) then connect the anti-roll
bar link (8 ft-lbs). Clamp and tighten the tie-rod end (55 ft-lbs), install
the ABS sensor.
|
 |
| 17.07.2005: Brakes |
|
Install the rotor and the caliper (87 ft-lbs). Bolt the hub nut on
reasonably tight. Put the wheel on (84 ft-lbs) and lower the car to the
ground. Tighten the hub nut to 214 ft-lbs.
|


