 |
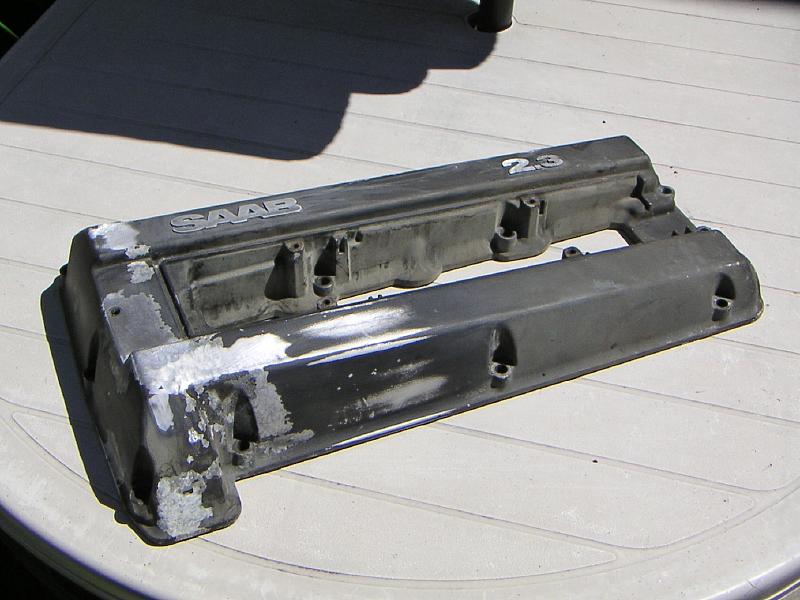
| 10.06.2006: Old cover |
|
A cover with bubbled and chipped paint does not belong to a project car.
|
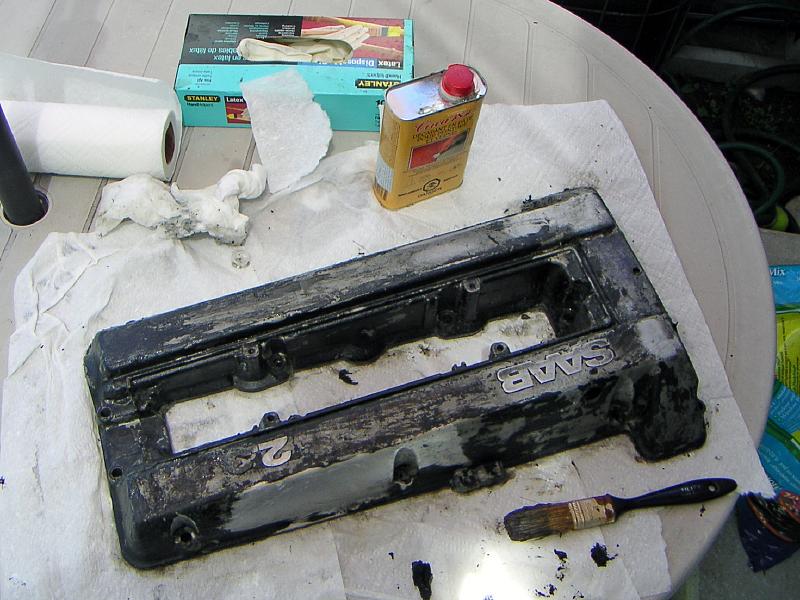 |
| 10.06.2006: Paint stripper |
|
A thick coat of strong paint stripper is applied and the paint seems
to start peeling off. It's a good idea to wear protective gloves when
working with nasty chemicals like that.
|
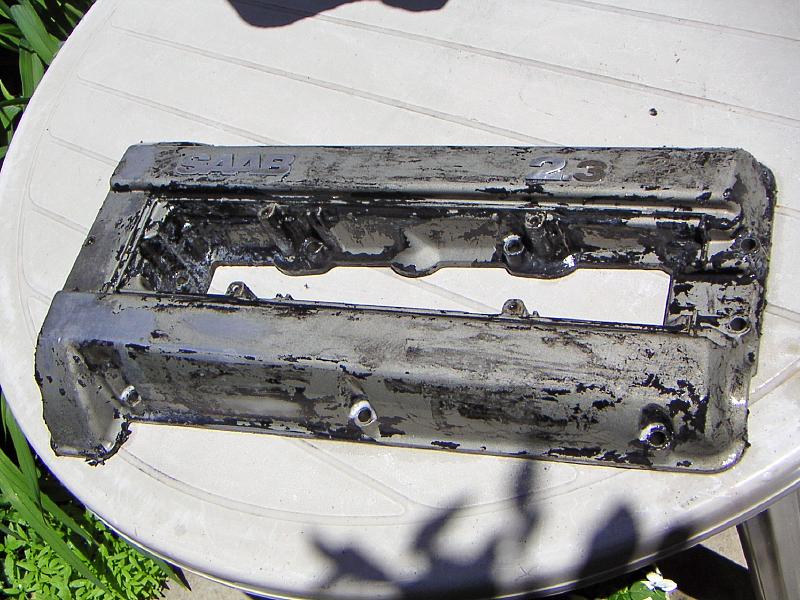 |
| 10.06.2006: Scraped |
|
Even though the paint comes off easily, the cover has a lot grooves and
corners, so scraping takes quite a bit of time.
|
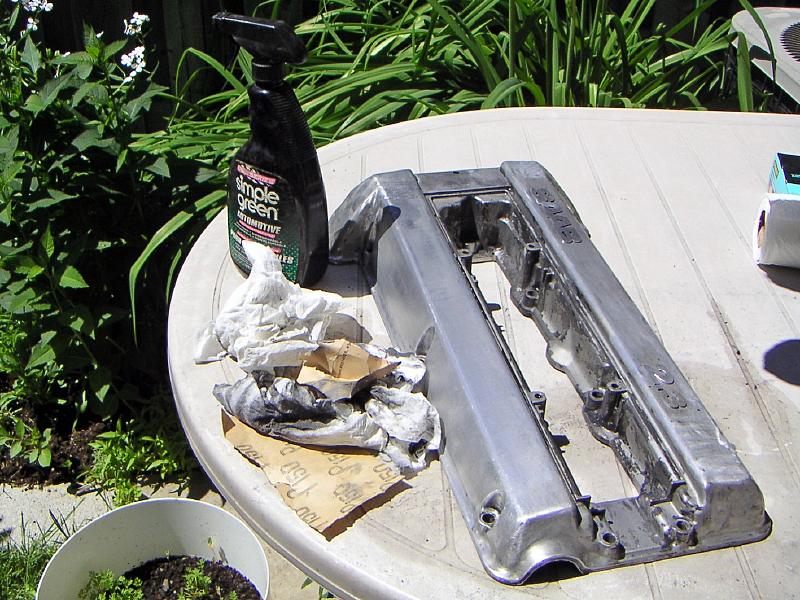 |
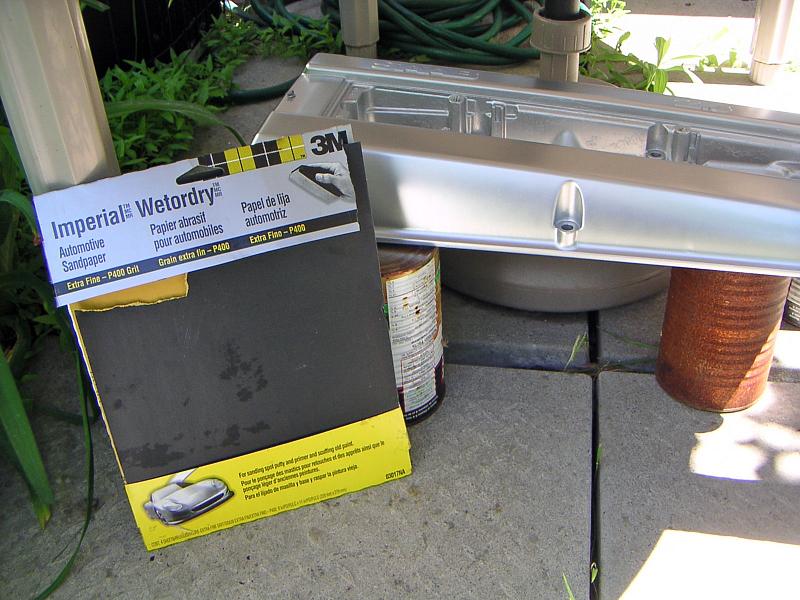
| 10.06.2006: Sanded |
|
After degreasing and much sanding. Use wet-sanding if you want to
eliminate the dust.
|
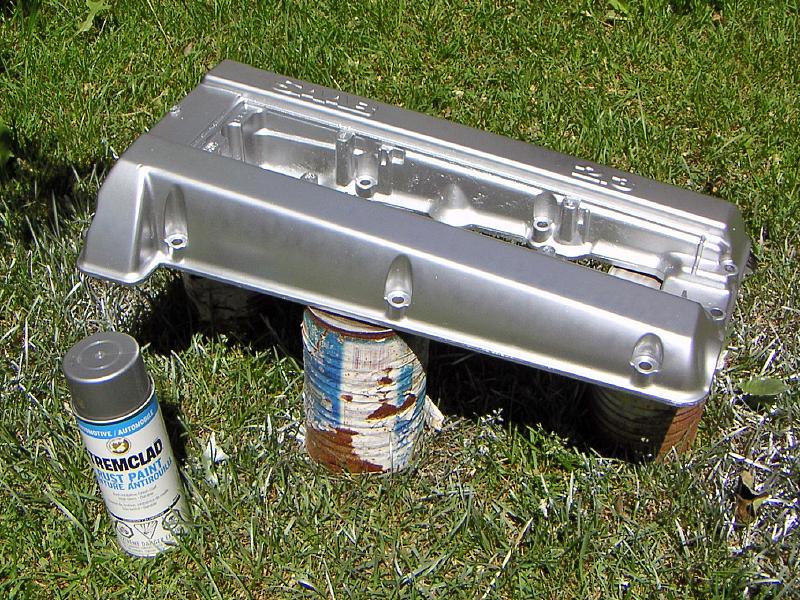 |
| 10.06.2006: Painting |
|
The cover gets painted with Tremclad enamel known for its strength
and durability.
|
 |
| 10.06.2006: Drying |
|
Drying in the shade under the patio table. The final finish took several
coats of paint with some fine wet sanding in between.
|
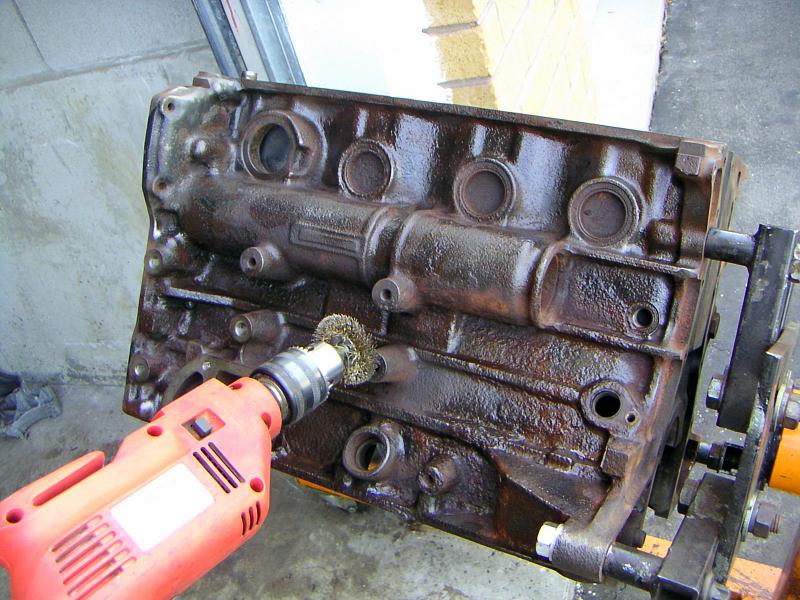 |
| 10.06.2006: Rust removal |
|
A wire wheel is great for removing loose rust from the engine block.
|
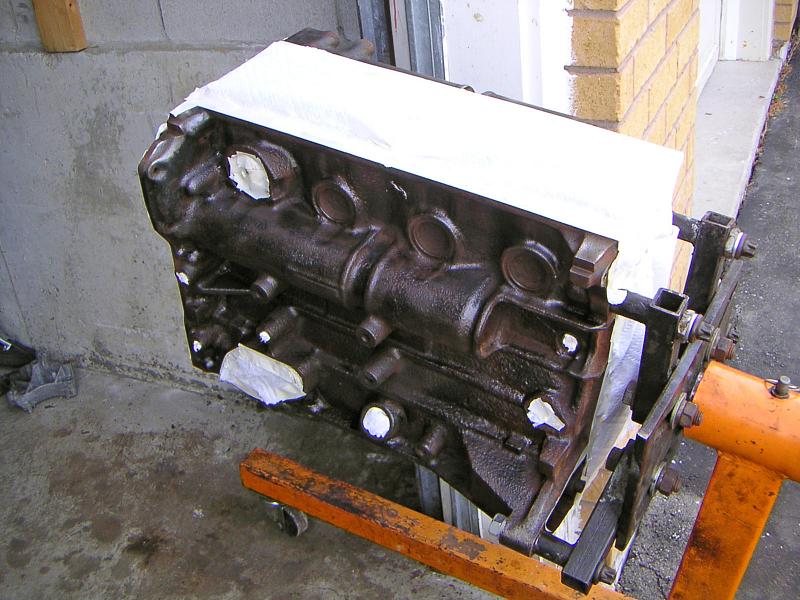 |
| 10.06.2006: Masked |
|
All important surfaces masked, holes plugged, and a coat of rust converter
applied.
|
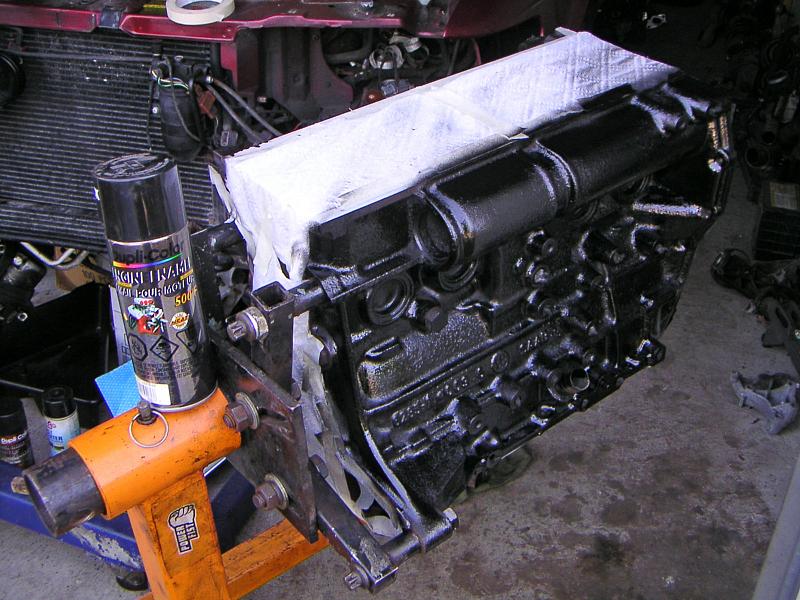 |
| 10.06.2006: Painted |
|
The block is painted with heat resistant ceramic-based engine enamel.
|
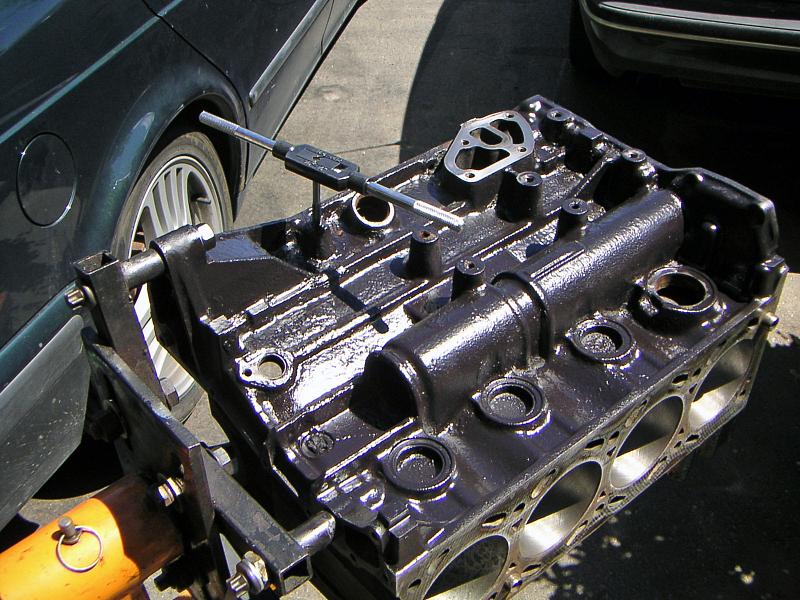 |
| 10.06.2006: Threads and flanges |
|
The final step is to refresh the threads and polish the mating surfaces.
|
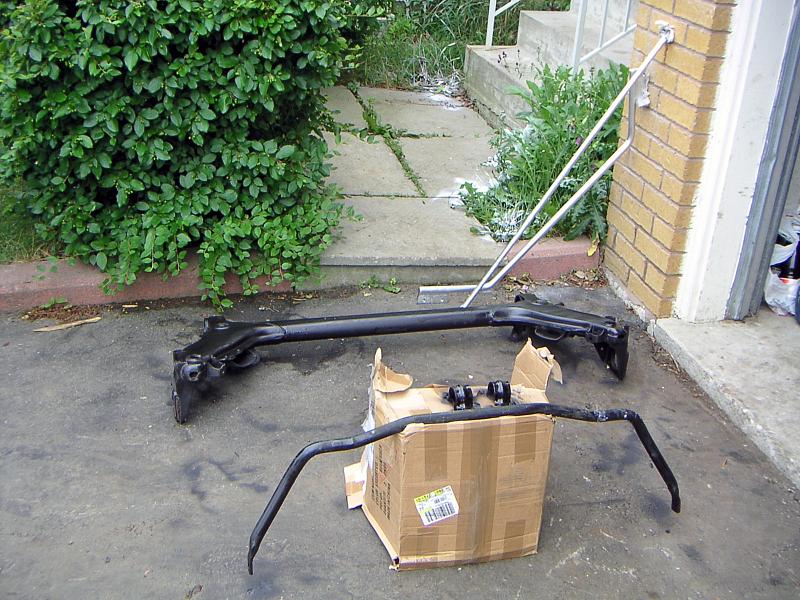 |
| 02.07.2006: Suspension parts |
|
Rear axle and three anti-roll bars drying.
|


