 |
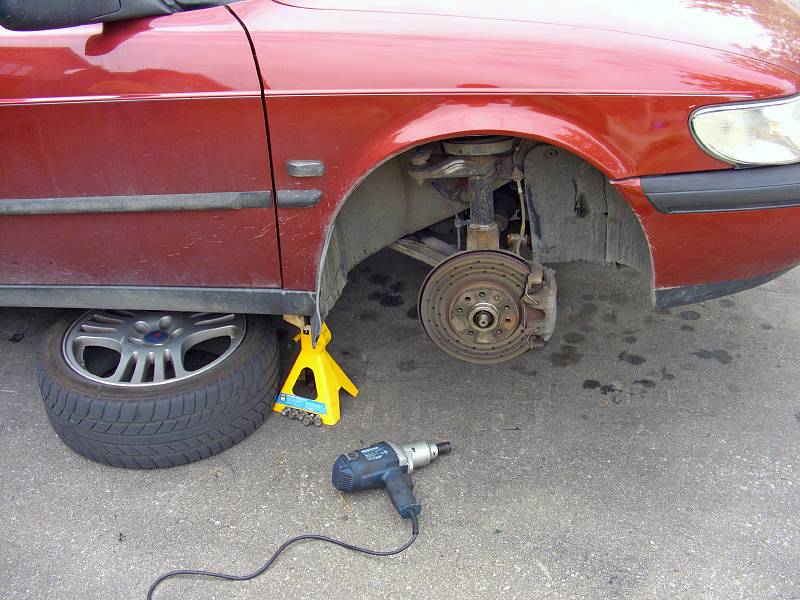
| 09.08.2007: Wheel off |
|
Raise the car and secure it on jack stands. Take off the front wheel.
|
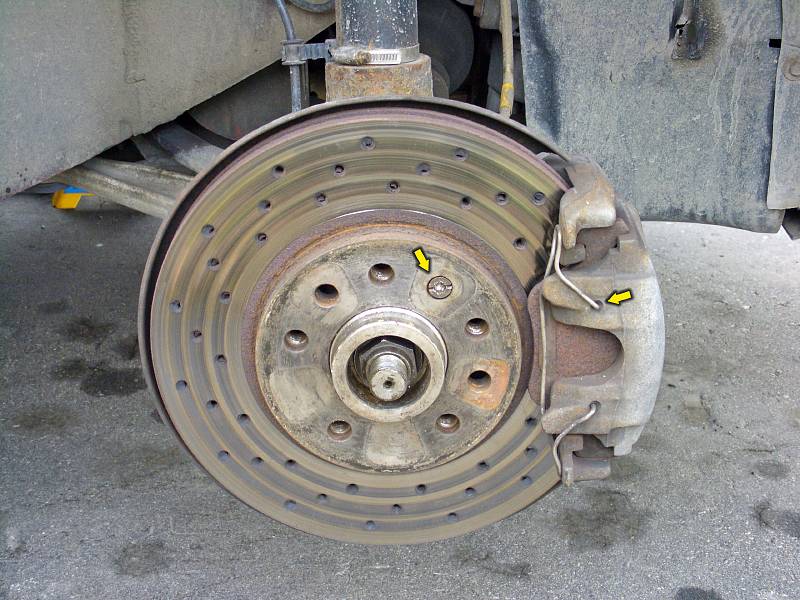 |
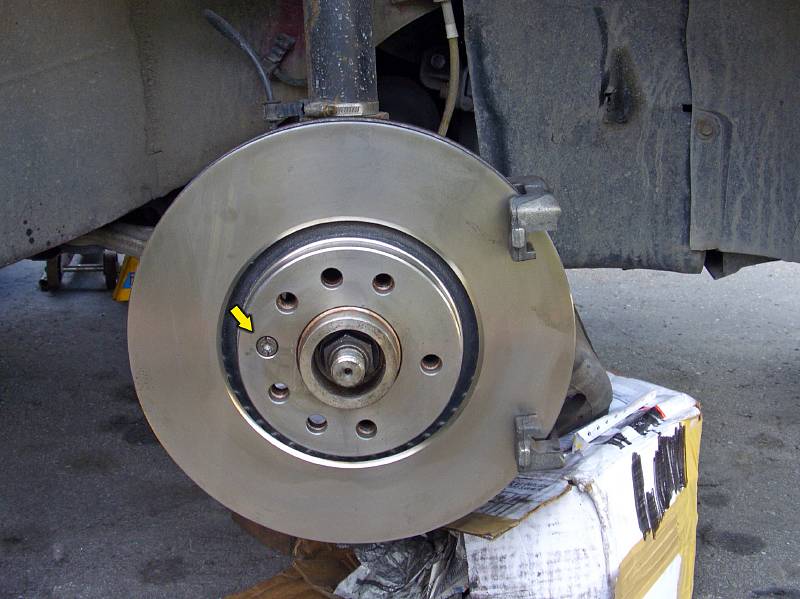
| 09.08.2007: Index screw and spring |
|
Remove the caliper retaining spring and undo the rotor index screw.
If the screw is stuck, you might have to resort to
more serious measures.
|
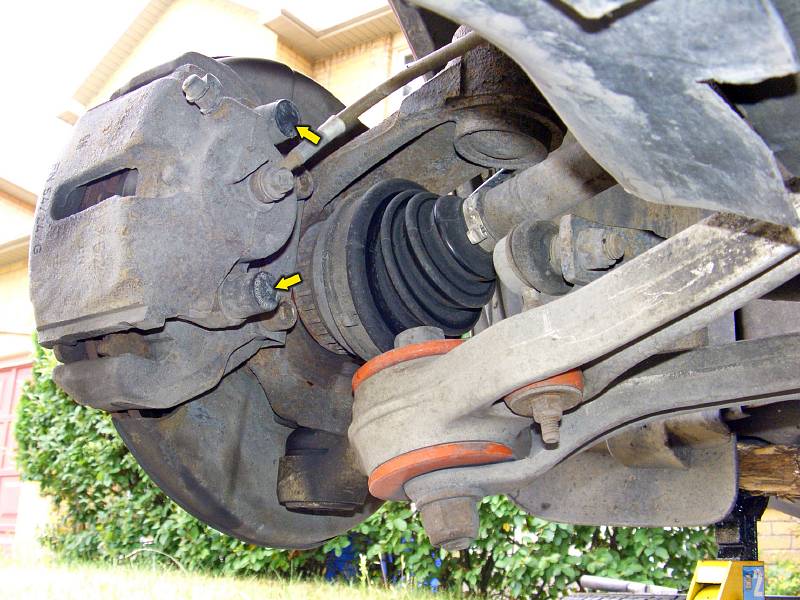 |
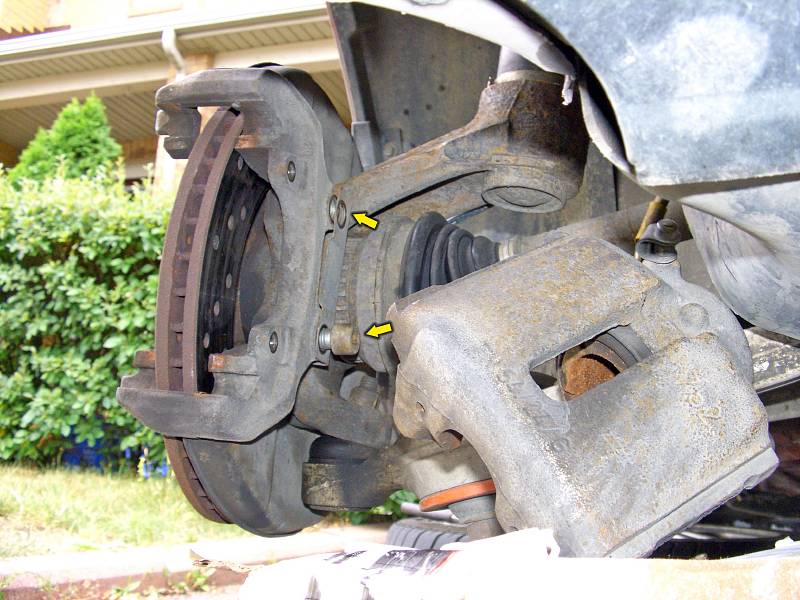
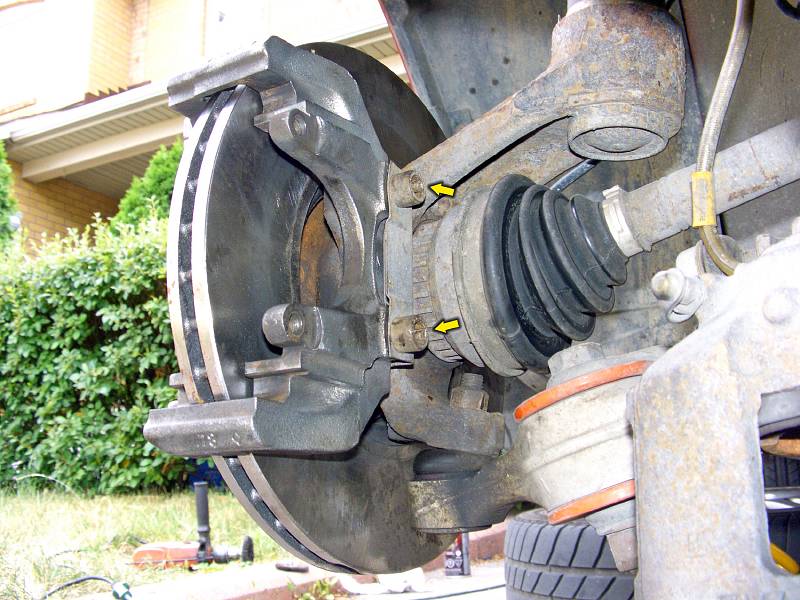
| 09.08.2007: Guide pins |
|
Take the plastic caps off the guide pins and unscrew the pins using a 7 mm
Allen wrench.
|
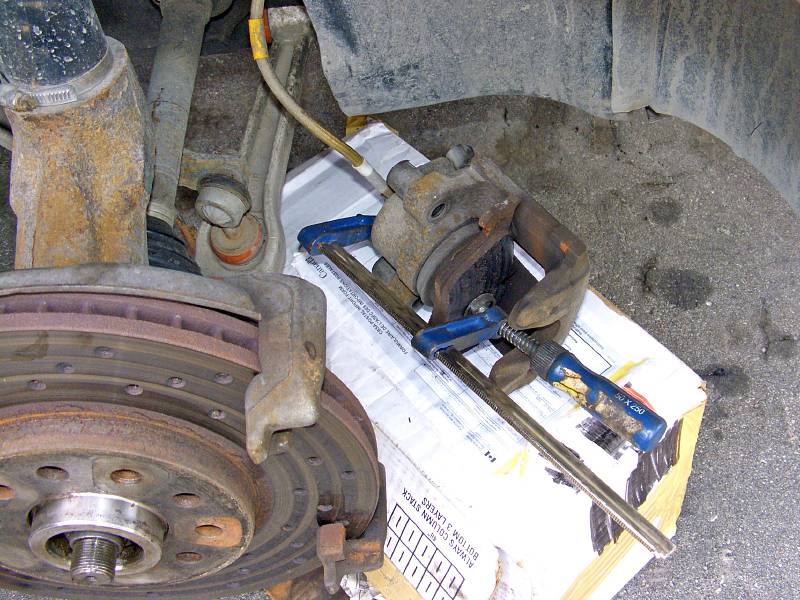 |
| 09.08.2007: C-clamp |
|
Suspend the caliper to prevent the strain on the brake line.
Use a C-clamp to slowly push the piston back into the caliper.
It's easier to do while the old pad is still in.
|
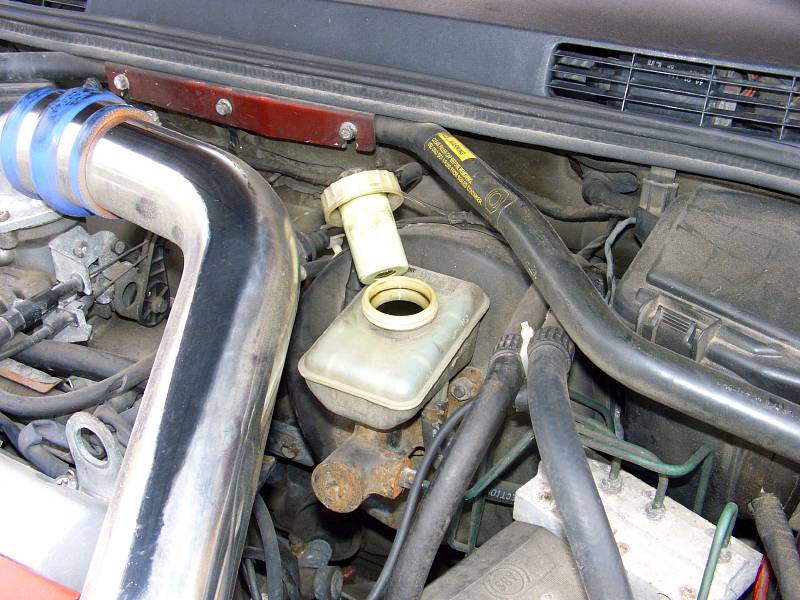 |
| 09.08.2007: Fluid level |
|
While compressing the piston, watch the brake fluid level - it will go up
and may overflow. You might need to extract some before you put the cap
back on.
|
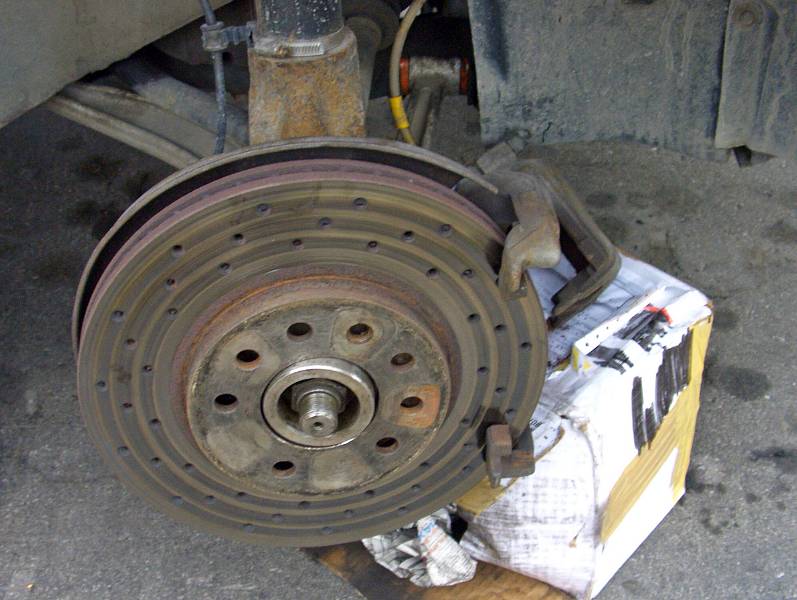 |
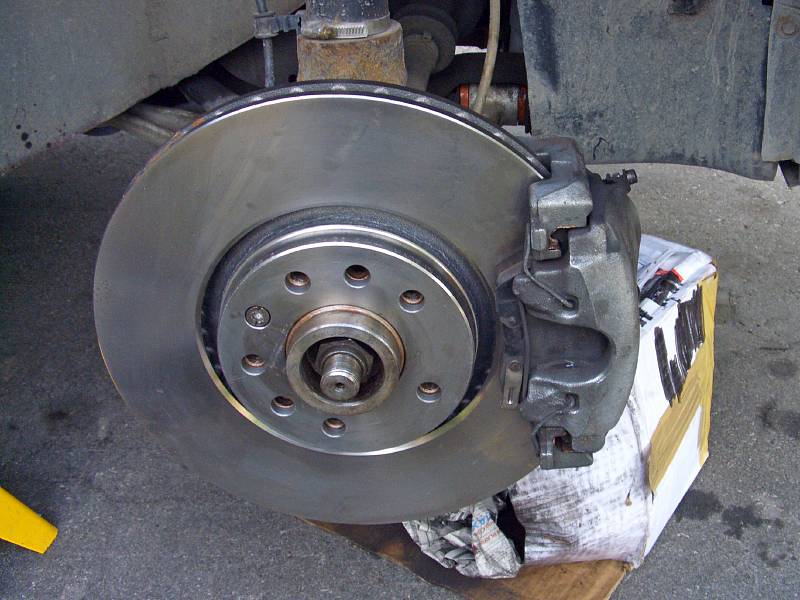
| 09.08.2007: Rotor |
|
The rotor should be ready to come off, with only the bracket preventing
its removal. If the rotor is rusted to the hub, hit it with a mallet
from behind until it comes loose.
|
 |
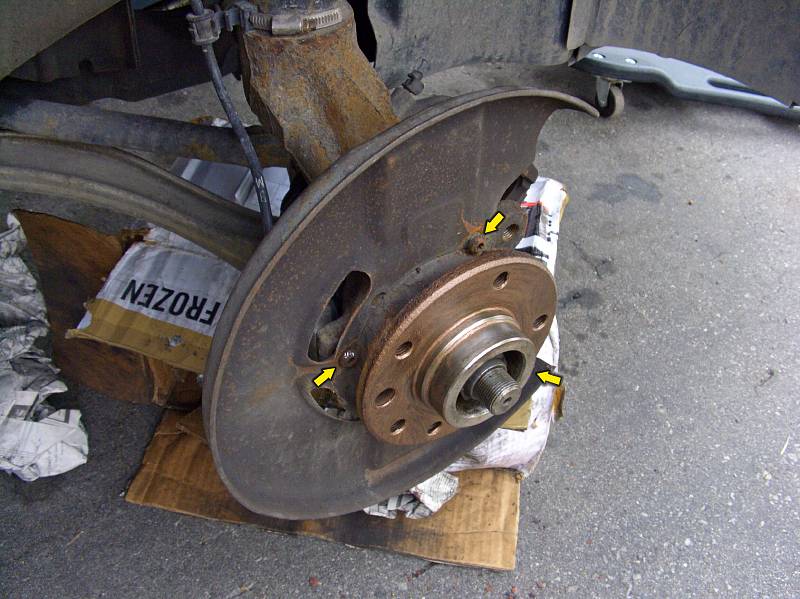
| 09.08.2007: Caliper brackets |
|
Undo two caliper bracket bolts - 18 mm wrench on 1999-2001 9-5,
Torx E20 on 2002+ 9-5, 10 mm Allen on NG900 or 9-3.
|
 |
| 09.08.2007: Dust shield |
|
The dust shields on older cars are too small for the bigger rotors.
You can either buy new ones, or bend (cut) the rim outward, or simply
remove them. The latter is cheaper and easier than anything else, and
you get better brake cooling as a bonus.
|
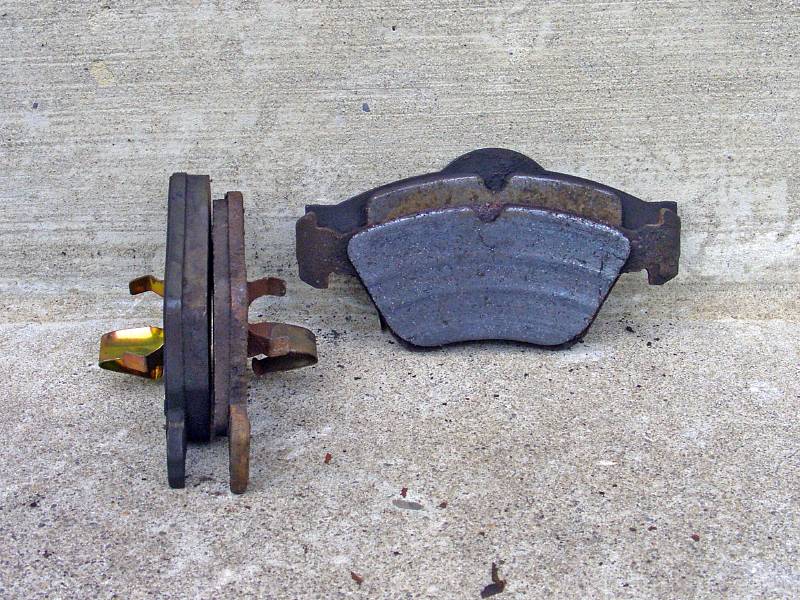 |
| 09.08.2007: Pads |
|
New style pads are noticeably taller, which results in larger surface
area. If your used calipers come with OEM pads that have a good portion of
material left, you might as well use them while they last. A new set of
pads will always be better though.
|
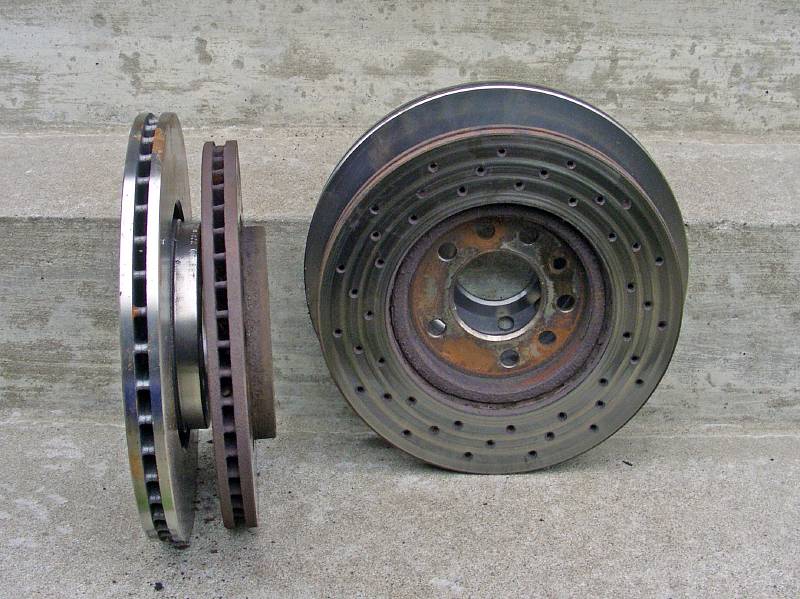 |
| 09.08.2007: Rotors |
|
A new 308 mm Aero rotor next to an old 284 mm version. A whole extra inch
of size offers more leverage for stopping power.
|
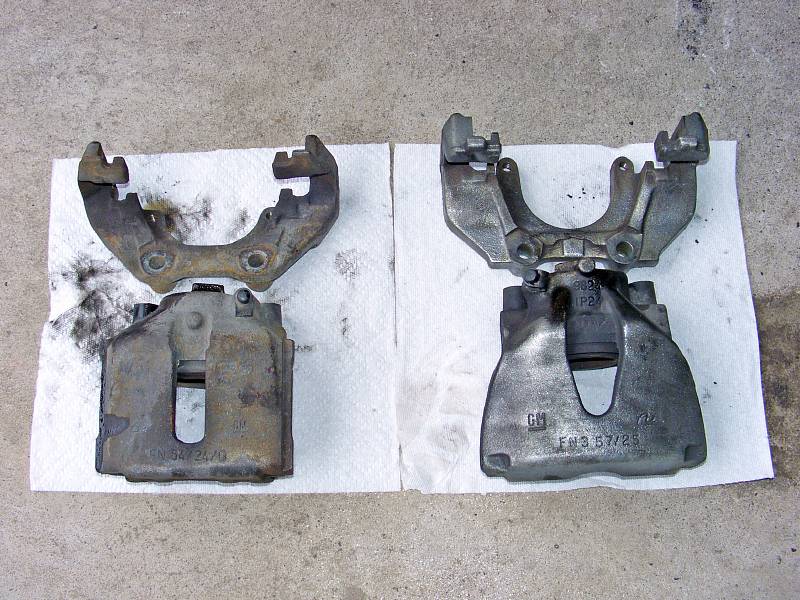 |
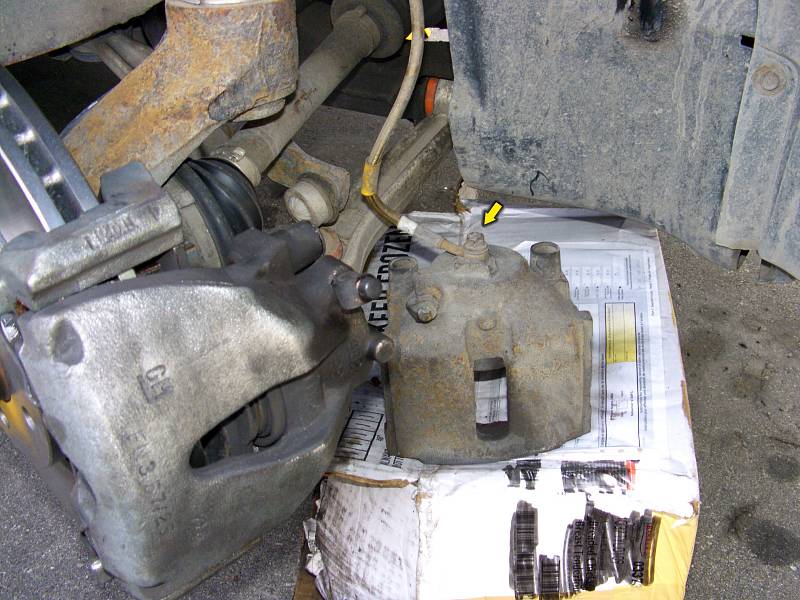
| 09.08.2007: Calipers |
|
The calipers have a similar design, but the Aero version (on the right)
appears to have a beefier bracket.
|
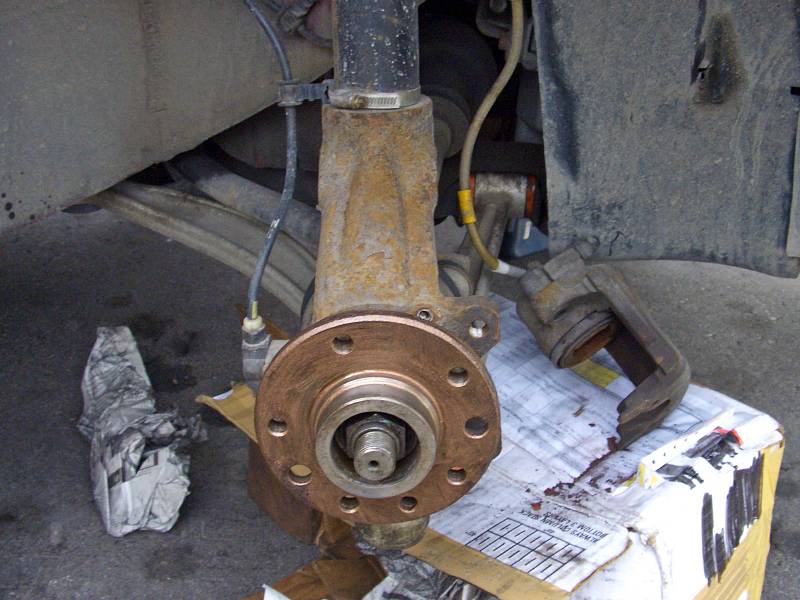 |
| 09.08.2007: Hub |
|
Ready for installation - the dust shield is removed, the hub is wirebrushed
and coated with anti-seize.
|
 |
| 09.08.2007: New rotor |
|
Install the new rotor. Put the index screw on anti-seize and
don't tighten it too hard if you don't want to fight it the
next time you're doing your brakes.
|
 |
| 09.08.2007: Caliper bolts |
|
Install the caliper support bracket. Apply some Loctite on the bolts and
tighten them to 86 ft-lbs. Lubricate the pad sliding grooves with
anti-seize to ensure smooth operation.
|
 |
| 09.08.2007: Caliper |
|
Put the new pads in and slide the caliper on. Clean and lubricate the
guide pins before inserting them.
Tighten to 20 ft-lbs, fit the caps. Install the retaining spring.
|
 |
| 09.08.2007: Brake line |
|
Undo the banjo on the old caliper and detach the brake line. Quickly
move the line to the new caliper to minimize the fluid loss.
|
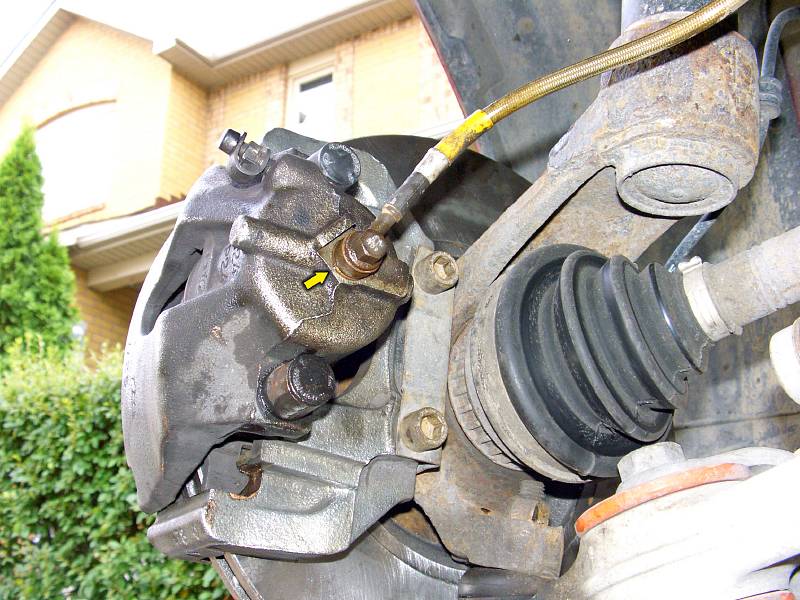 |
| 09.08.2007: Banjo bolt |
|
Tighten the banjo on the new caliper. Use new copper washers if possible.
Make sure the line orientation is correct, there are no twists or sharp
bends.
|
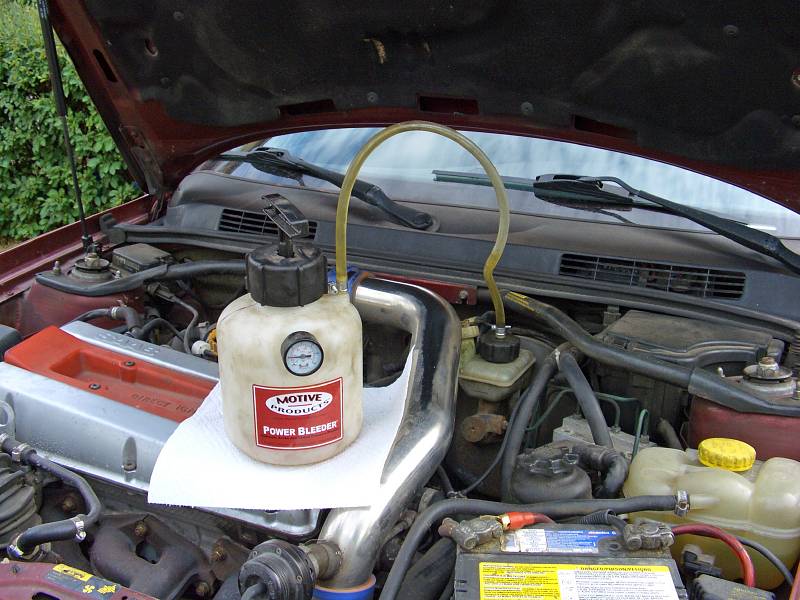 |
| 09.08.2007: Pressure bleeder |
|
Attach the bleeder to the brake reservoir and fill it with fresh fluid.
|
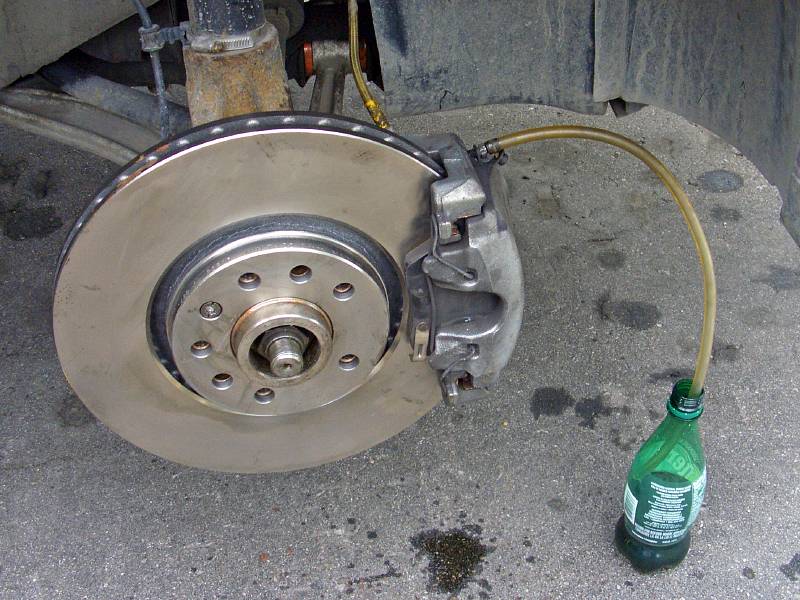 |
| 09.08.2007: Bleeding |
|
Open the nipple on the caliper and bleed it until all the air bubbles come
out, and you see the fresh fluid flowing. Bleed the left side first,
then the right side.
|
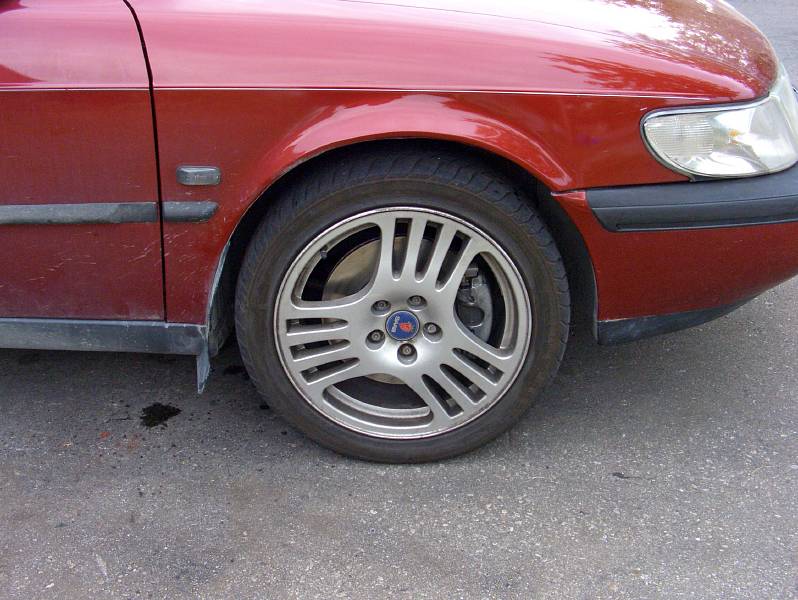 |
| 09.08.2007: Installed |
|
Tighten wheel bolts to 81 ft-lbs and lower the car to the ground. Keep
in mind that you cannot fit the wheels smaller than 16" anymore.
|


