 |
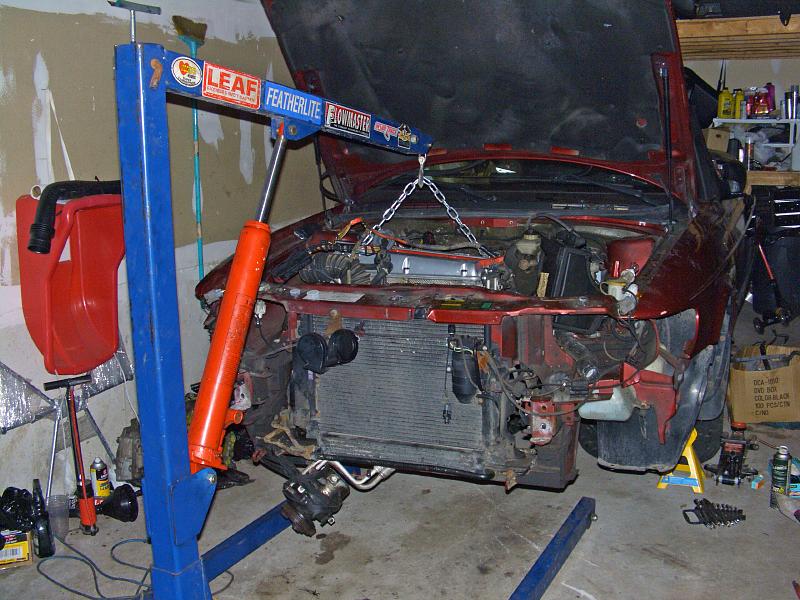
| 10.07.2006: Lowering |
|
Carefully lower the engine into the engine bay. Make sure it clears
everything sticking out on its way down.
|
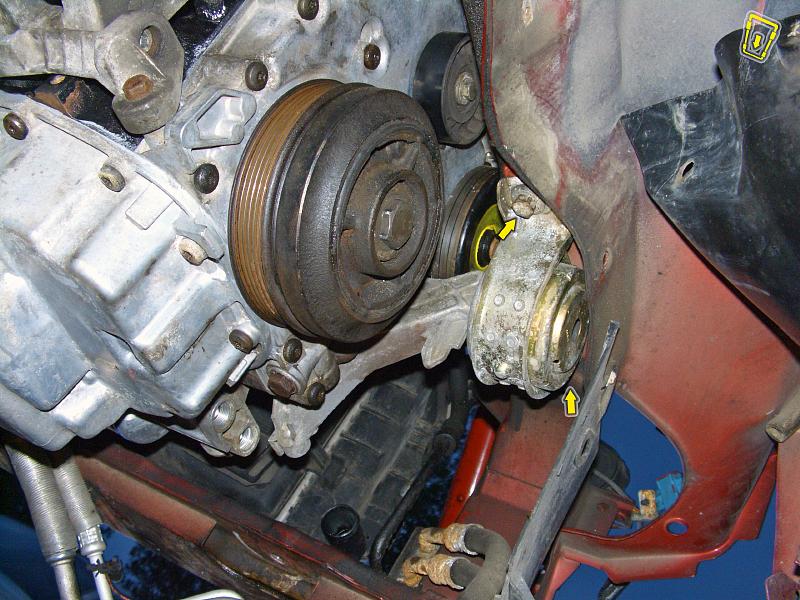 |
| 10.07.2006: Engine mount |
|
Align the engine so the passenger side mount can be attached to the body
and tighten the bolts to 54 ft-lbs.
|
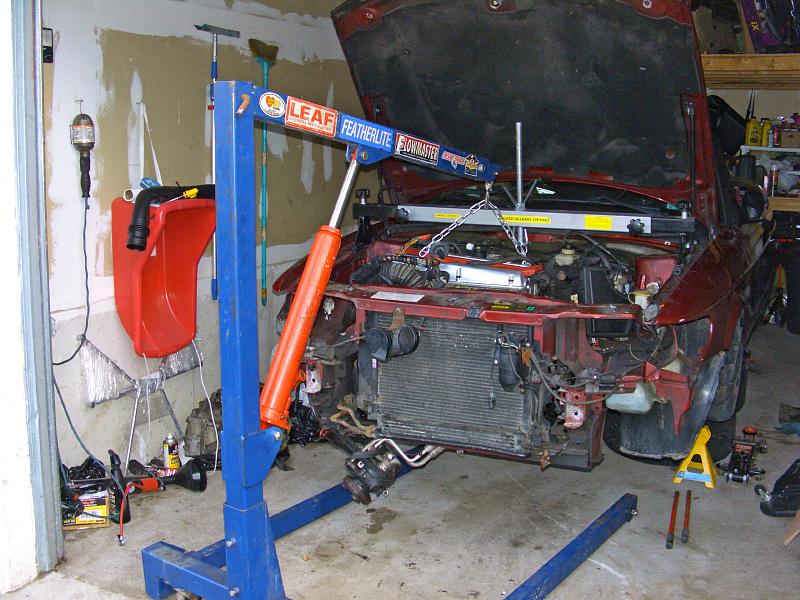 |
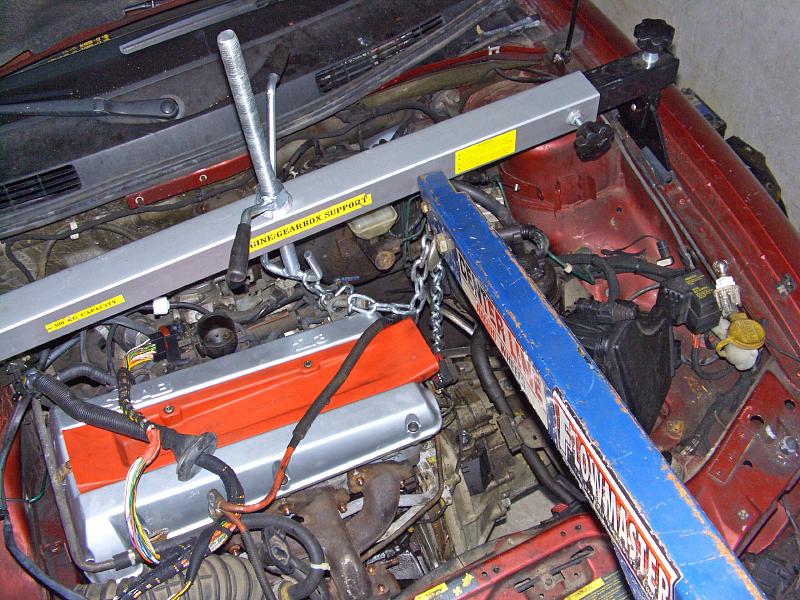
| 10.07.2006: Support bar |
|
Install the support bar across the fenders and take the weight off the
crane. The engine will now rest on the passenger side mount and the
support bar.
|
 |
| 10.07.2006: Transmission |
|
Now is the good time to
install the transmission.
It can be done at a later stage, but it's easier without having coolant
hoses and wires in the way. It also allows to install the subframe right
away and get rid of the support bar.
|
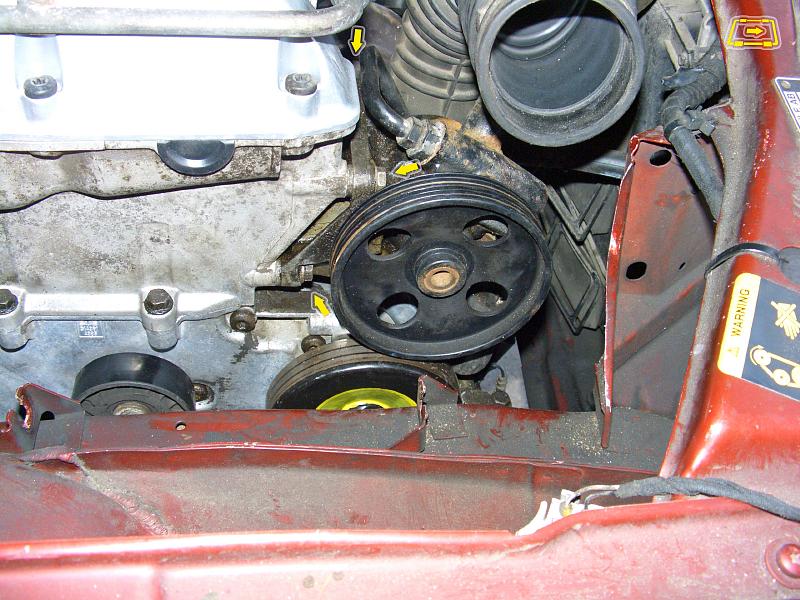 |
| 10.07.2006: Steering pump |
|
Attach the steering pump with three 13 mm bolts. The bolt location is rather
awkward, and in most cases there's only enough room for a 1/6 or even 1/12
turn of a spanner at a time.
|
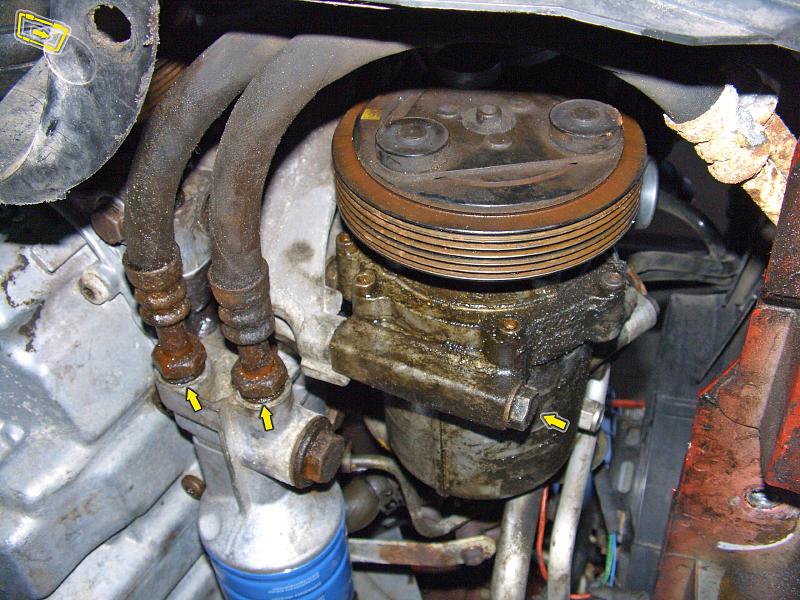 |
| 10.07.2006: A/C compressor |
|
Bolt the A/C compressor to the engine (three long 16 mm bolts). Plug
the A/C clutch wire into its connector on the radiator. Attach oil cooler
lines to the oil filter housing (22 mm wrench).
|
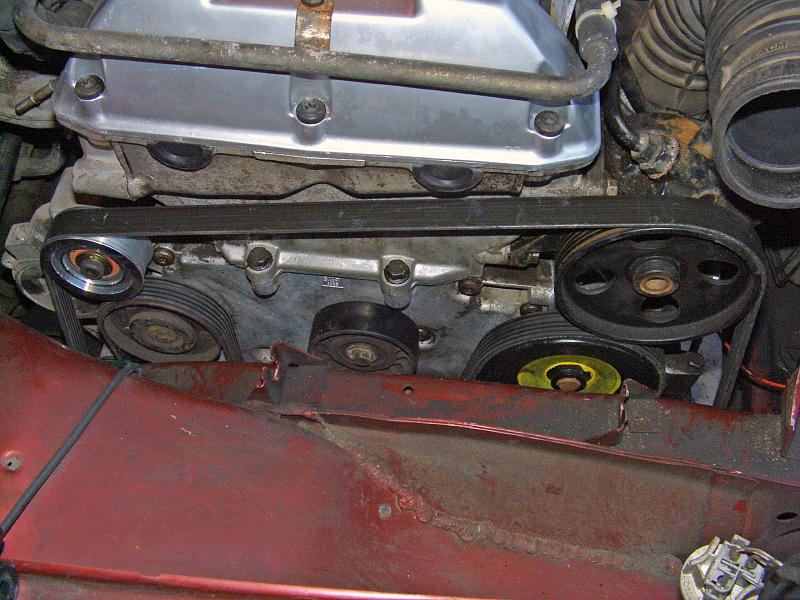 |
| 10.07.2006: Belt |
|
Lock the tensioner using a long ½" extension and a 2 mm pin
and fit the accessory belt. The picture shows a short belt configuration
with the middle idler pulley bypassed.
|
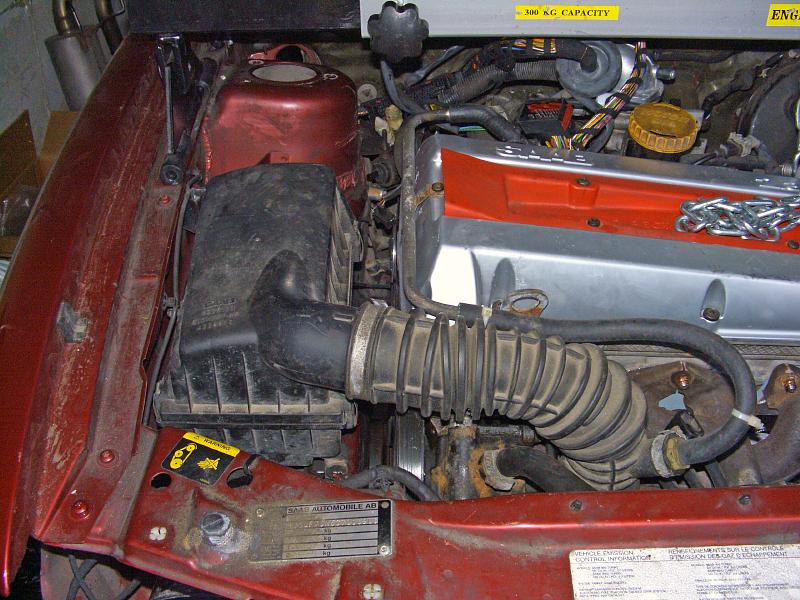 |
| 10.07.2006: Airbox |
|
Install the airbox and connect the ribbed hose to the turbo inlet pipe.
|
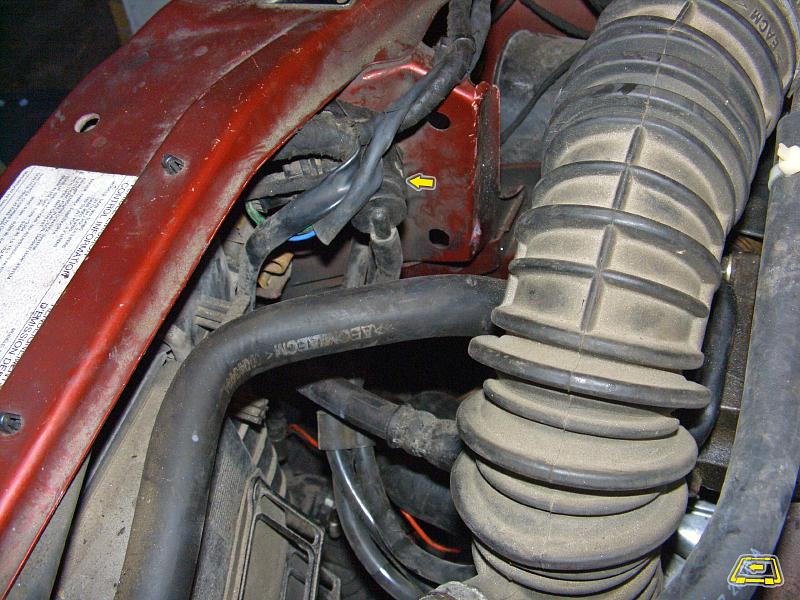 |
| 10.07.2006: BPC |
|
Attach the boost pressure control valve to its proper location (two T25
screws) and route the cable around the airbox.
|
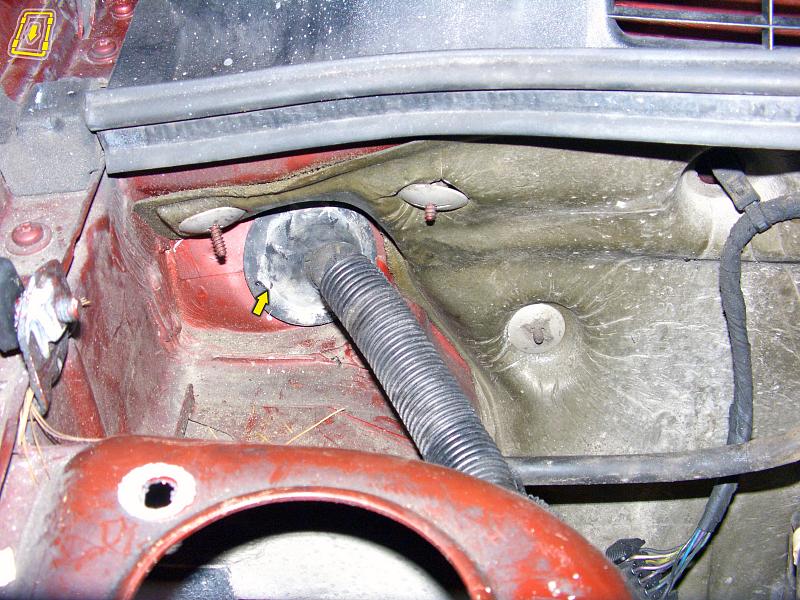 |
| 10.07.2006: ECU harness |
|
Feed the ECU harness back through the hole in the firewall and plug it
with the rubber grommet.
|
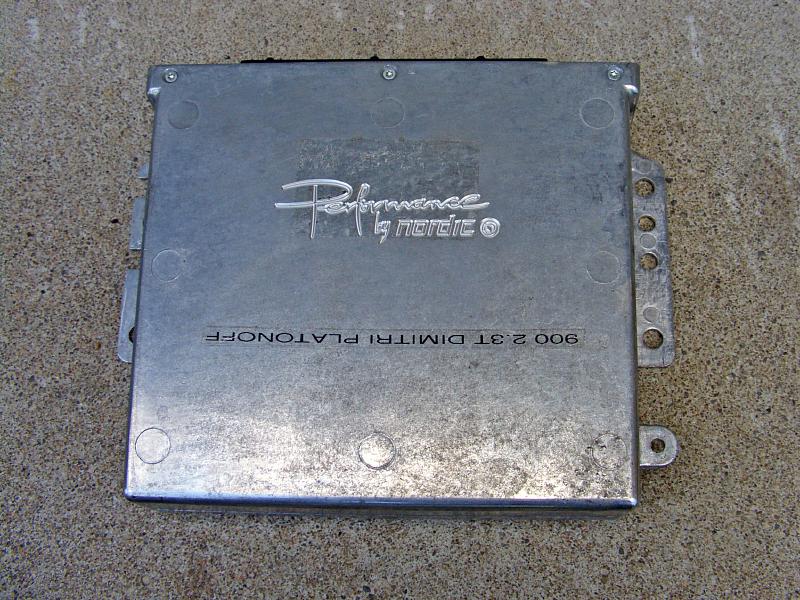 |
| 10.07.2006: ECU |
|
Here's a custom Nordic stage4 ECU I'm using with my freshly built 2.3L
engine.
|
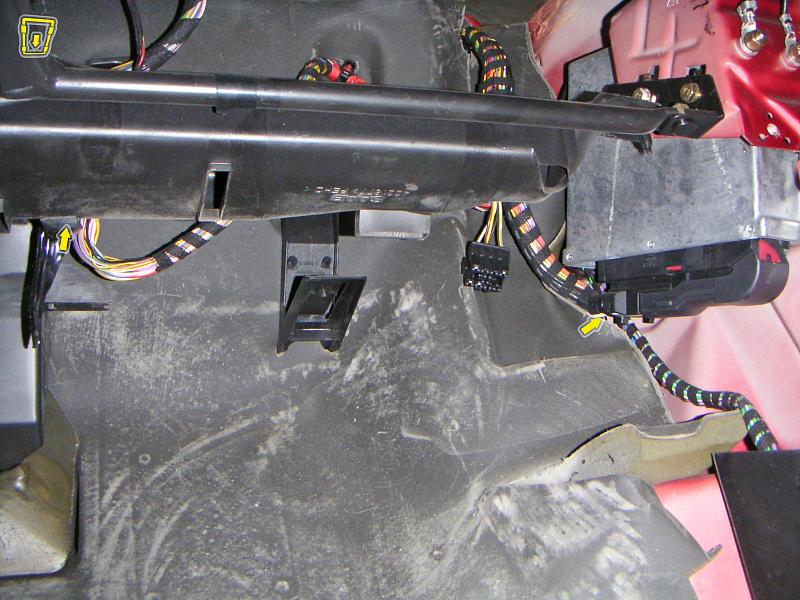 |
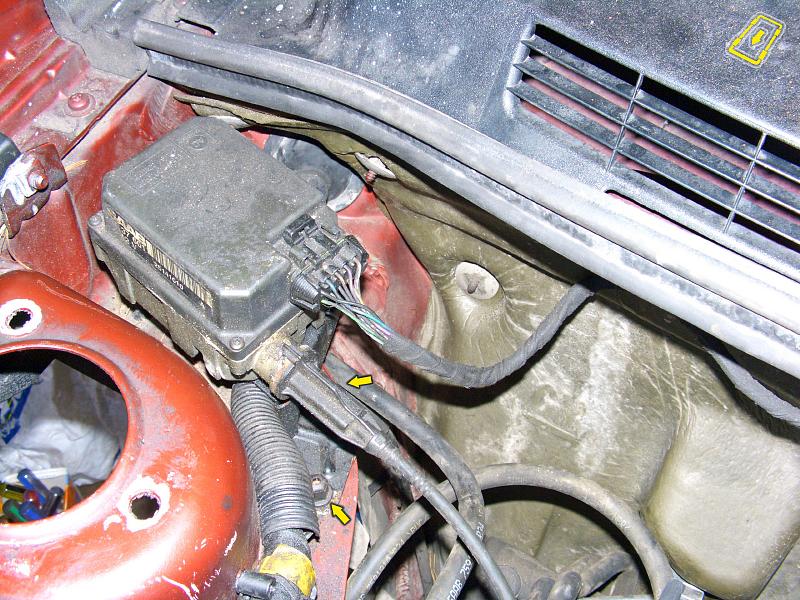
| 10.07.2006: ECU harness |
|
Install the ECU (if you had it removed) and connect the wiring harnesses.
|
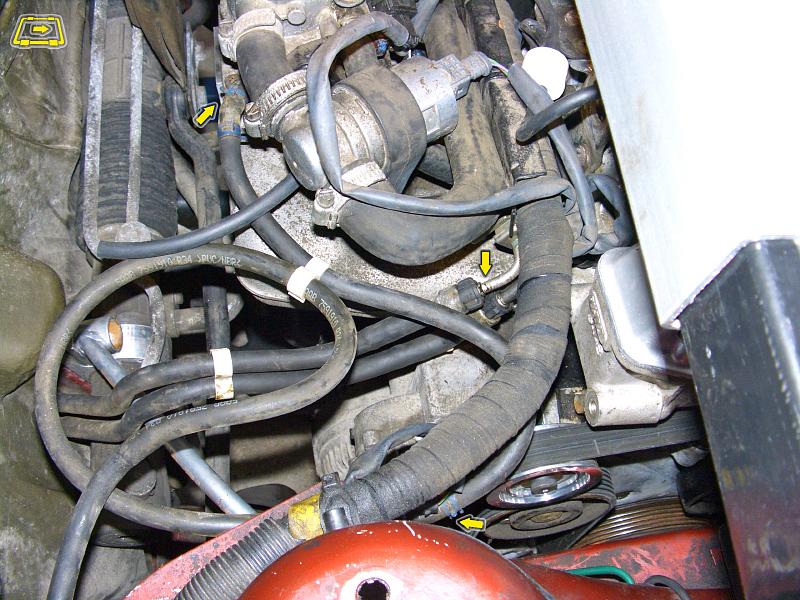 |
| 10.07.2006: Fuel lines |
|
Re-connect the fuel lines, the fuel tank vent line to the throttle body
and the EVAP valve harness.
|
 |
| 10.07.2006: Cruise control |
|
Install the cruise control unit (two plastic 10 mm nuts).
|
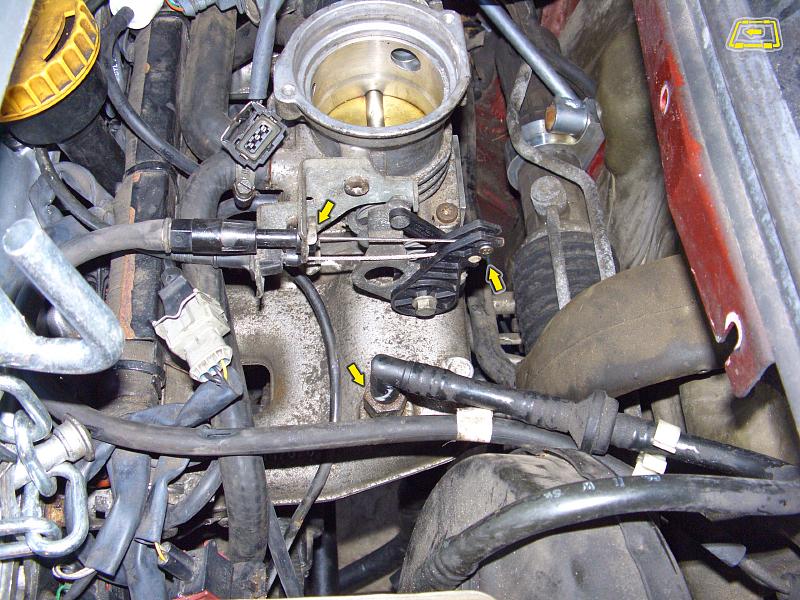 |
| 10.07.2006: Throttle cable |
|
Attach the cruise control and accelerator cables to the arm on the throttle
body. Bolt on the brake booster vacuum line.
|
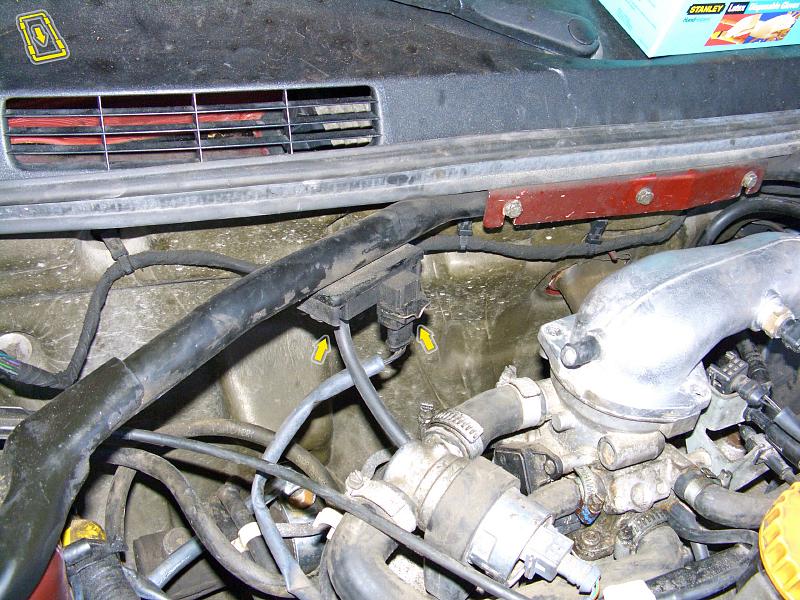 |
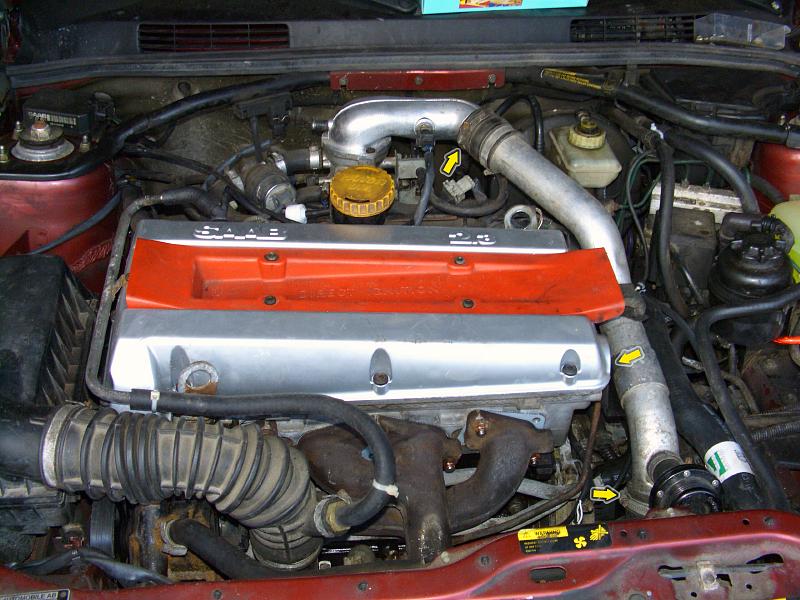
| 10.07.2006: MAP |
|
Connect the vacuum hose and the cable to the manifold pressure sensor
(this picture shows the strut bar installed already).
|
 |
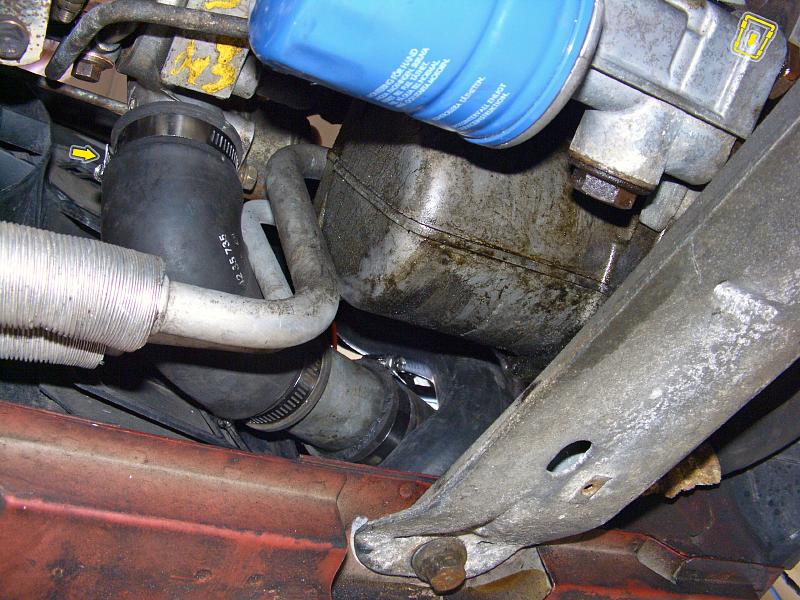
| 10.07.2006: Lower rad hose |
|
Install the lower radiator hose. I'm using a newer style nose here,
since it needs to clear the turbo hose to the cross-flow intercooler.
|
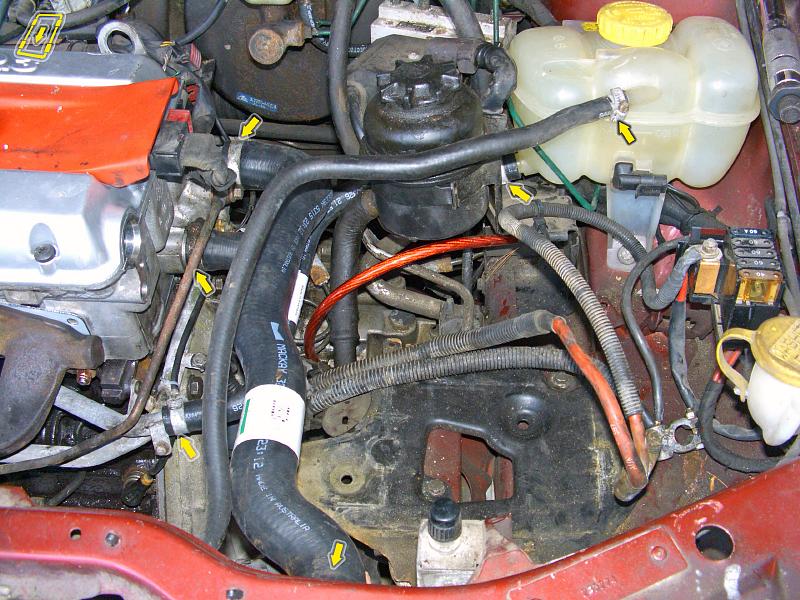 |
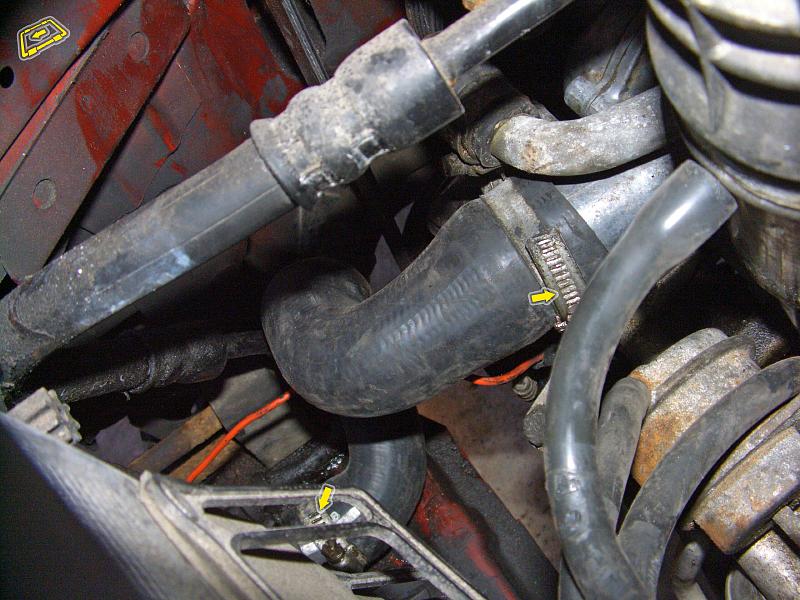
| 10.07.2006: Radiator hoses |
|
Attach the remaining coolant hoses: two heater core hoses, upper radiator
hose, upper and lower expansion tank hoses.
|
 |
| 10.07.2006: Intercooler hose |
|
Connect the intercooler inlet hose to the compressor housing on the turbo.
Tighten the clamps well.
|
 |
| 10.07.2006: Delivery pipe |
|
Install the delivery pipe from the intercooler to the throttle body.
Tighten the 13 mm bolt that holds it to the engine head.
|
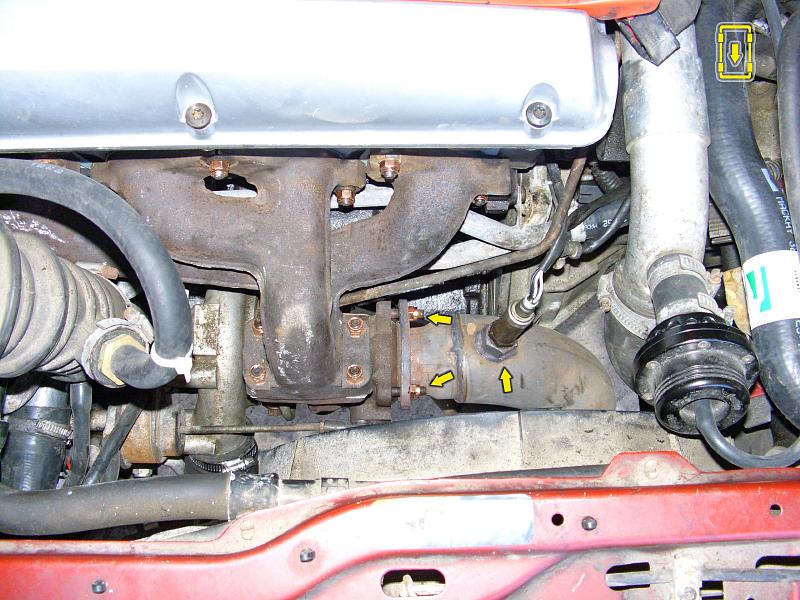 |
| 10.07.2006: Downpipe |
|
Bolt the downpipe to the turbo and screw in the O2 sensor (or both if you
have an OBD II car).
|
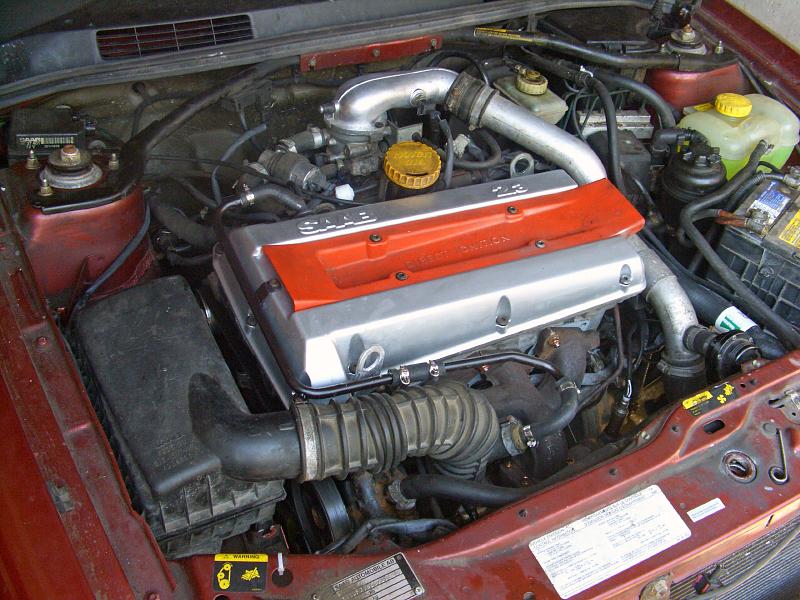 |
| 10.07.2006: Finished |
|
Complete the
transmission-related
steps, fill the fluids and install the battery.
|


