 |
| 18.12.2004: Rear bolts |
|
Move the seat forward as much as possible and undo the rear bolts (Torx T40).
|
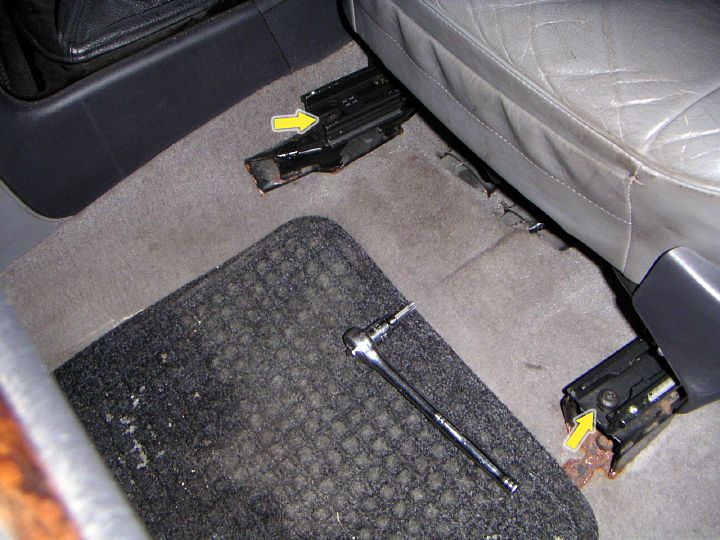 |
| 18.12.2004: Front bolts |
|
Move the seat back and undo the front bolts. Be careful as the seat
may fall backwards at this point.
|
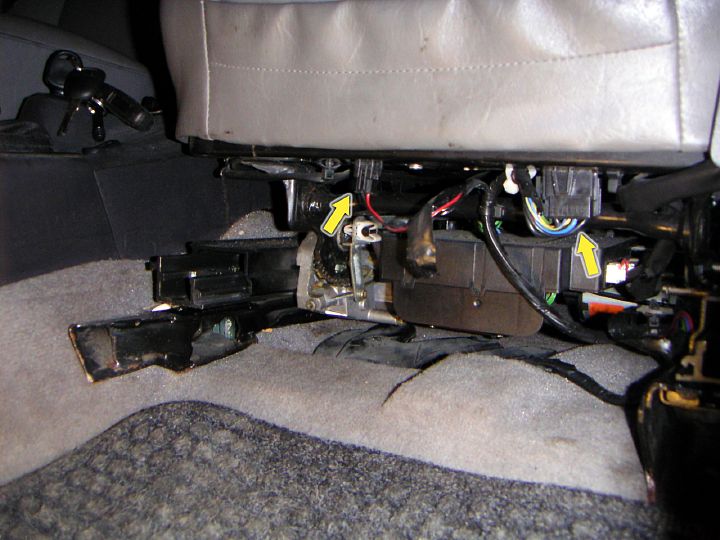 |
| 18.12.2004: Connectors |
|
Unplug the connectors and cut the zip tie securing the cable. You can lift
the seat now. The only thing that still ties it to the car is the seatbelt.
|
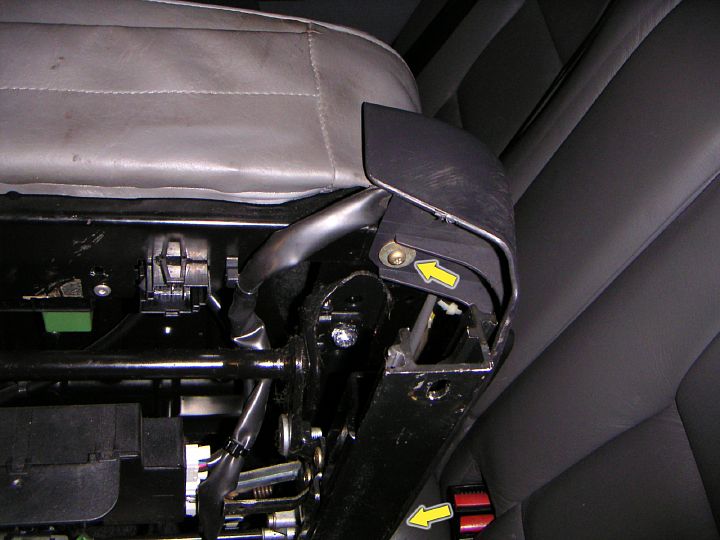 |
| 18.12.2004: Cowl front |
|
Remove the screws in front of the cowl and in the middle (Torx T27).
The clearance is tight, you need a long screwdriver, but it won't
fit straight.
|
 |
| 18.12.2004: Cowl rear |
|
The last screw in the rear. The cowl removal is not really necessary, but
it gives you a detailed view of the seatbelt attachment. You can clearly
see the torn part of my seat cover here.
|
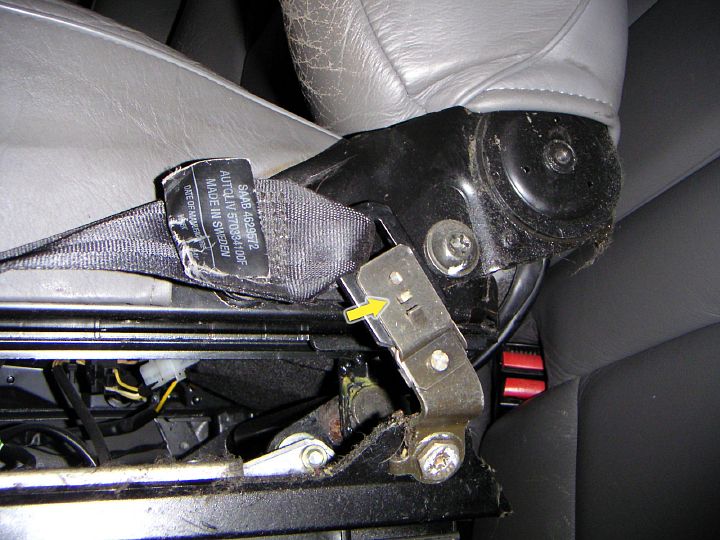 |
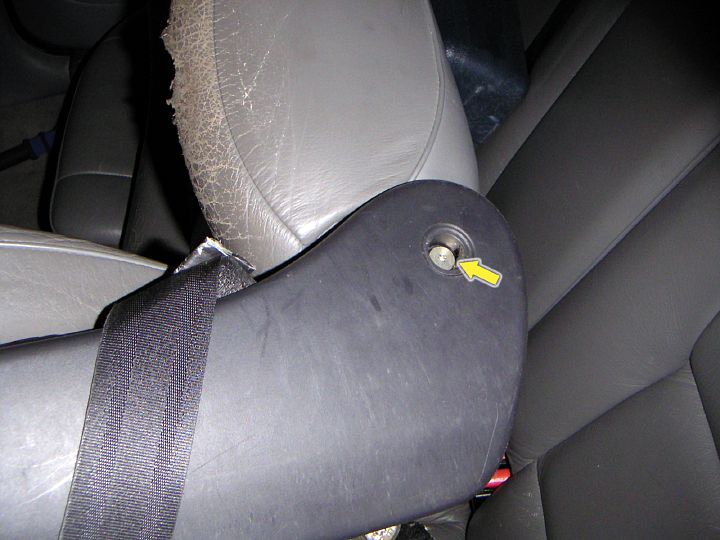
| 18.12.2004: Seatbelt |
|
Press the tab in the middle and unhook the belt. You can normally reach
this tab with a long flat screwdriver without removing the cowl. The seat
is free now.
|


