 |
| 03.05.2009: Battery |
|
Undo the nuts on the battery clamps and disconnect the leads.
Remove the bracket on the side and lift the battery.
|
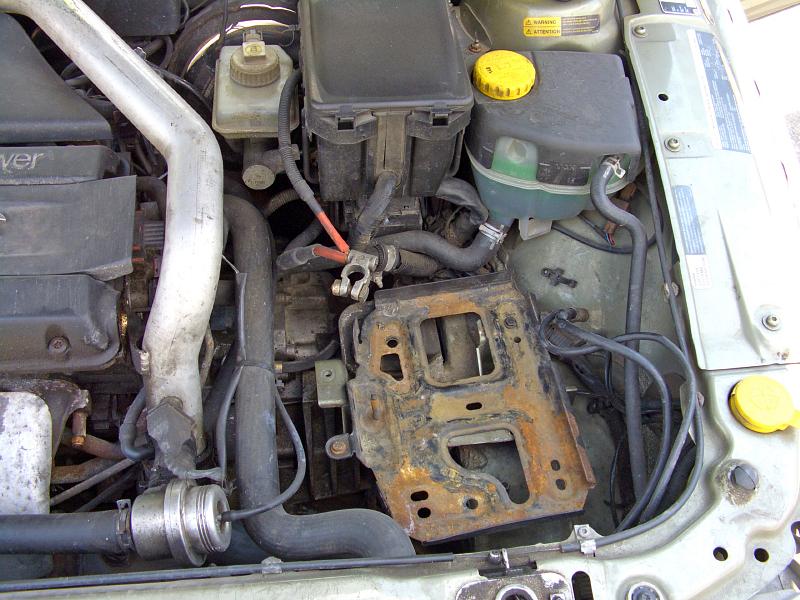 |
| 03.05.2009: Battery support |
|
Unscrew the battery support. It's usually held by 2 to 4 small bolts
(10 mm), and could be mounted straight or sideways.
|
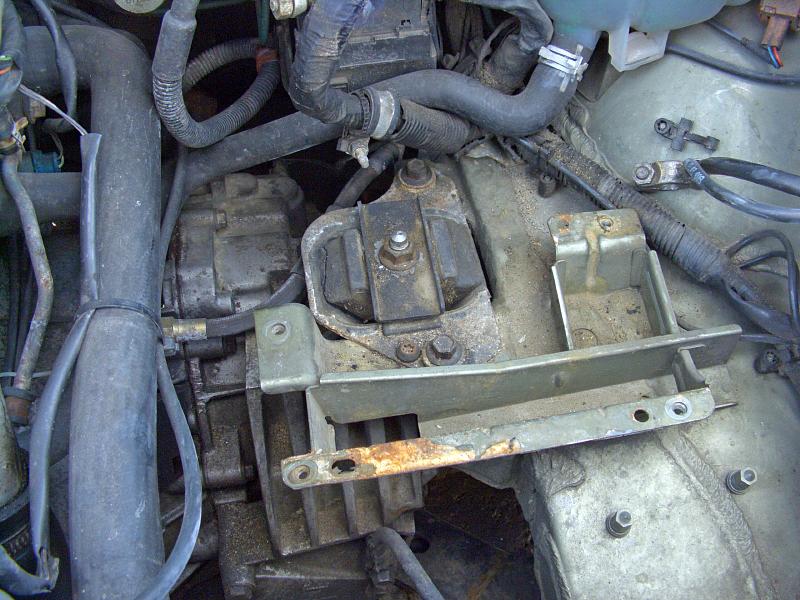 |
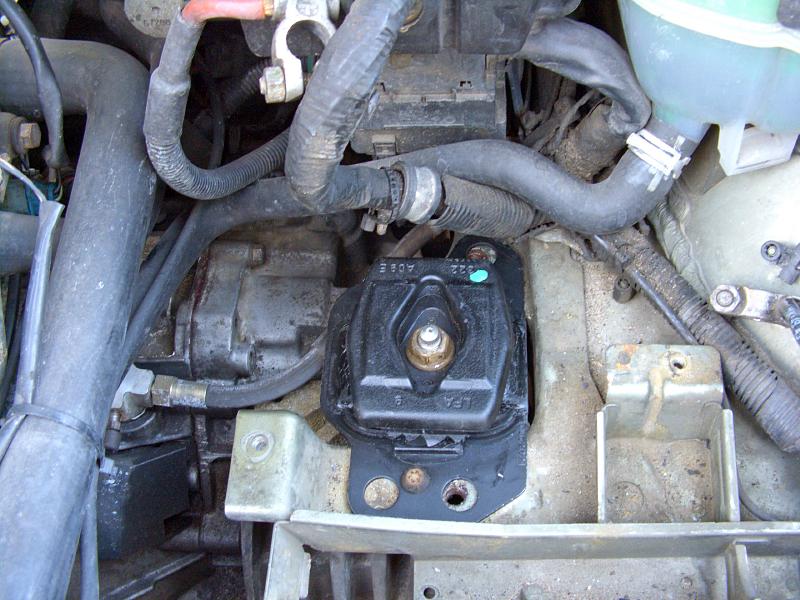
| 03.05.2009: Mount |
|
The mount is right under the battery, held by a couple of bolts.
|
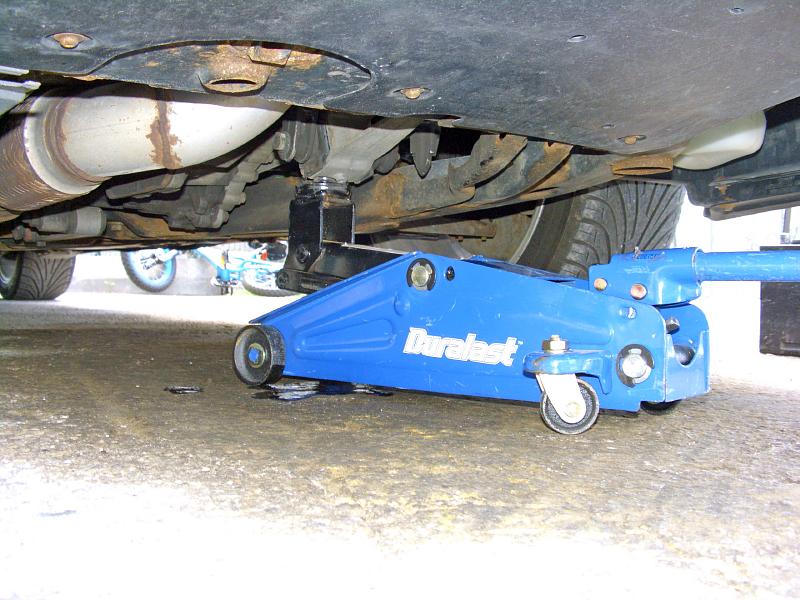 |
| 03.05.2009: Jack |
|
Before removing the mount, support the gearbox from below using a jack.
|
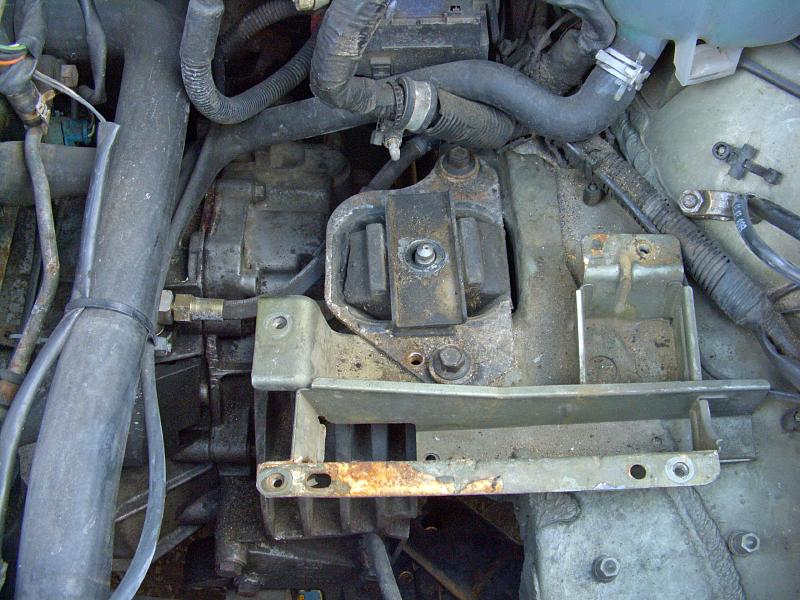 |
| 03.05.2009: Centre nut |
|
Undo the big nut in the middle. The engine might sag some more, make sure
the jack is holding up. Remove the Torx index screw.
|
 |
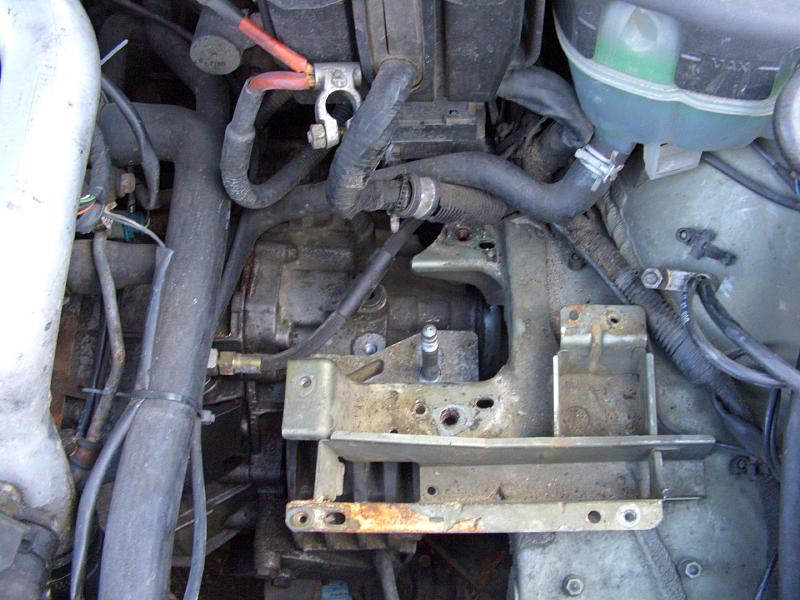
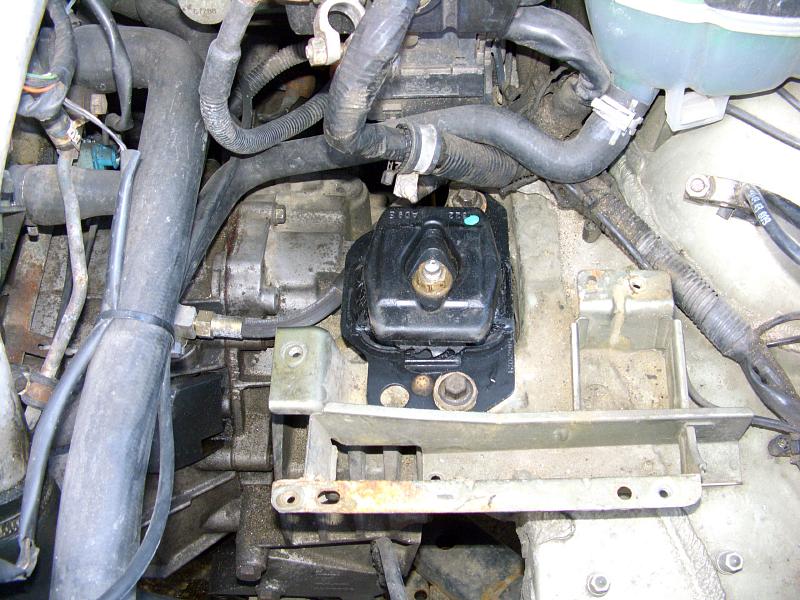
| 03.05.2009: Mount bolts |
|
Unbolt the mount from the frame. The front bolt is easy, the one in the
rear is blocked by some wires and hoses - use a spanner to reach it.
|
 |
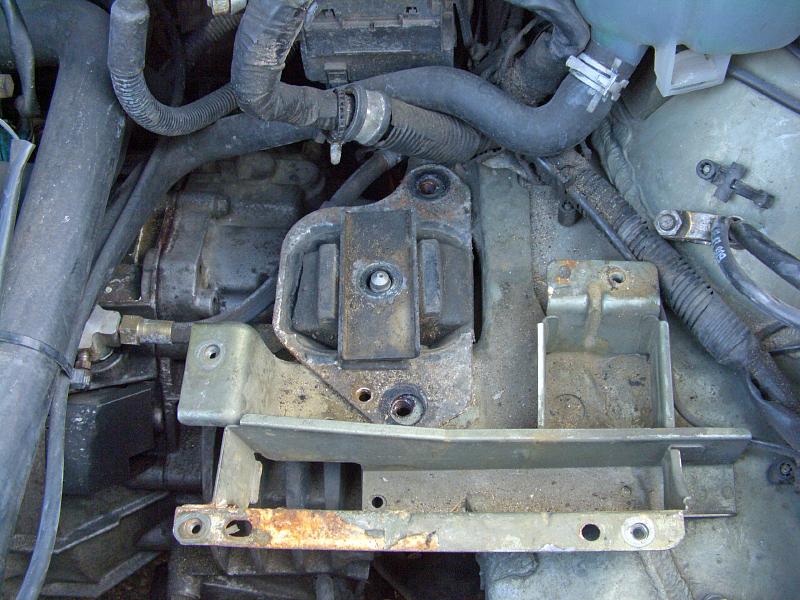
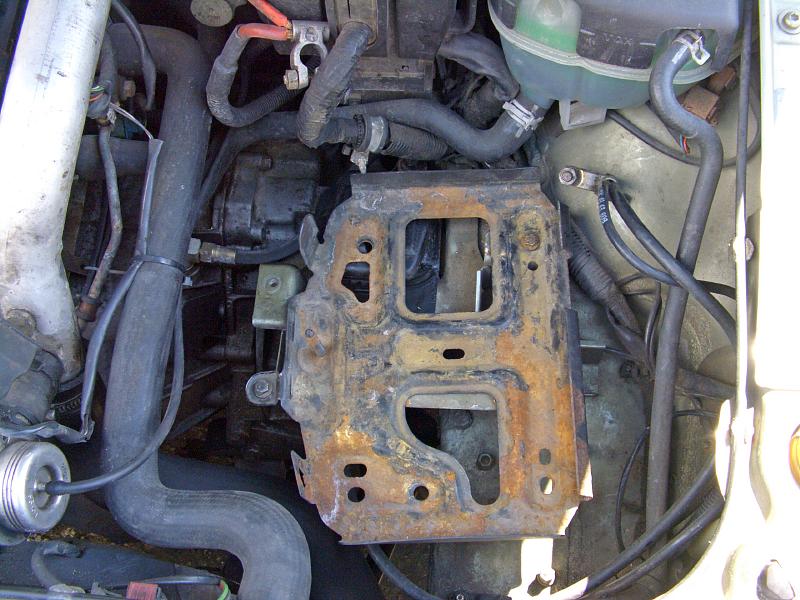
| 03.05.2009: Removed |
|
Remove the mount. The engine may shift suddenly after the mount is lifted,
watch your fingers!
|
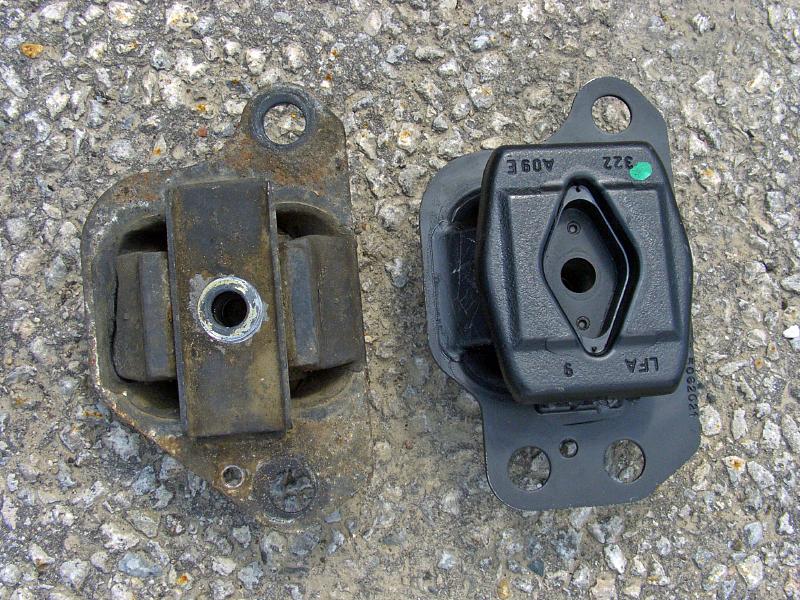 |
| 03.05.2009: Old vs new |
|
You can see the crack on the left side of the old mount. The new version is
beefier, and has a provision for a third bolt used on later cars.
|
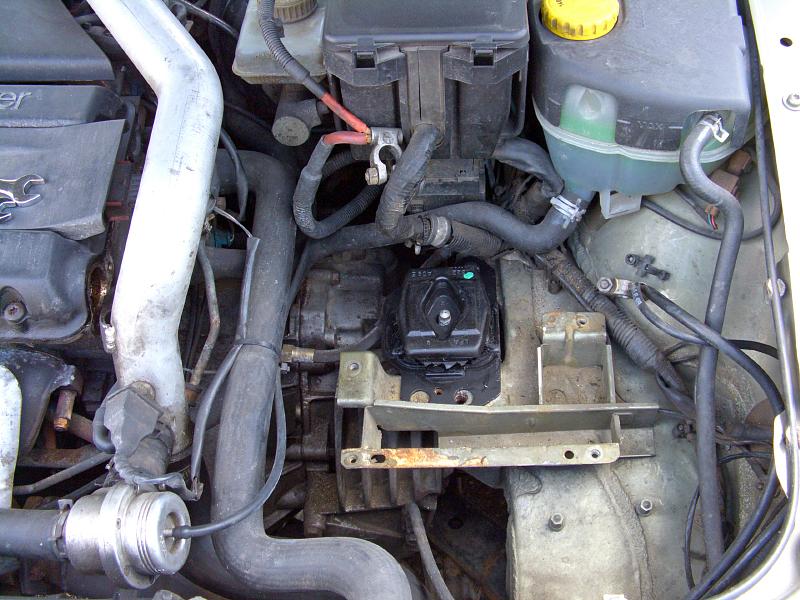 |
| 03.05.2009: New mount |
|
Insert the new mount. You may need to pump the jack up some more and
rock the engine back and forth to get the mount to seat properly.
|
 |
| 03.05.2009: Index screw |
|
First, fit the Torx index screw to make sure the mount is positioned
correctly. Tighten the upper nut to 62 ft-lbs.
|
 |
| 03.05.2009: Mount bolts |
|
Tighten both mount bolts to 35 ft-lbs. Remove the jack.
|
 |
| 03.05.2009: Battery support |
|
Re-install the battery support, the battery itself, tighten the bracket
and connect the leads.
|


