 |
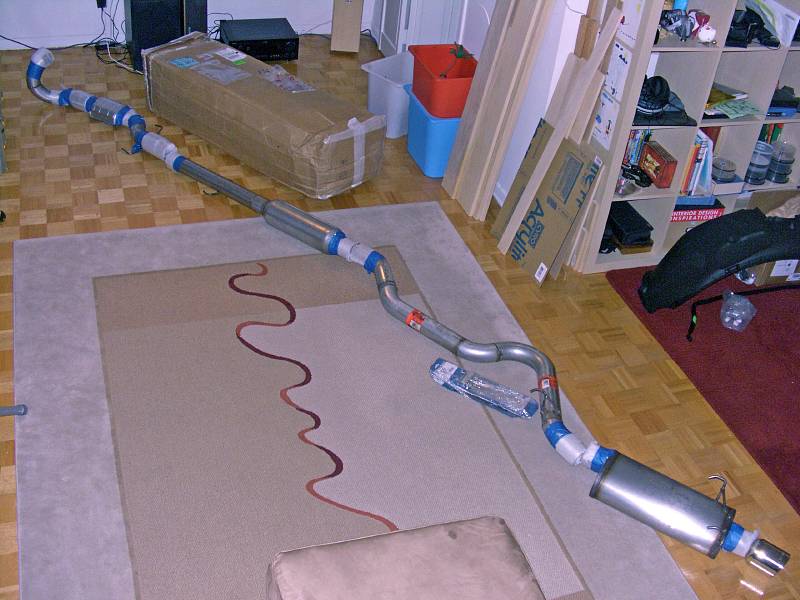
| 16.09.2008: Just arrived |
|
The system arrived in a huge box filled with packing peanuts. All flanges
were carefully wrapped and taped up, so the peanuts wouldn't get inside.
|
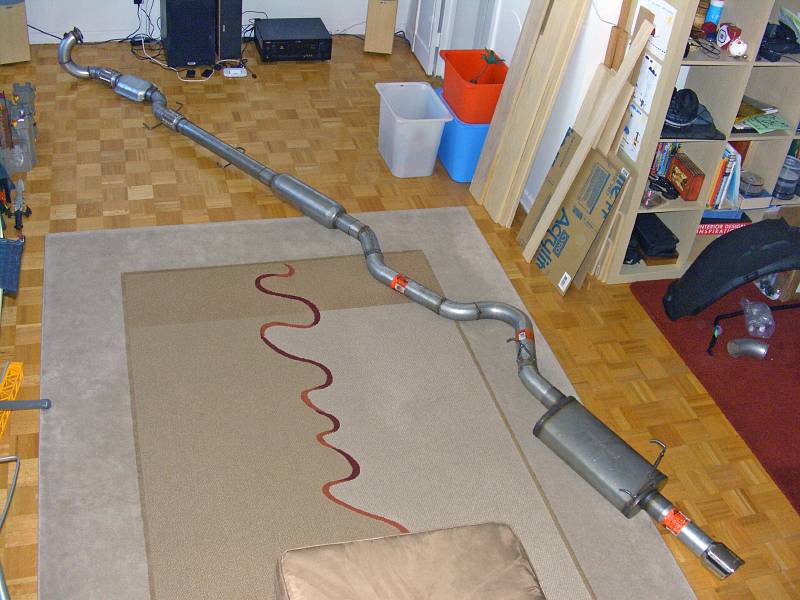 |
| 17.09.2008: Unwrapped |
|
The whole exhaust is over four meters (14 feet) long. It was split into
four sections for easier shipping, and came with clamps and a chrome tip.
|
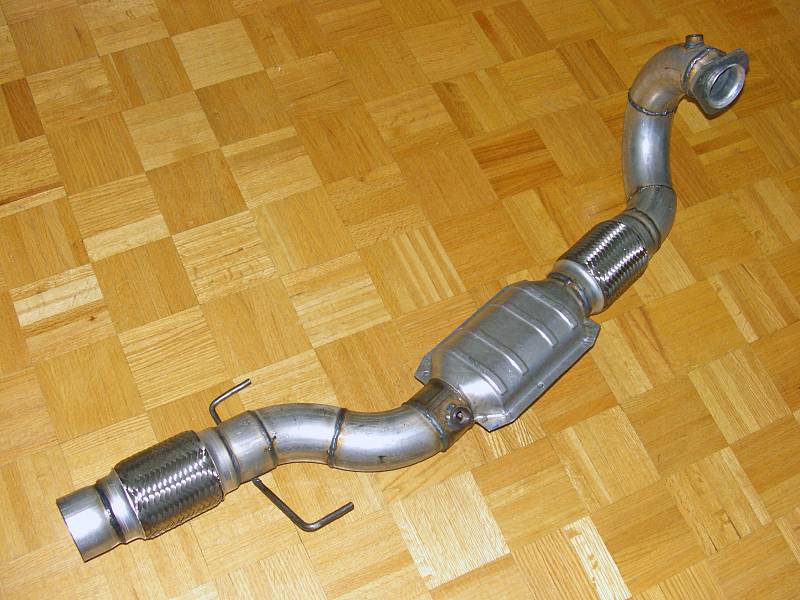 |
| 17.09.2008: Downpipe and cat |
|
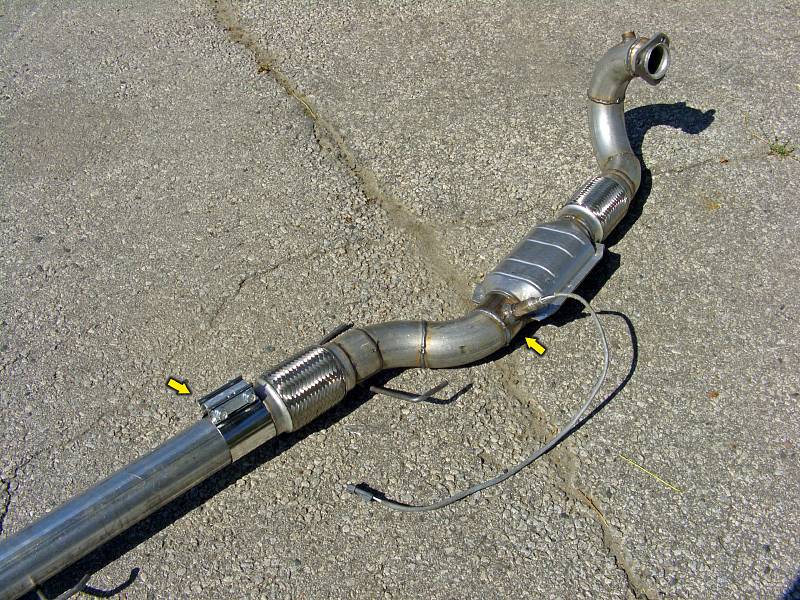
The downpipe looks smoother than
the one
I bought from Jak three years ago. It comes with a sport cat and two
flex joints before and after cat for better strain resistance (most
aftermarket systems have only one flex pipe).
|
 |
| 17.09.2008: Middle section |
|
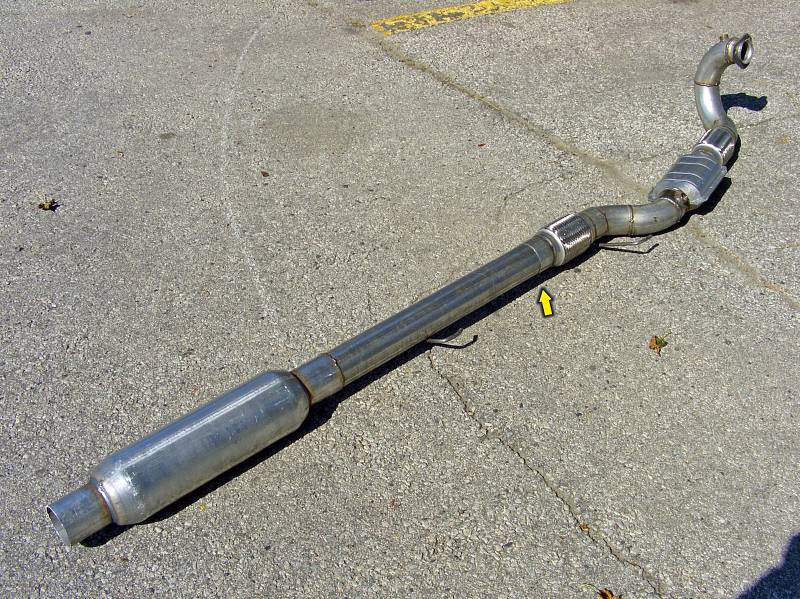
The middle section is a simple straight pipe with an odd noname resonator
welded in. As it turned out, it didn't work very well, producing an awful
drone between 2-3K RPM. It resonated through the whole car, making the
highway ride almost unbearable.
|
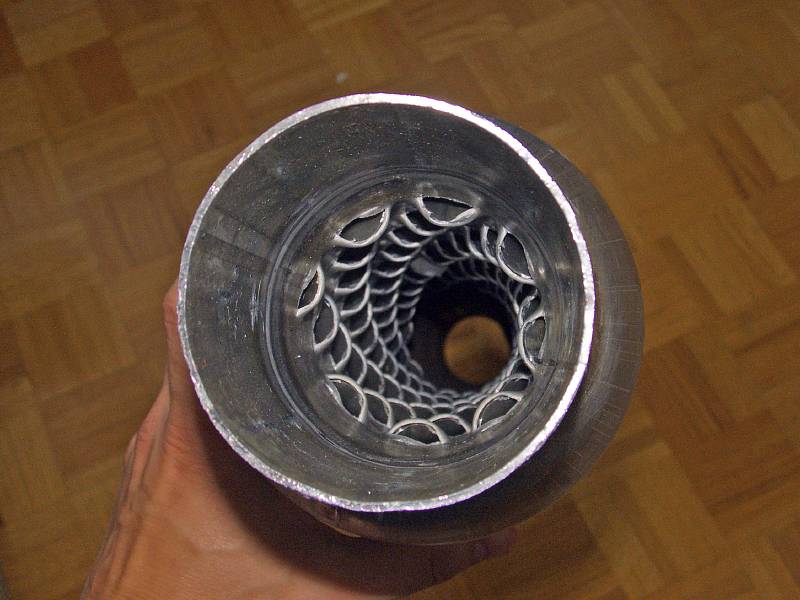 |
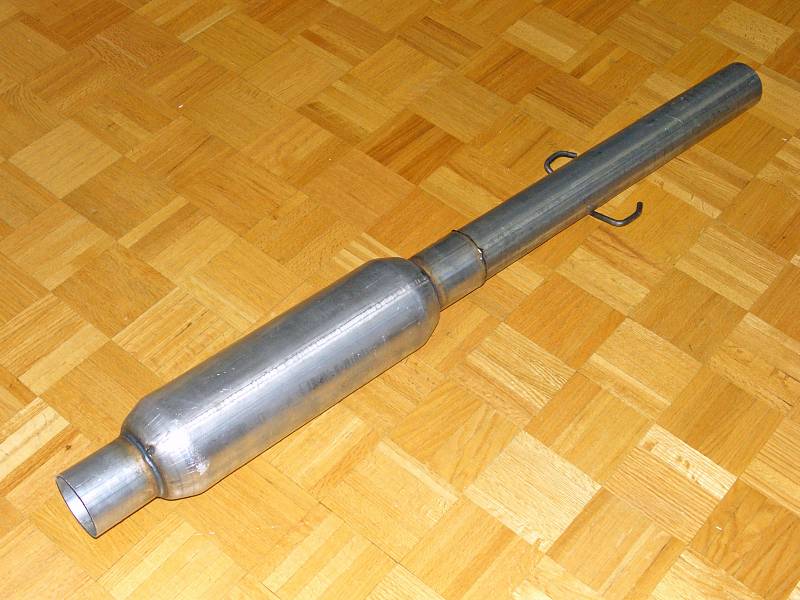
| 17.09.2008: Resonator |
|
The resonator is just an empty can with baffles designed to reflect and
eliminate certain sound frequences. In reality, it only made things worse
and had to be replaced
with a better one soon after.
|
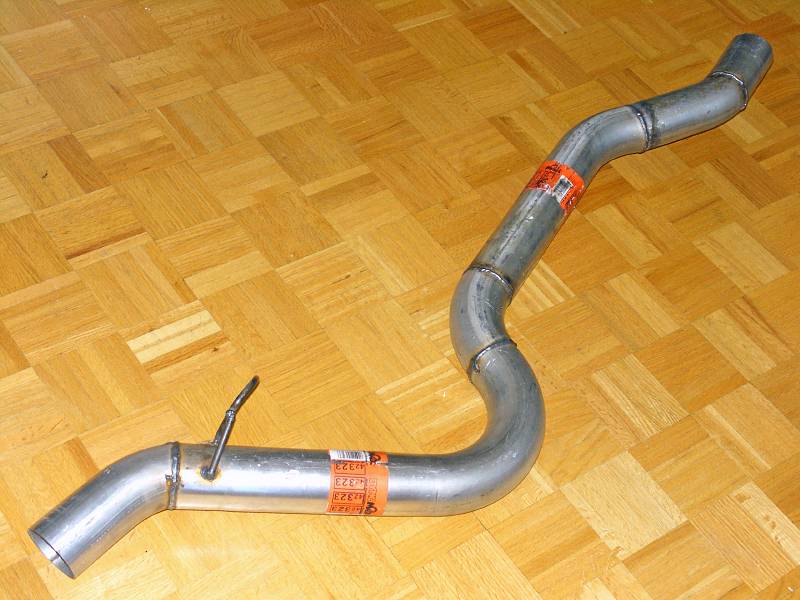 |
| 17.09.2008: Curved section |
|
The curved section snakes past the fuel tank and under the rear axle.
Older cars had an extra pair of hangers at the beginning of this section.
Jak skipped it as he used a 2004 Aero for a test fit, but I added them
during the install.
|
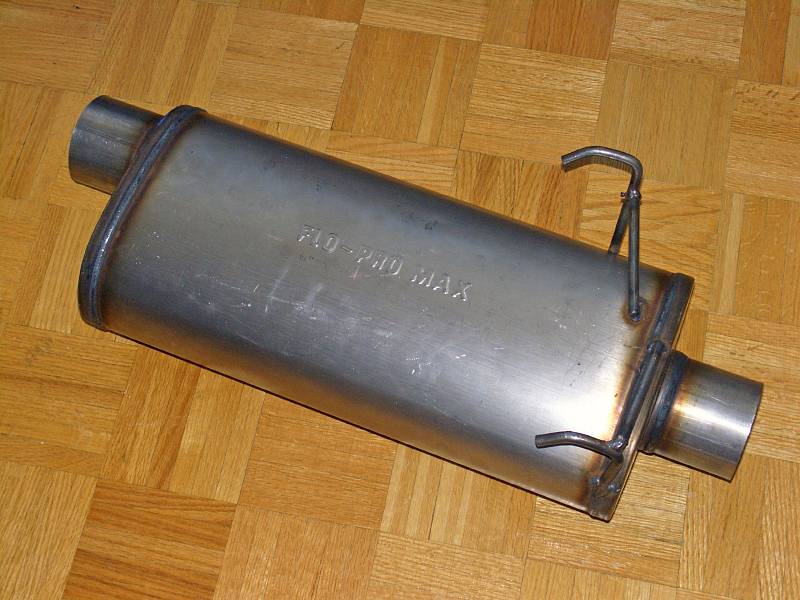 |
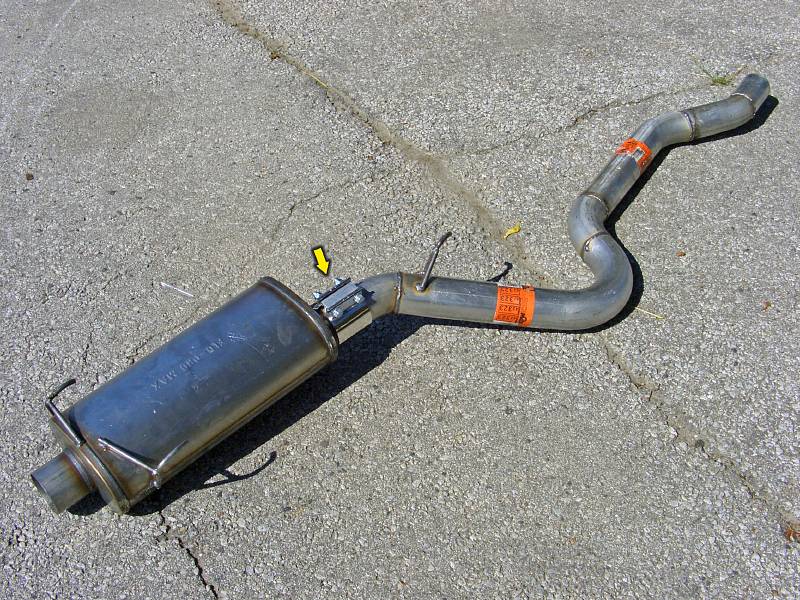
| 17.09.2008: Muffler |
|
The rear muffler is Flo-Pro Max, in an 18" long stainless 4"x9" oval body
with a pair of hangers attached.
|
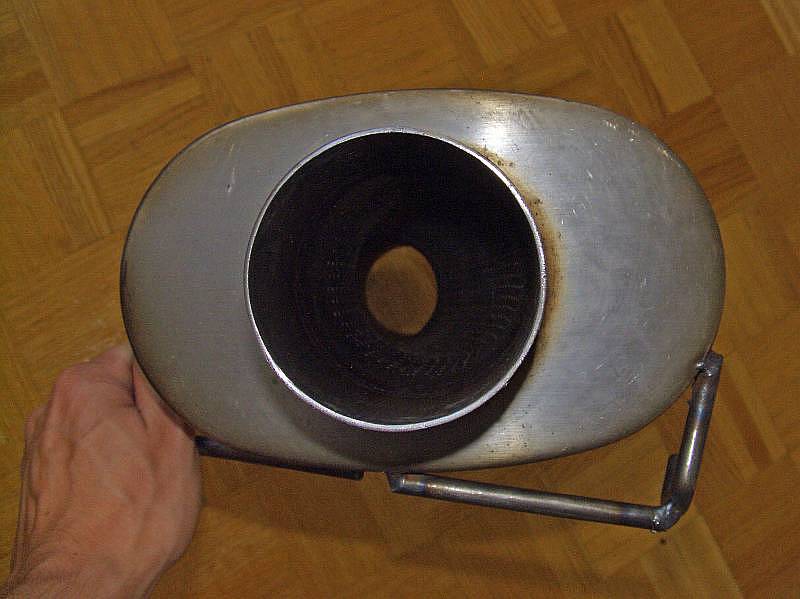 |
| 17.09.2008: Straight through |
|
This picture shows the straight through perforated pipe inside the muffler.
It's wrapped in steel mesh and sound absorbing material.
|
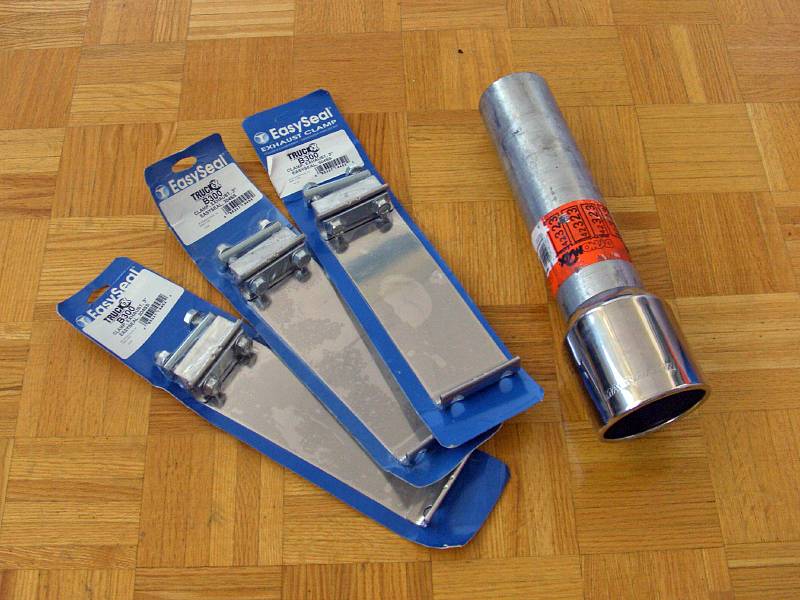 |
| 17.09.2008: Clamps and tip |
|
Also included were three Easy Seal clamps and a chrome tip with "Magnaflow"
stamped on it.
|
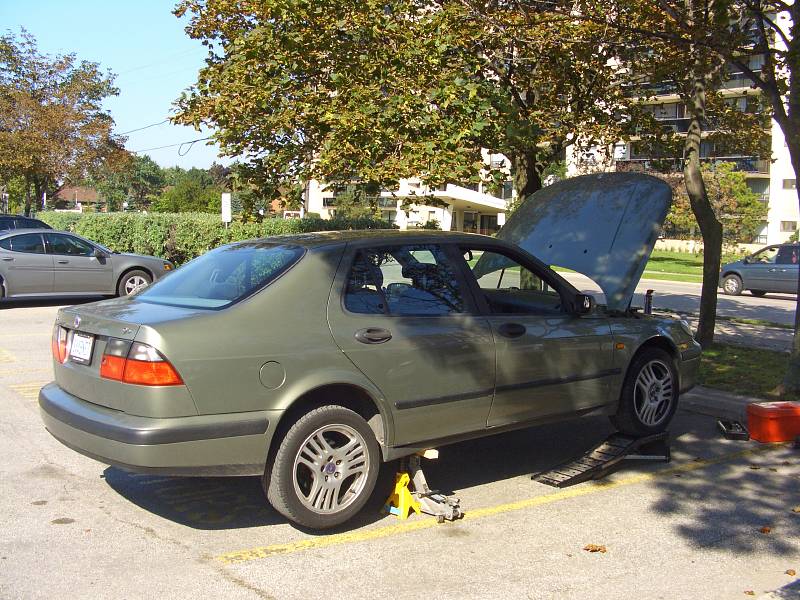 |
| 17.09.2008: Jacks |
|
For exhaust installation, the whole car should be up in the air. I used
ramps at the front and jacks in the rear.
|
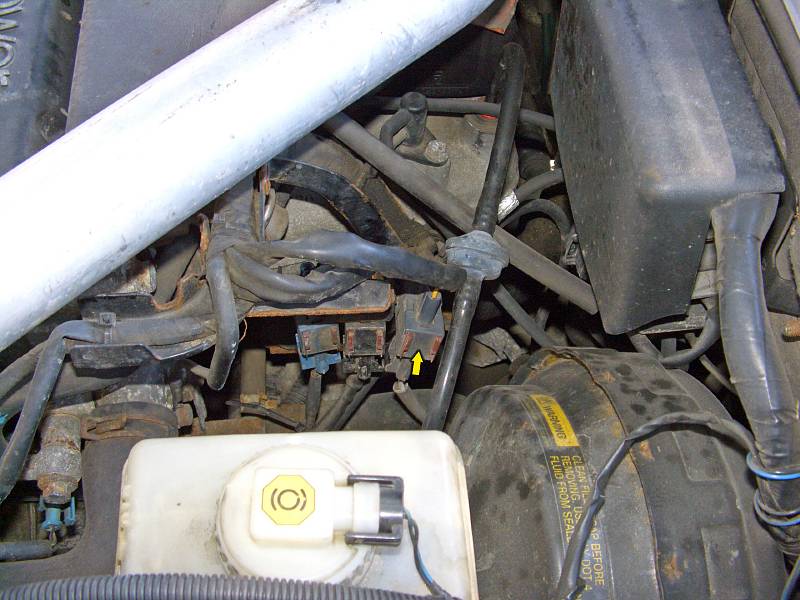 |
| 17.09.2008: O2 sensor connector |
|
The rear O2 sensor is often hard to undo on the car. Instead, unplug its
connector and drop the wires down.
|
 |
| 17.09.2008: Heat shield |
|
Remove the heat shield over the turbo. Detach the return pipe from the
bypass valve if it's in the way.
|
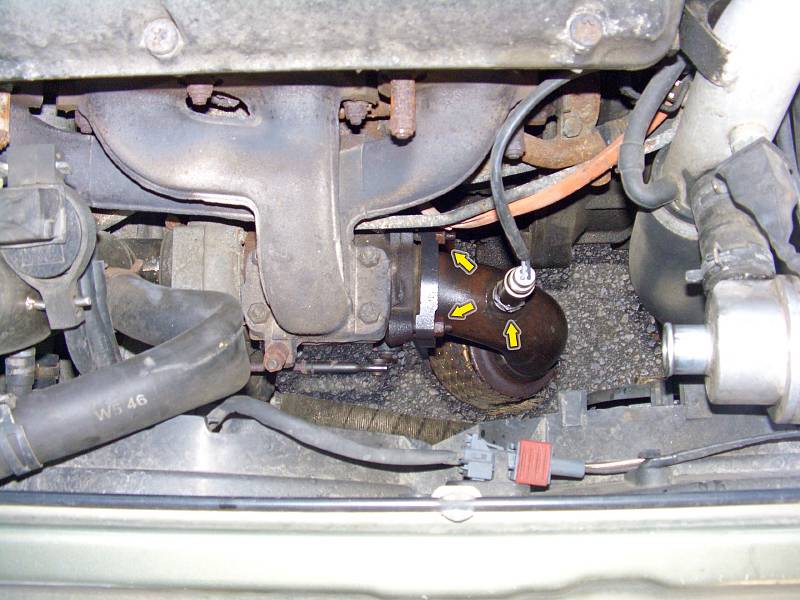 |
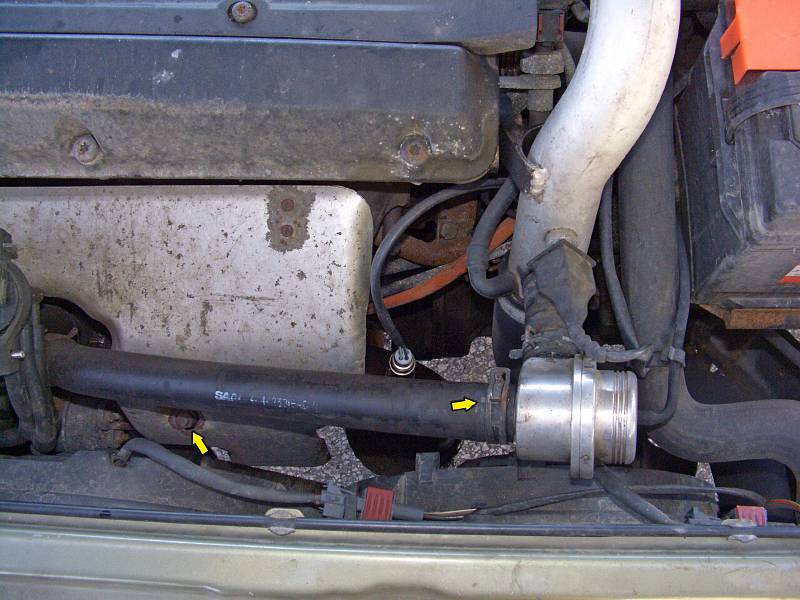
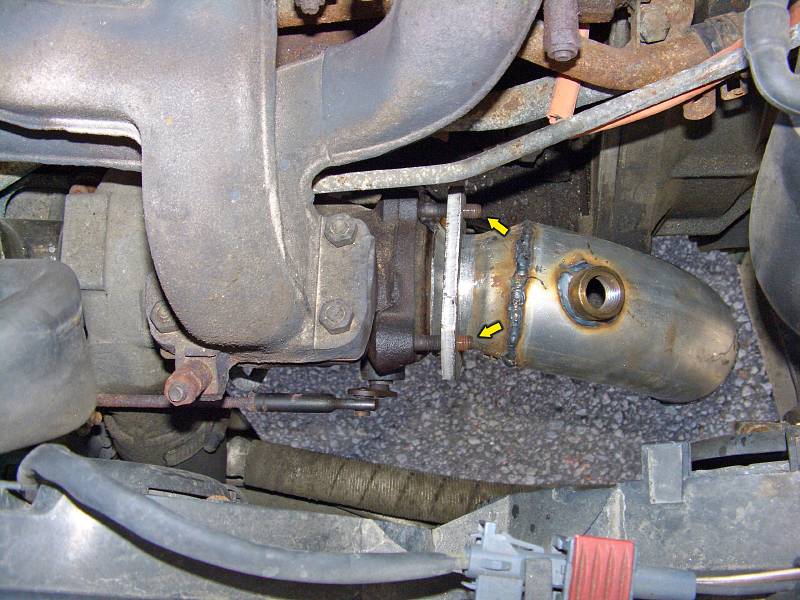
| 17.09.2008: Downpipe |
|
Use a crowfoot or a specialized socket to remove the front O2 sensor.
Undo the two upper nuts on the downpipe.
|
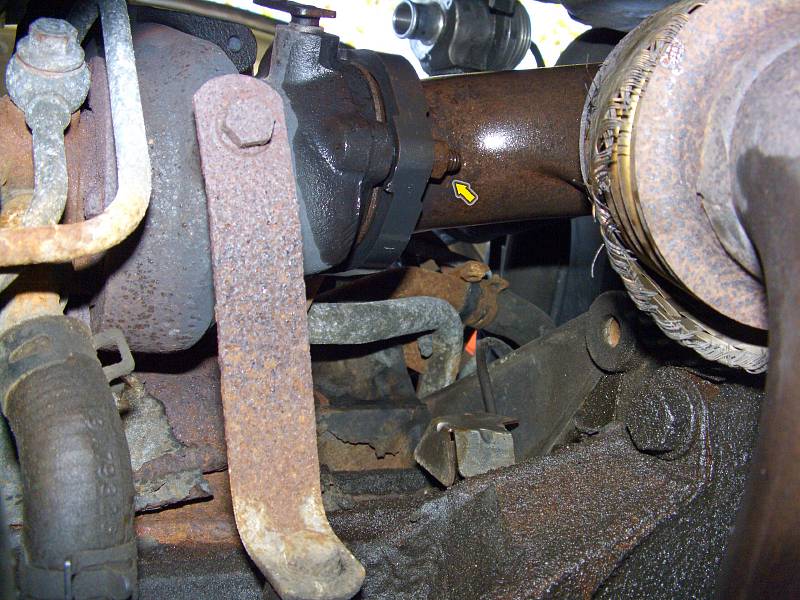 |
| 17.09.2008: Lower nut |
|
Mount your creeper, slide under the car and undo the lower nut holding
the downpipe. This one needs a 13 mm spanner as there's not enough room
for a ratchet.
|
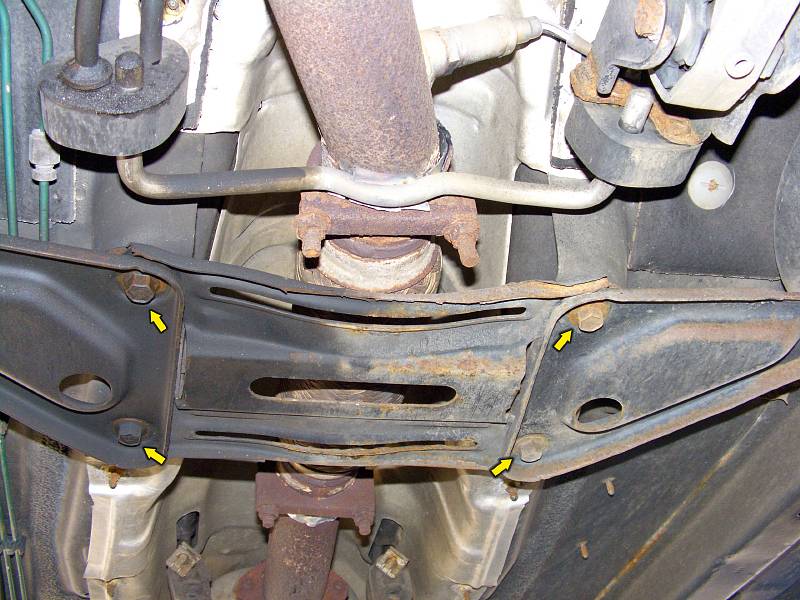 |
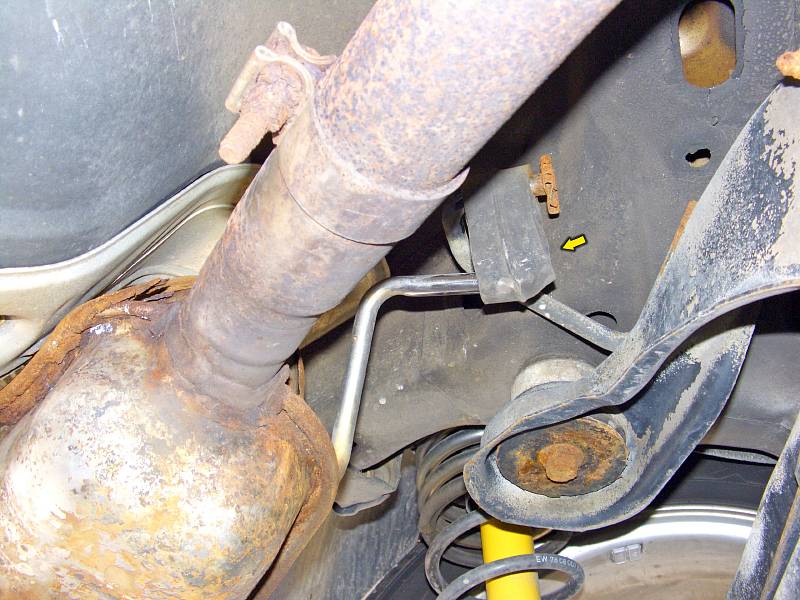
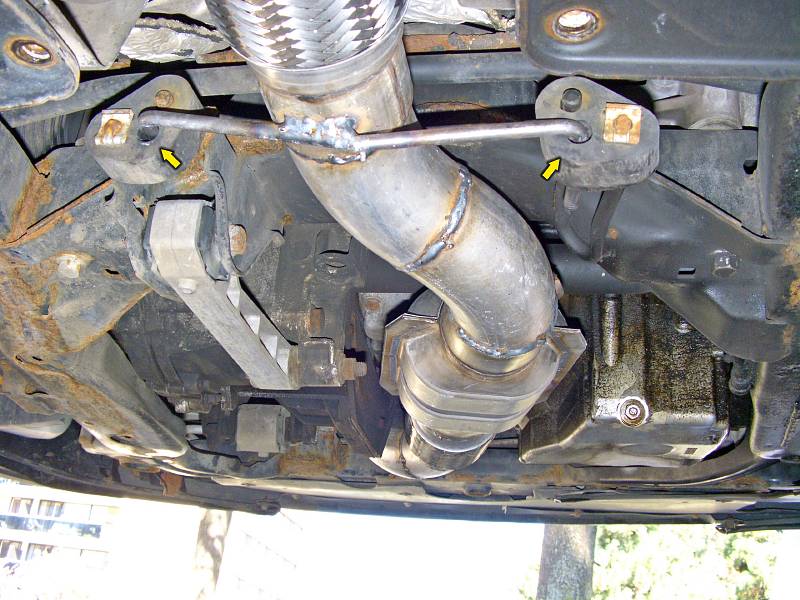
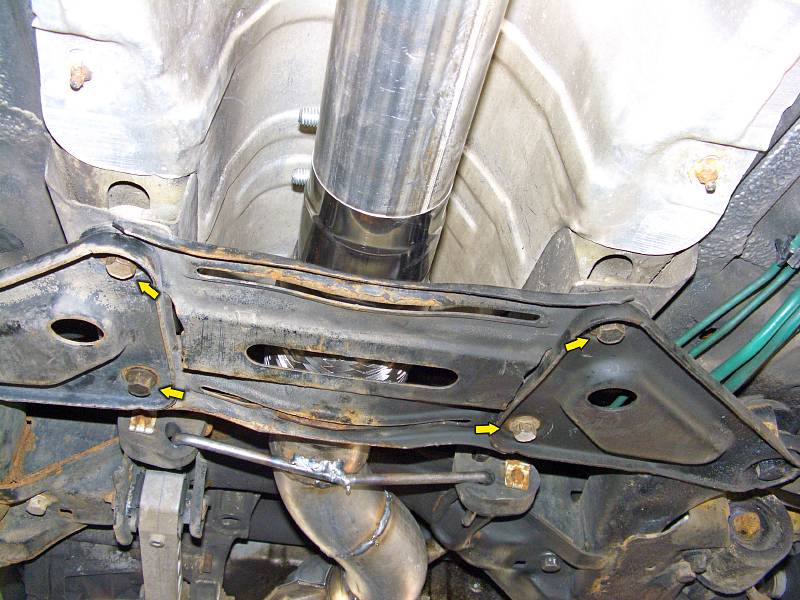
| 17.09.2008: Reinforcement |
|
Use a 14 mm socket to unbolt the reinforcement panel under the flex pipe.
Slide the panel out.
|
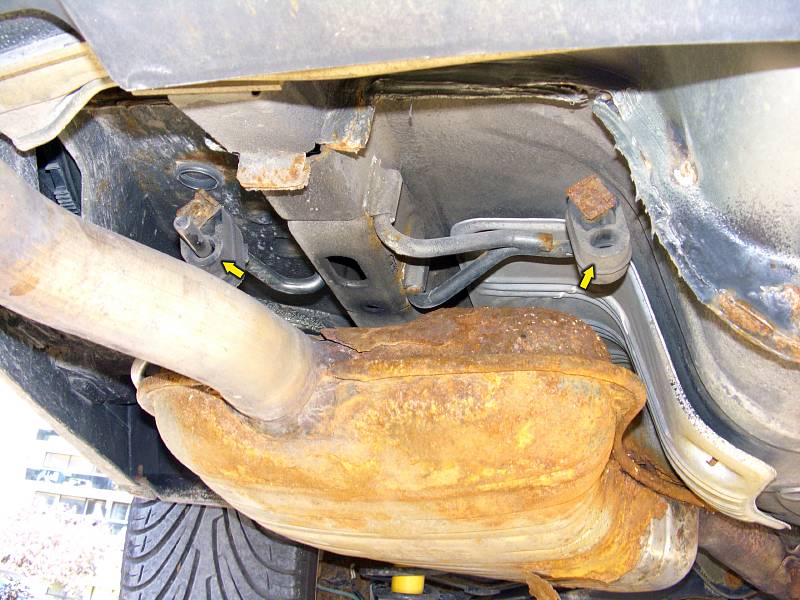 |
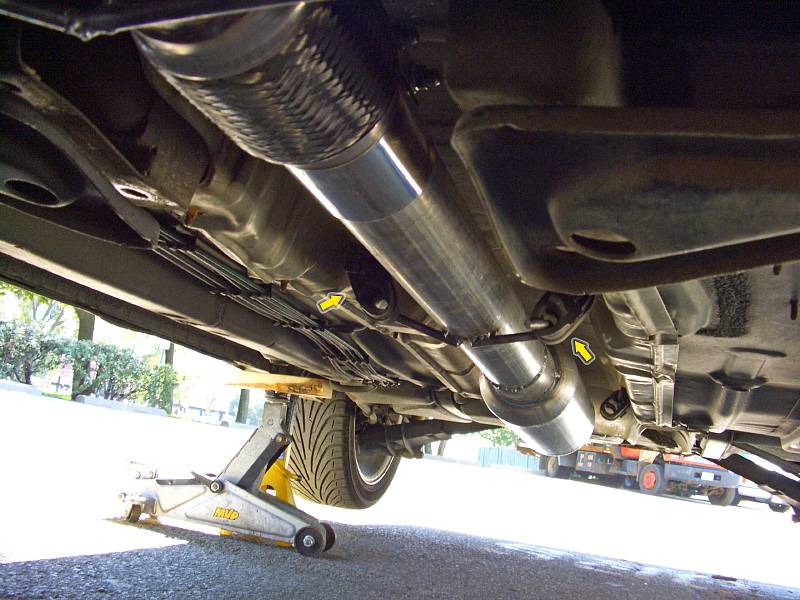
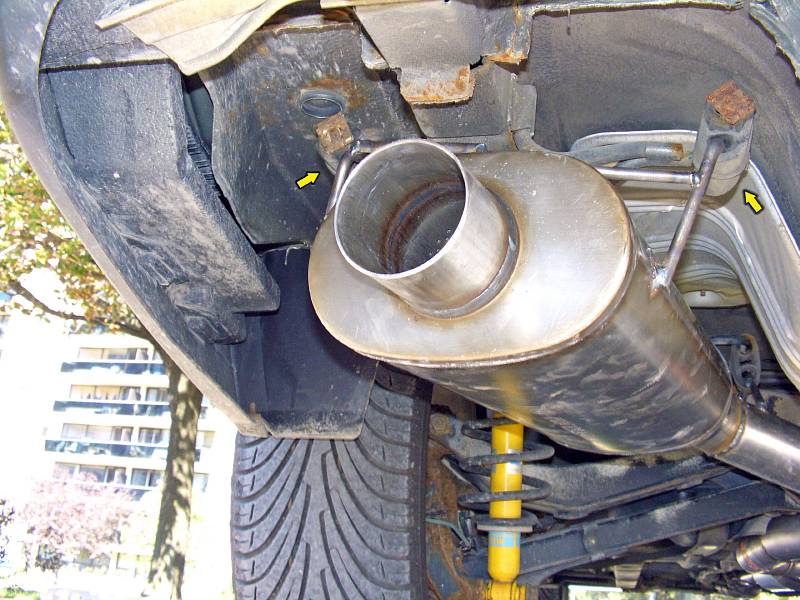
| 17.09.2008: Muffler hangers |
|
Remove two rubber supports at the rear muffler. You can see the right side
hanger already disappeared some time ago.
|
 |
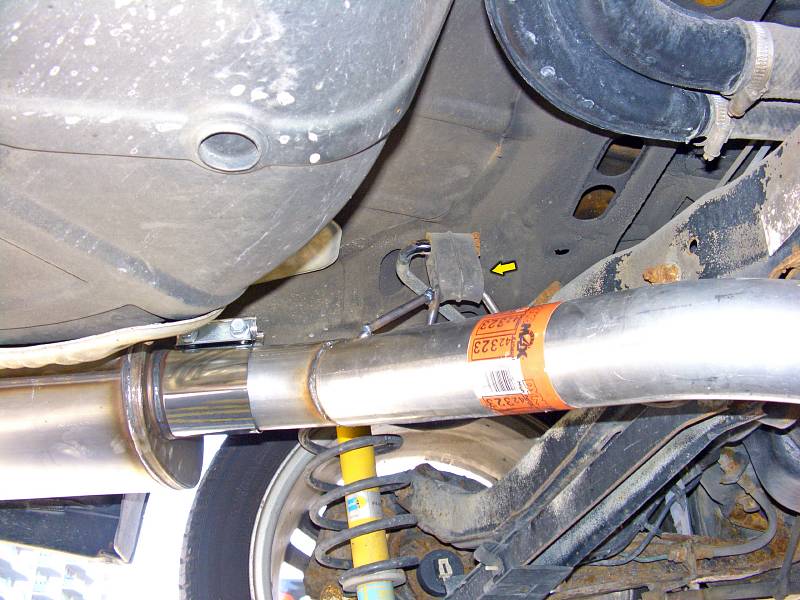
| 17.09.2008: More hangers |
|
All the remaining hangers point forward, so if you give it a good tug
towards the back, the whole thing will just drop on the ground.
|
 |
| 17.09.2008: Down |
|
Drag the exhaust from under of the car. Watch the top of the downpipe so
it doesn't mess up any cables or hoses while being dragged.
|
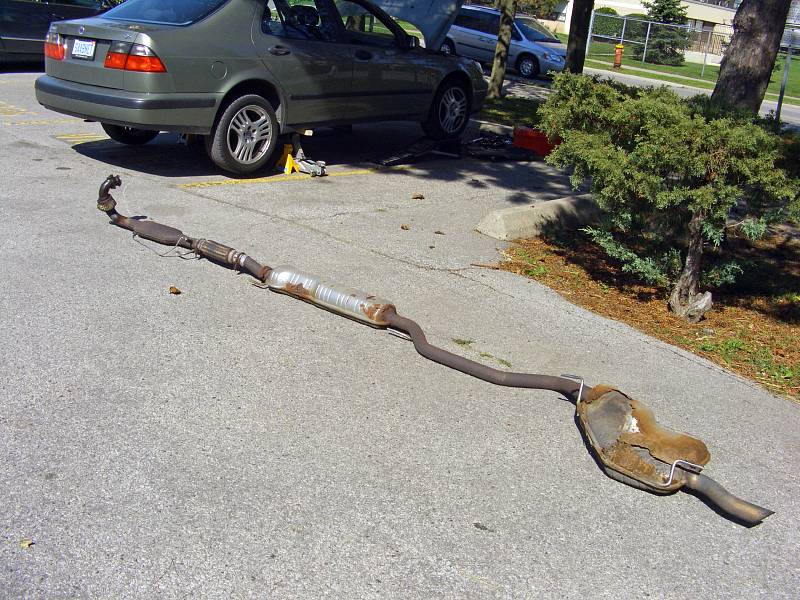 |
| 17.09.2008: Old exhaust |
|
Such a sorry sight. Big chunks of rust coming off the mufflers, the middle
flex pipe's been already replaced at least once, and the front flex is
loosing its braiding too.
|
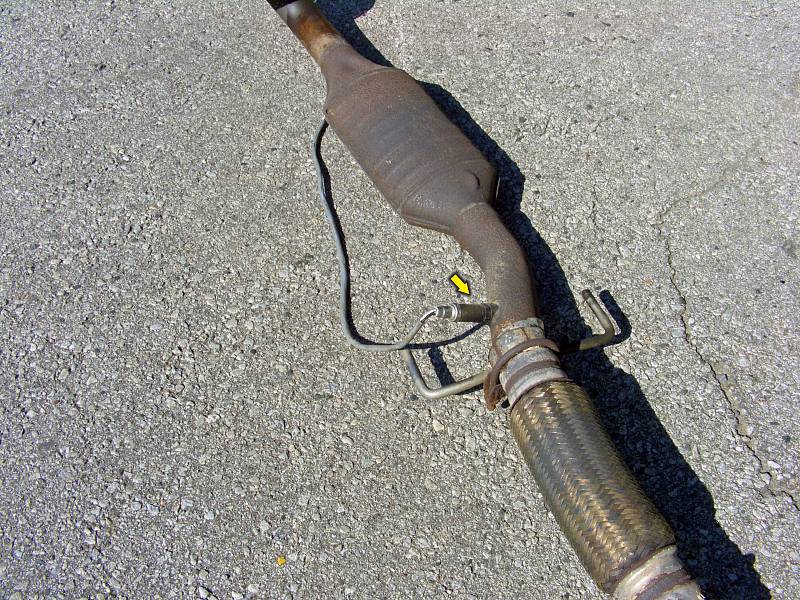 |
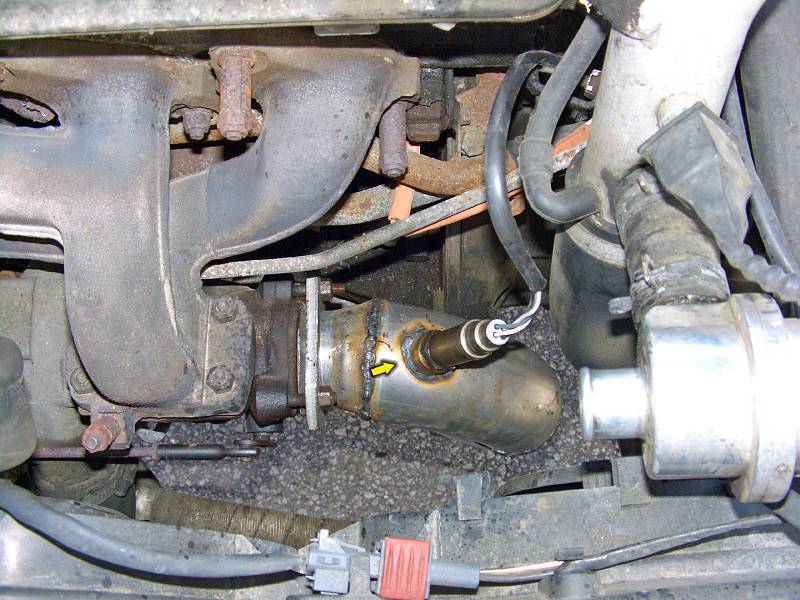
| 17.09.2008: O2 sensor |
|
Once the exhaust is on the ground, it should be easy to undo the rear O2
sensor. Again, use a crowfoot or a specialized socket on it.
|
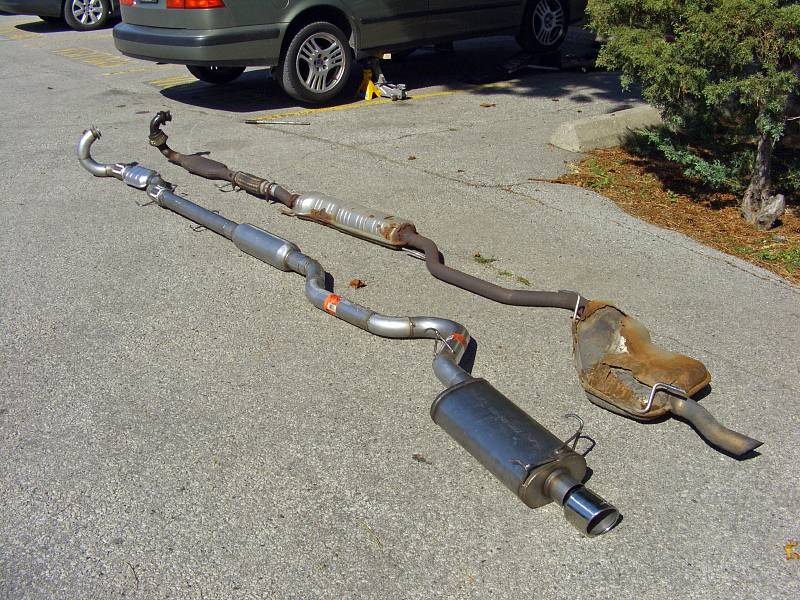 |
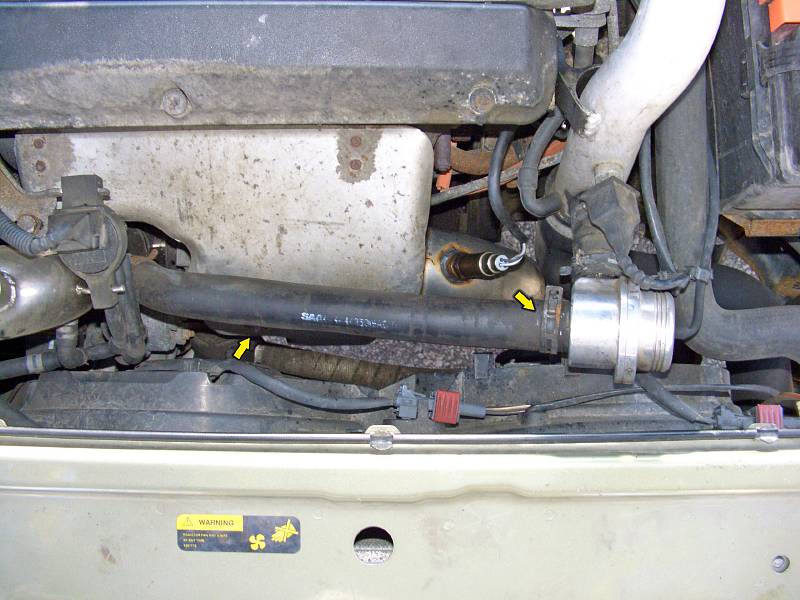
| 17.09.2008: New vs old |
|
The new system is shinier, cleaner and noticeably thicker than the original.
The original piping is 60 mm (2 3/8"), while new is 76 mm (3").
|
 |
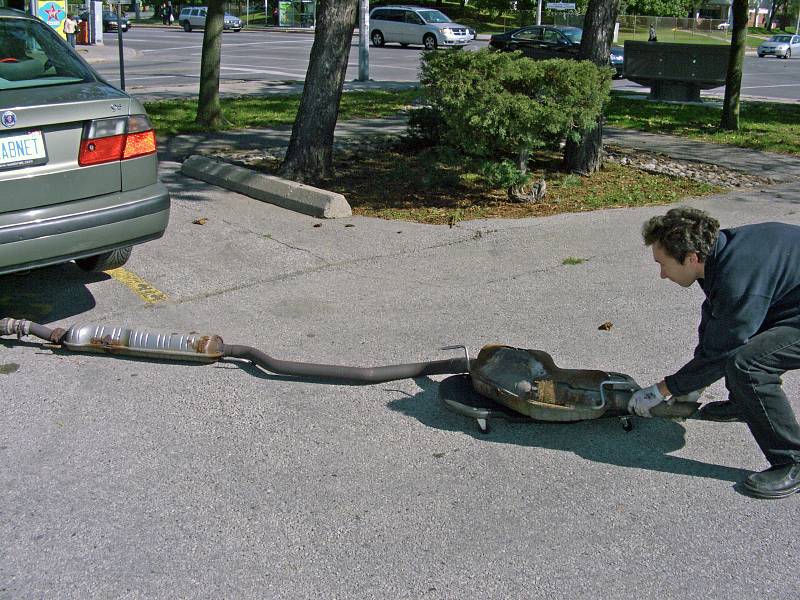
| 17.09.2008: Scrap collector |
|
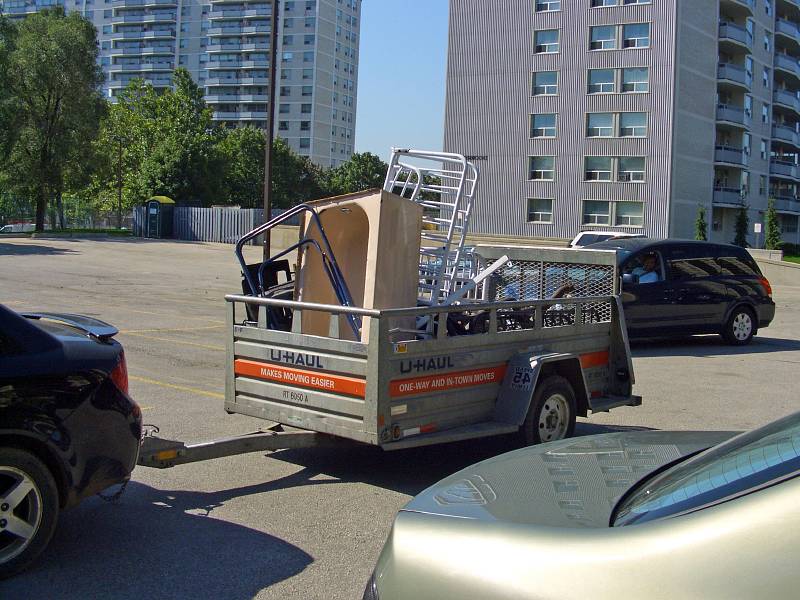
To our surprise, a scrap metal collector showed up while we were working
on the car. That solved the problem of disposing of the old exhaust.
|
 |
| 17.09.2008: Front section |
|
Start the assembly by connecting the two front sections. Make sure the
hangers are aligned evenly.
|
 |
| 17.09.2008: O2 sensor and clamp |
|
Install the rear O2 sensor with some anti-seize on the threads and tighten
to 40 ft-lbs. Apply a bead of exhaust sealant on the joint and put the clamp on.
|
 |
| 17.09.2008: Downpipe hangers |
|
Fit the downpipe in the front rubber hangers.
|
 |
| 17.09.2008: Resonator hangers |
|
Hook up the hangers supporting the resonator.
|
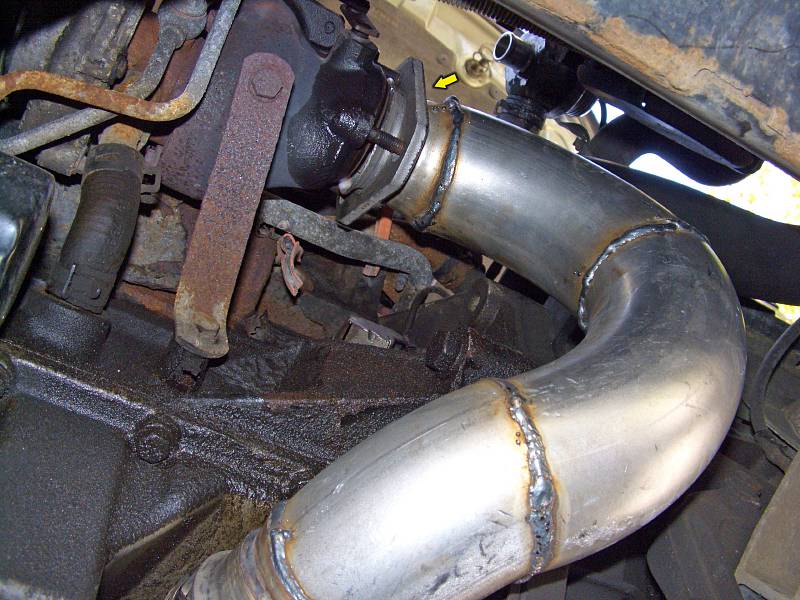 |
| 17.09.2008: Downpipe |
|
Slide the downpipe flange onto the turbo, make sure it doesn't rub
against the oil pan and the gearbox.
|
 |
| 17.09.2008: Rear section |
|
Assemble the two rear sections together. Spread some exhaust sealant, but
not tighten the clamp yet.
|
 |
| 17.09.2008: Muffler hangers |
|
Fit the muffler and slide the hangers into the rubber supports.
|
 |
| 17.09.2008: Rear joint |
|
Jak made all the hangers to point forward, so it was easy to fit the
pipe in place.
|
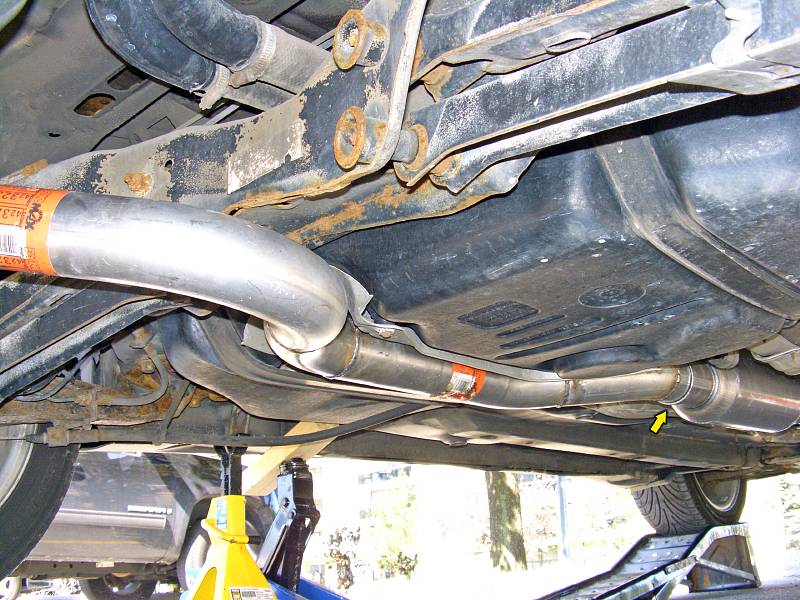 |
| 17.09.2008: Middle joint |
|
Connect the last joint in the middle and move the pipe around to ensure
it's perfectly centered along the entire exhaust duct.
|
 |
| 17.09.2008: Reinforcement |
|
Secure all the clamps and attach the reinforcement plate at the front.
Tighten to 50 ft-lbs.
|
 |
| 17.09.2008: Downpipe |
|
Tighten the downpipe nuts to 18 ft-lbs. Use new locking nuts if the old
ones feel loose.
|
 |
| 17.09.2008: O2 sensor |
|
Install the front O2 sensor, don't forget the anti-seize.
Tighten to 40 ft-lbs. Plug in the rear sensor connector.
|
 |
| 17.09.2008: Heat shield |
|
Restore the heat shield and the return line from the bypass valve.
|
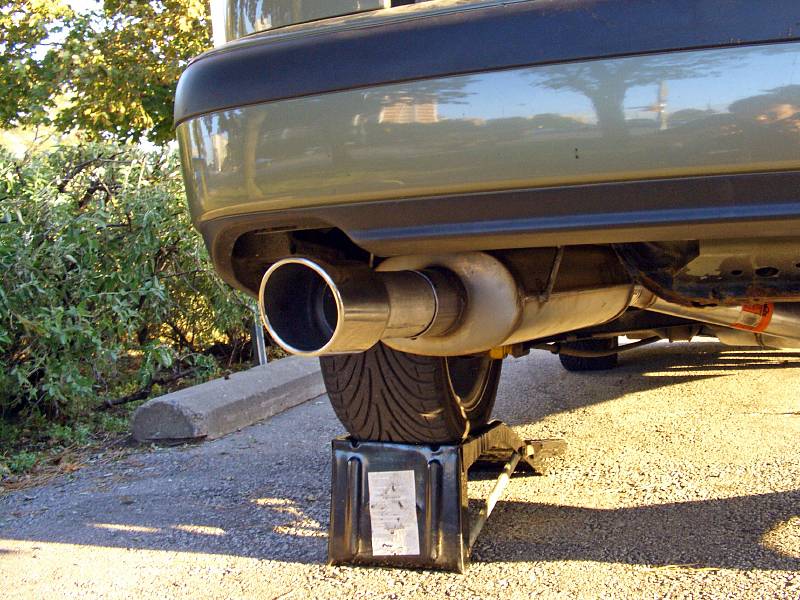 |
| 17.09.2008: Muffler tip |
|
Attach the muffler tip, make sure it's centered in the bumper cut-out.
Start the car and enjoy the new exhaust.
|
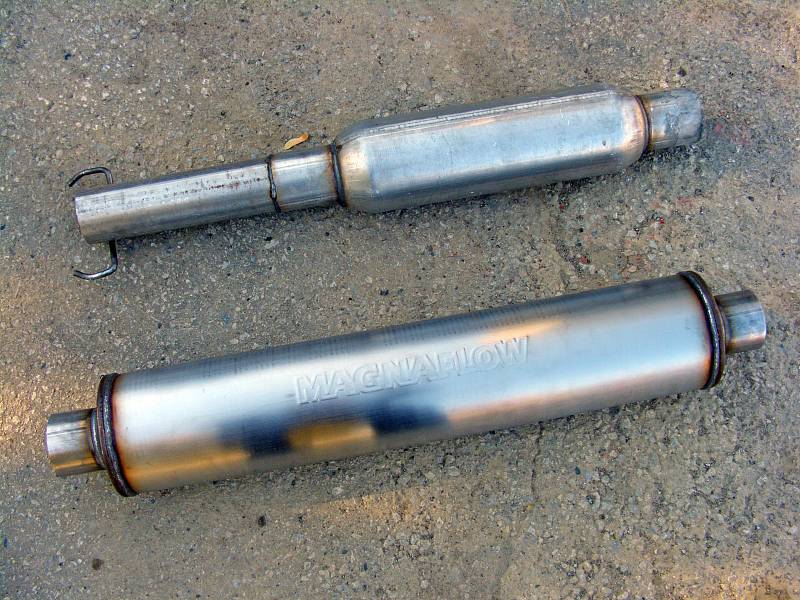 |
| 17.10.2008: Small vs large |
|
Unfortunately, as I described above, the resonator was not up to the job,
so I got this straight through Magnaflow muffler instead.
At 30 inches long and 6 inches wide, it was significantly larger.
|
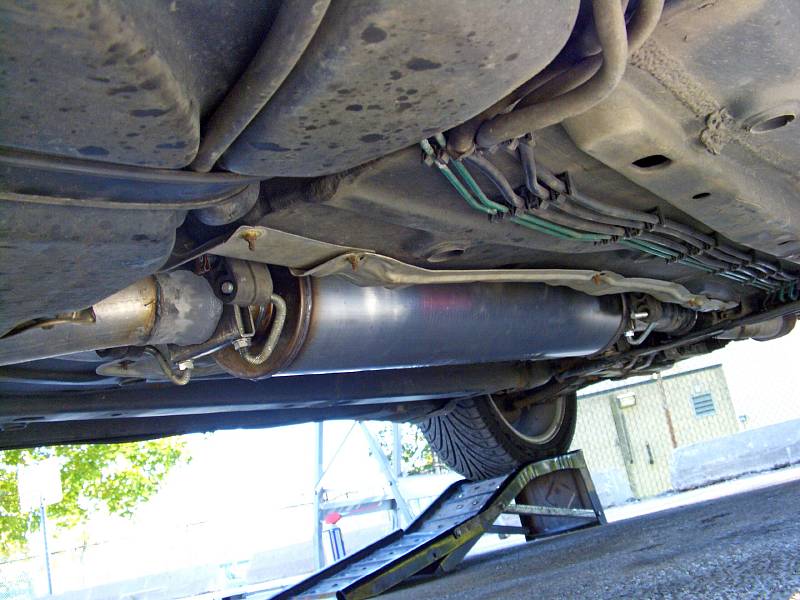 |
| 17.10.2008: Installed |
|
It had barely enough room to fit under
the car, but the result was definitely worth it. The car became
virtually as quiet as stock when cruising, with a nice angry note
on the throttle.
|


