 |
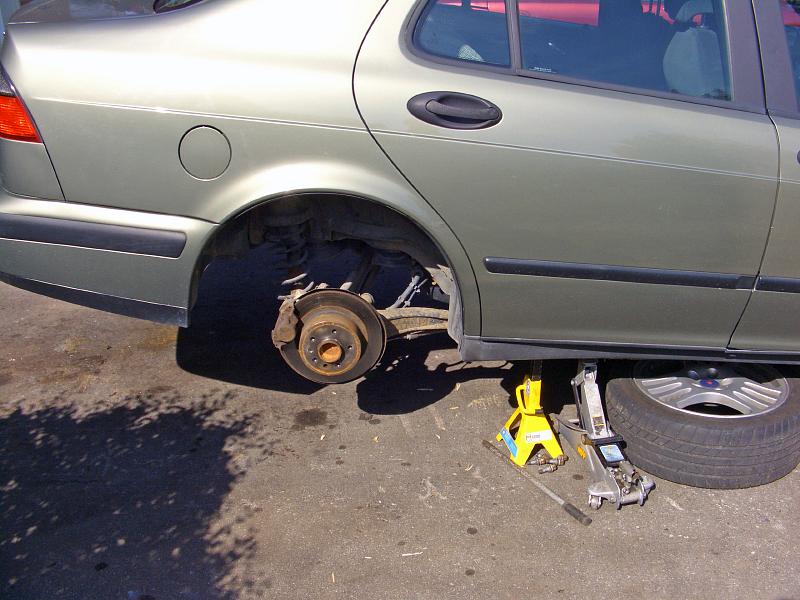
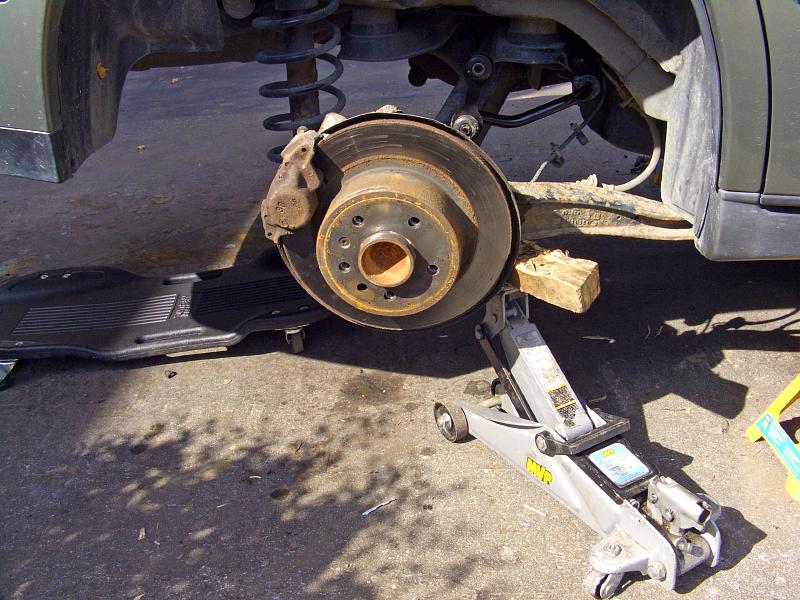
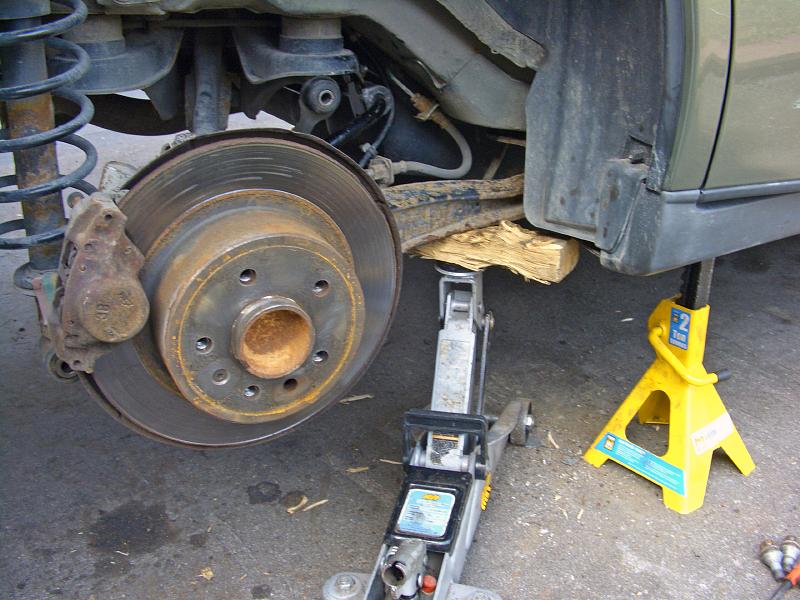
| 30.09.2007: Jack stands |
|
Raise the car and secure it on jack stands. Take the wheels off. Both wheels
need to be in the air so the suspension is level.
|
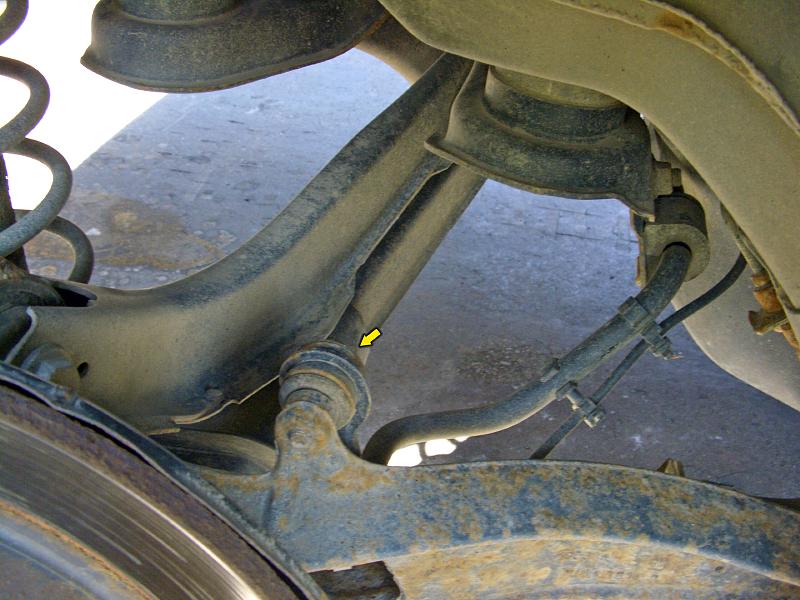 |
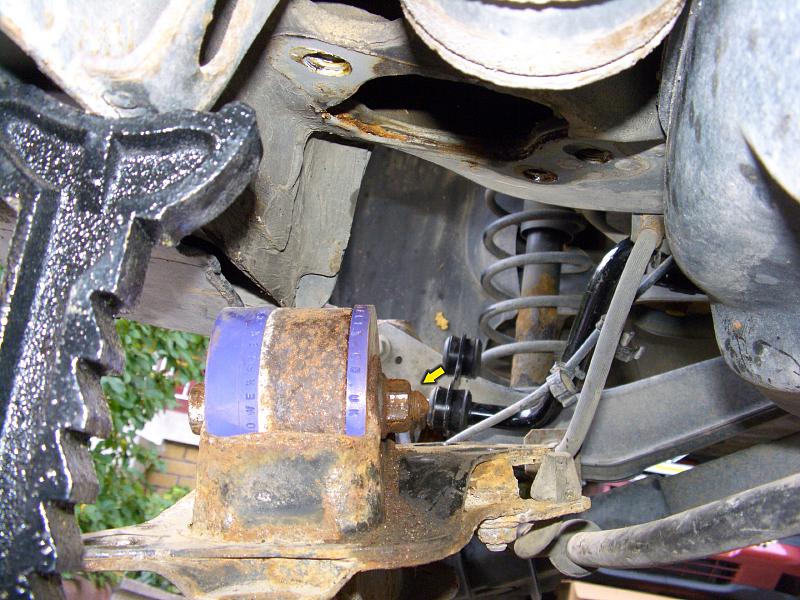
| 30.09.2007: Link |
|
Detach the anti-roll bar link from the trailing arm.
|
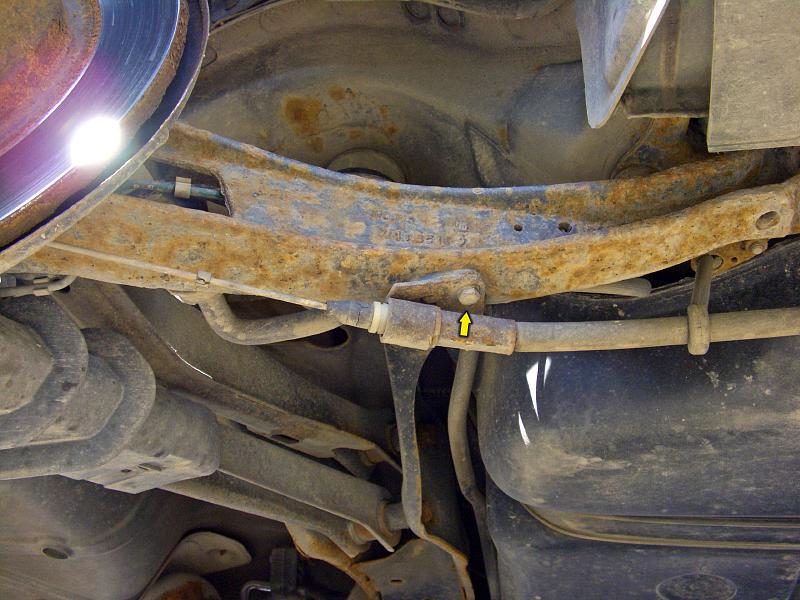 |
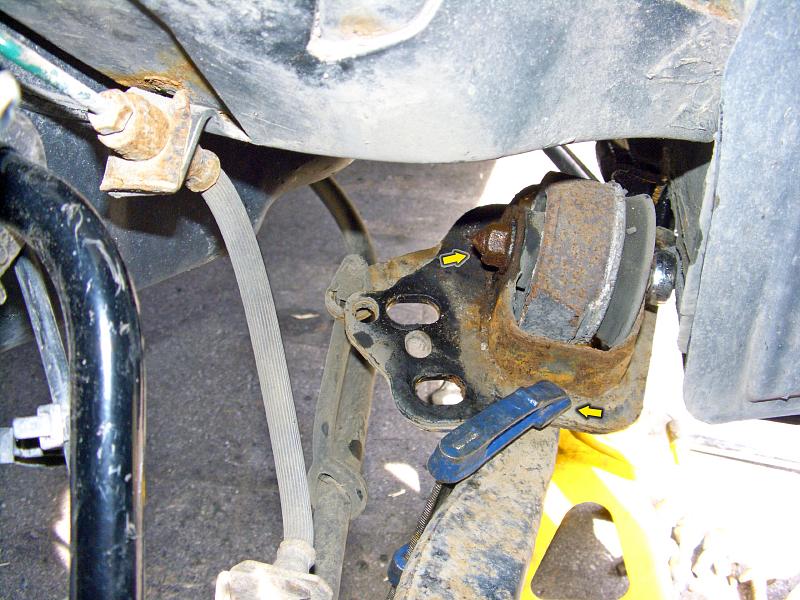
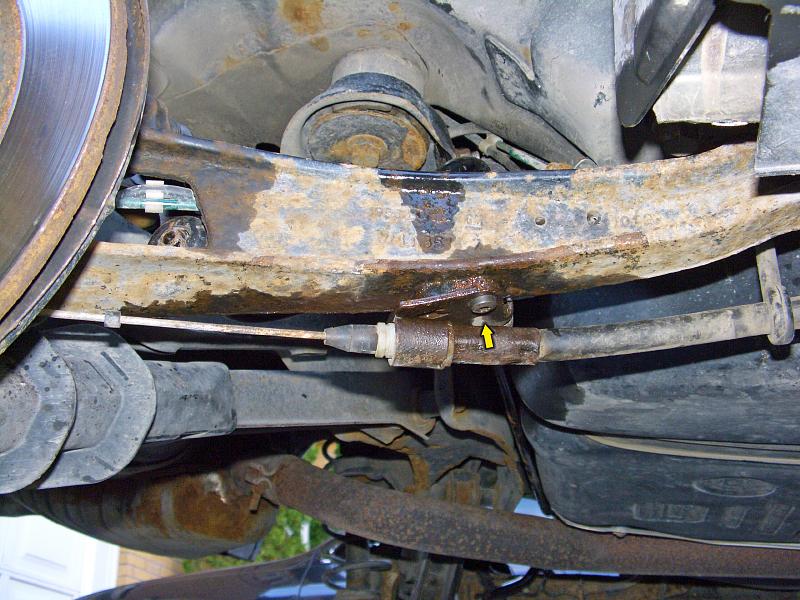
| 30.09.2007: Bracket |
|
Unscrew the bracket supporting the brake line and handbrake cable.
There should be no tension in the handbrake, so don't forget to release
it when you raise the car.
|
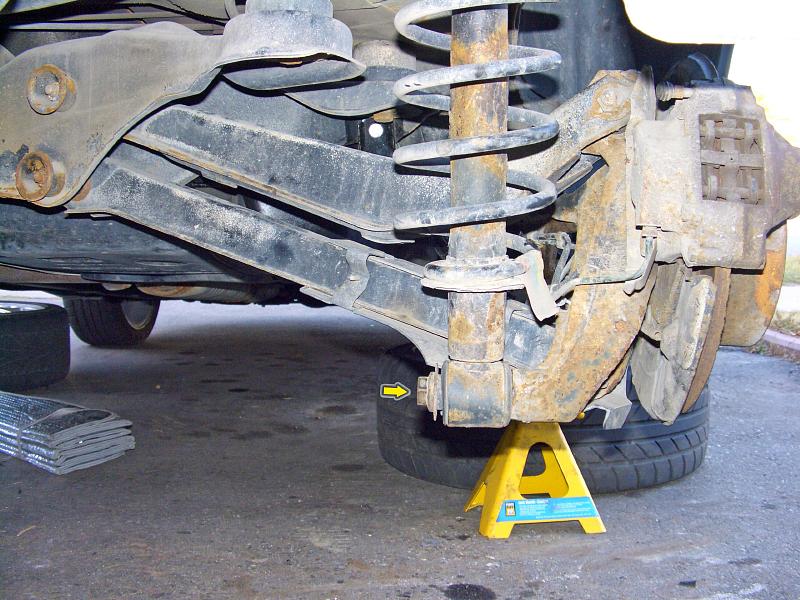 |
| 30.09.2007: Shock |
|
The Saab Workshop Manual does not mention unbolting the shock, but I
found that it allows for more freedom to move the arm around. Use a big
breaker bar to loosen this bolt.
|
 |
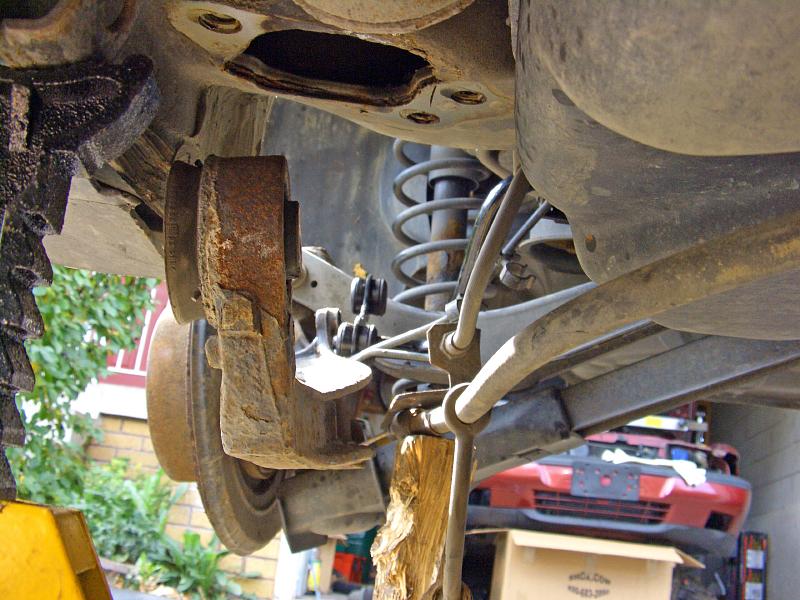
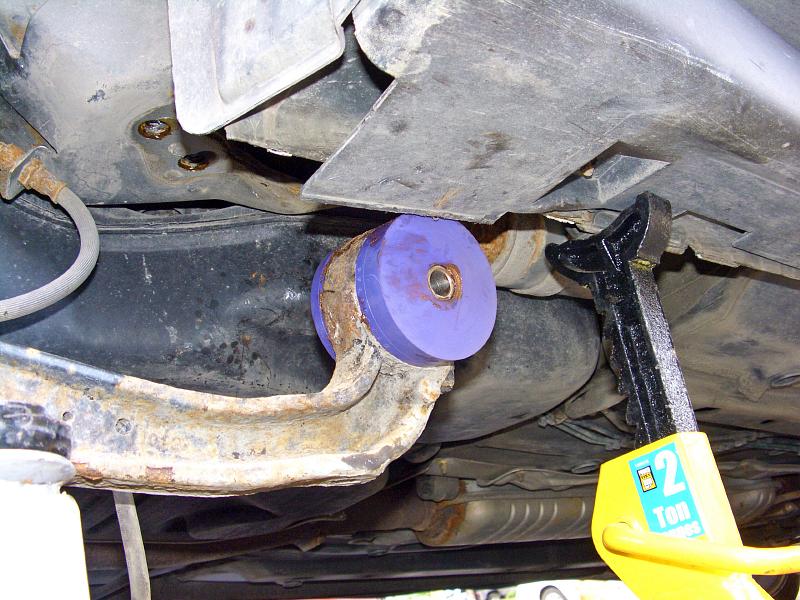
| 30.09.2007: Jack |
|
Support the trailing arm with a jack so it won't strain the brake line
when you unbolt it from the car.
|
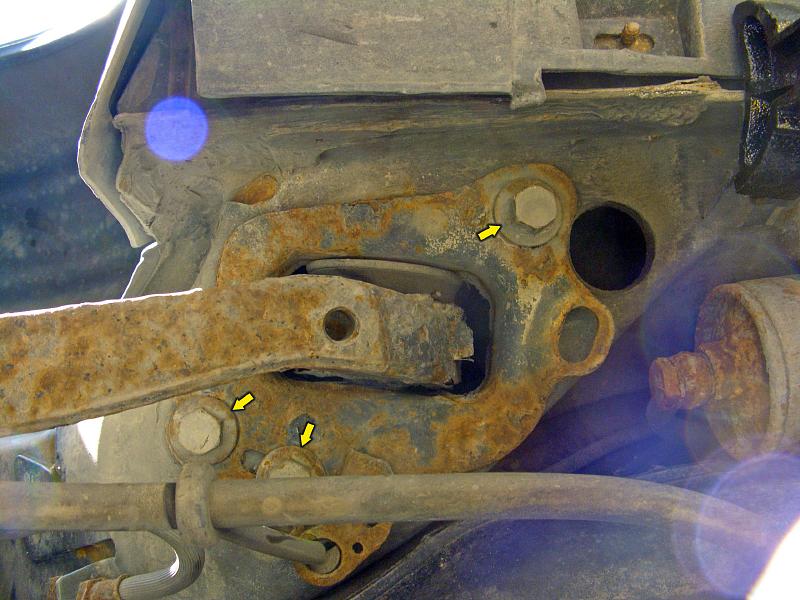 |
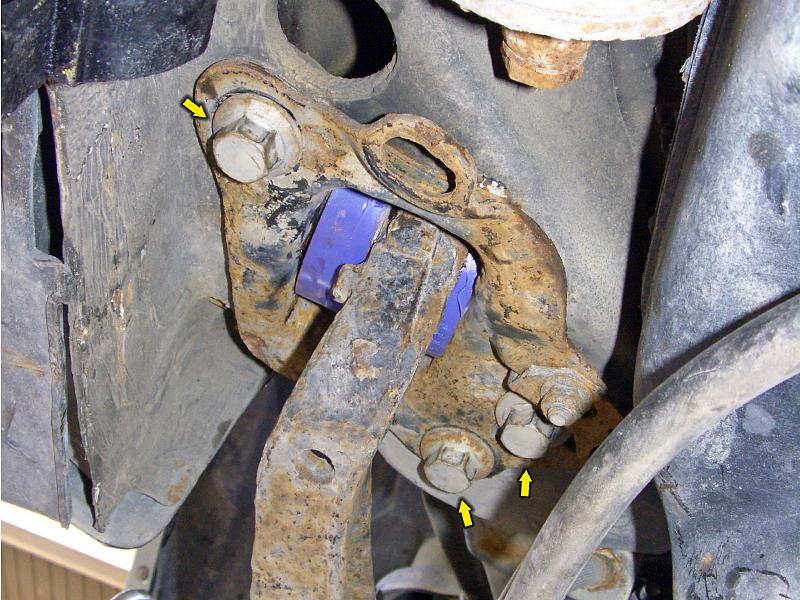
| 30.09.2007: Housing |
|
Undo three 18 mm bolts holding the bushing housing to the car. Carefully
lower the jack, support the brake line separately.
|
 |
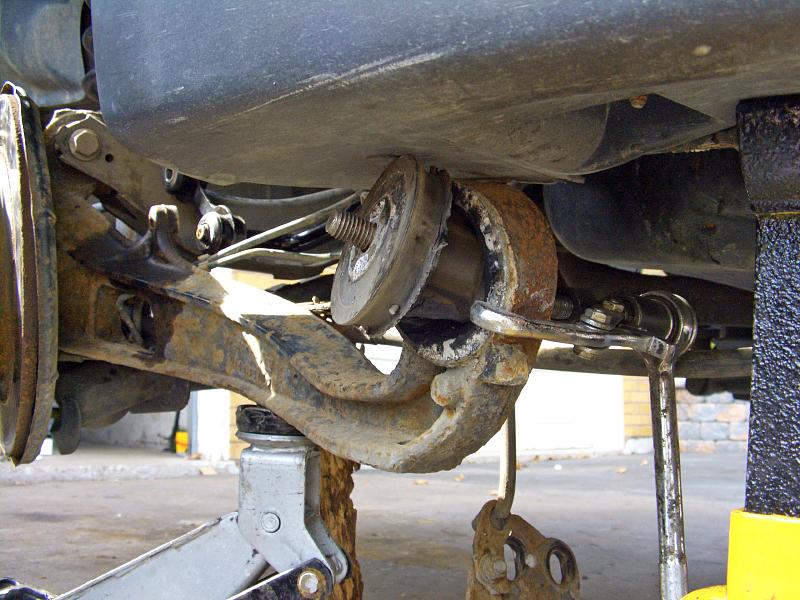
| 30.09.2007: Clamp |
|
Before taking on the bolt that goes through the bushing, clamp the housing
to the trailing arm. This will make it easier to loosen the nut.
|
 |
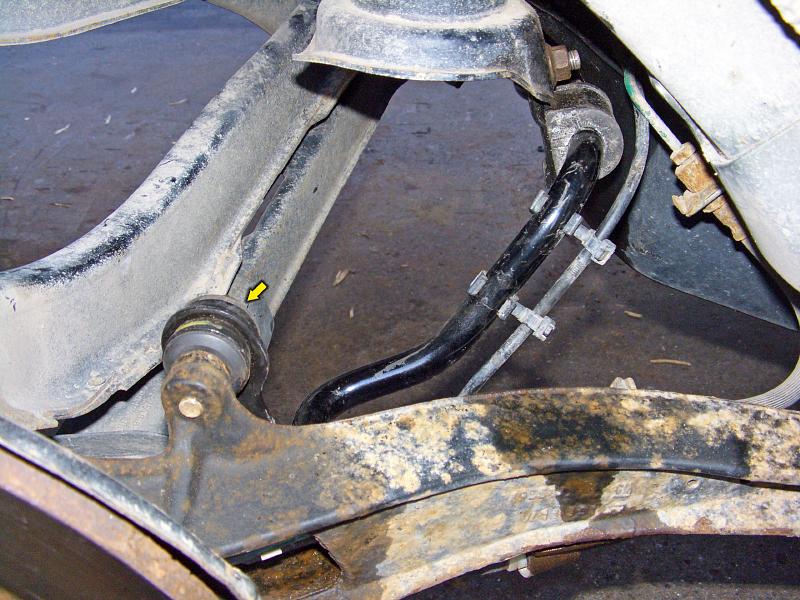
| 30.09.2007: Bush |
|
Pull the bolt out and slide the housing off the bushing. The housing is
tied to the handbrake cable, just let it hang off it.
|
 |
| 30.09.2007: Gear puller |
|
Push the rubber part of the bushing out using a gear puller or another suitable
tool.
|
 |
| 30.09.2007: Hacksaw |
|
Assemble the hacksaw with a blade inside the bushing and cut through the
soft aluminium sleeve.
|
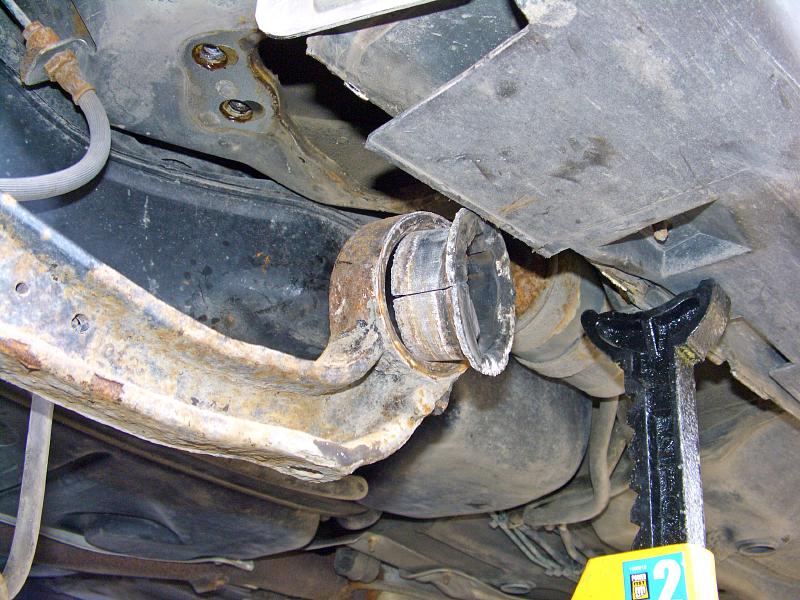 |
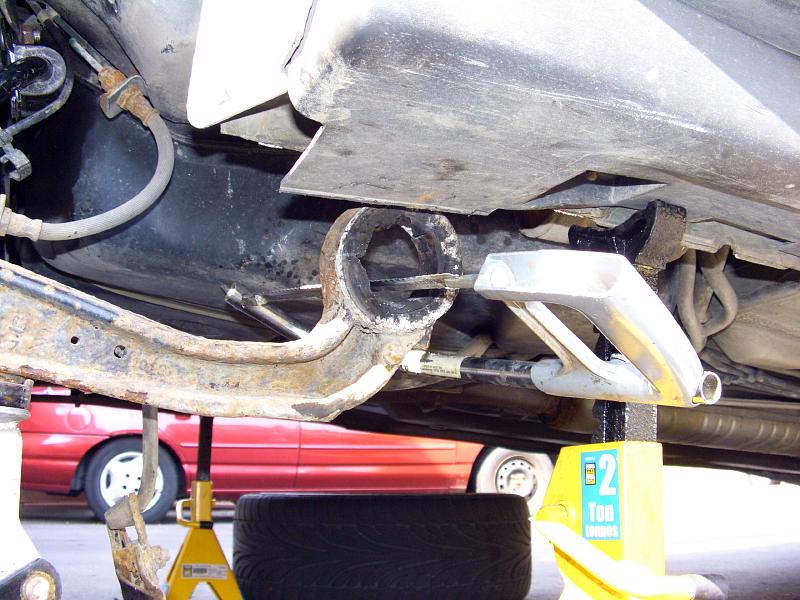
| 30.09.2007: Sleeve |
|
Chisel the sleeve out and discard the old bushing. Clean the inside of the
hole and all the contact surfaces.
|
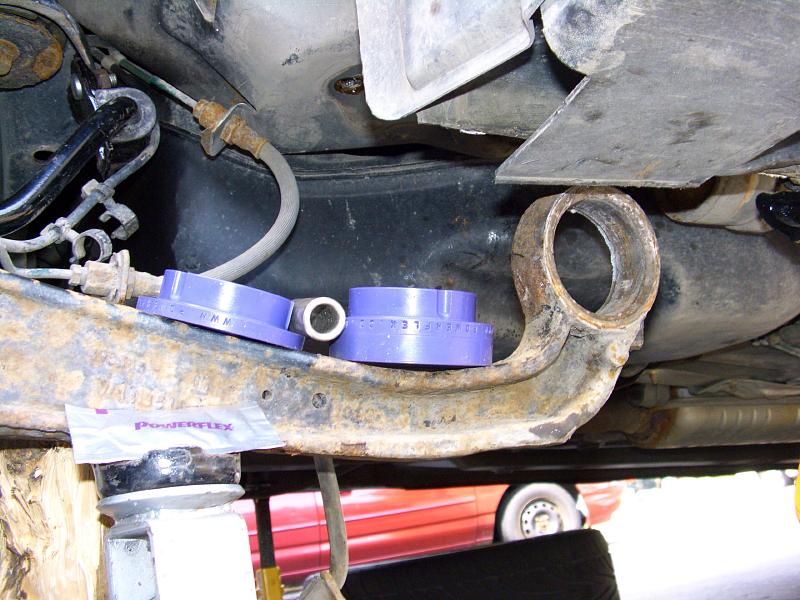 |
| 30.09.2007: New bushings |
|
New polyurethane bushing from Powerflex. Comes with a stainless inner
sleeve and a bag of grease.
|
 |
| 30.09.2007: Fitted |
|
Lubricate the bushing, slide in the polyurethane halves first, then the
inner sleeve.
|
 |
| 30.09.2007: Housing |
|
Fit the housing, clamp it to the arm and tighten the nut to 70 ft-lbs
+60°.
|
 |
| 30.09.2007: Lifted |
|
Lift the trailing arm using a jack until the bushing enters its socket
on the underside on the car.
|
 |
| 30.09.2007: Bolted on |
|
Position the housing as close to the original location as possible and
tighten the bolts to 66 ft-lbs +30°.
|
 |
| 30.09.2007: Bracket |
|
Re-attach the brake line bracket. These thin M6 screws broke off on both
sides when I took them out, so I had to re-drill and tap the holes again.
Put the screws on anti-seize.
|
 |
| 30.09.2007: Link |
|
Tighten the anti-roll bar link bolt to 40 ft-lbs. Re-fit the lower shock
bolt if you unbolted it (140 ft-lbs). Tighten the wheels to 81 ft-lbs and
lower the car to the ground.
|


