 |
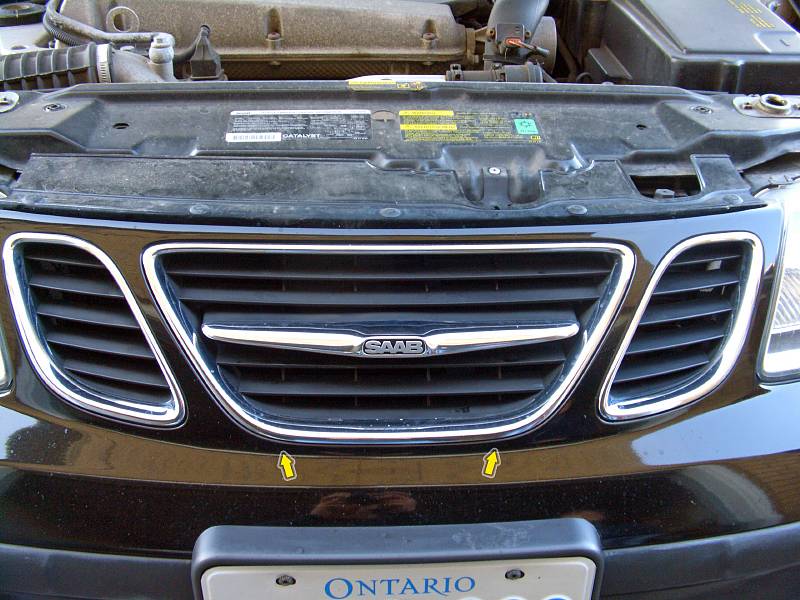
| 20.05.2007: Front grille |
|
Start by removing the central grille piece. Slightly lift the lower part
and pull the grille out.
|
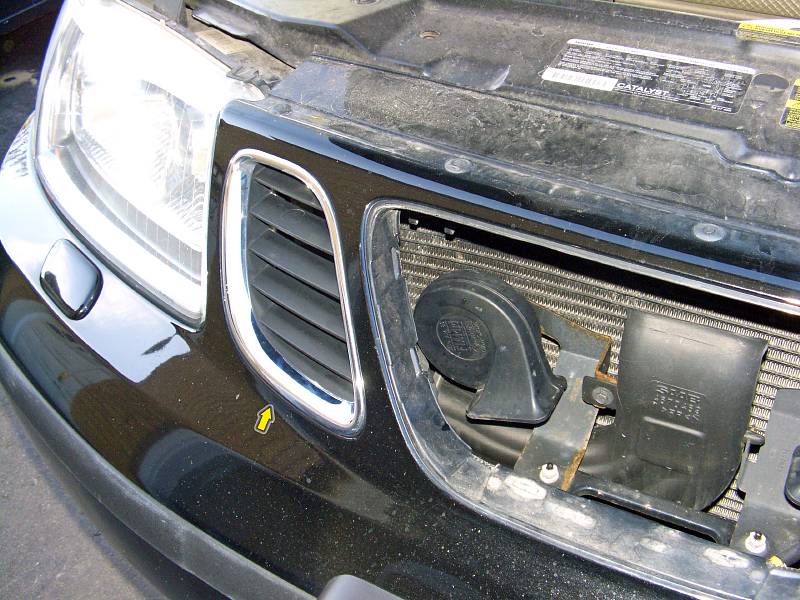 |
| 20.05.2007: Side grille |
|
Reach inside and press on the latch on the side grille. Lift the lower part
and pull the grille out.
|
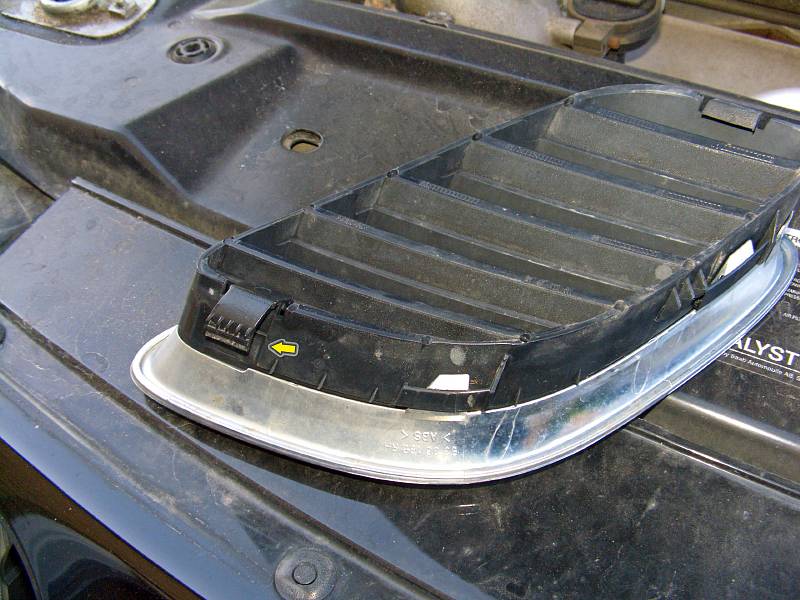 |
| 20.05.2007: Grille latch |
|
Here's a closer view of the side grille latch.
|
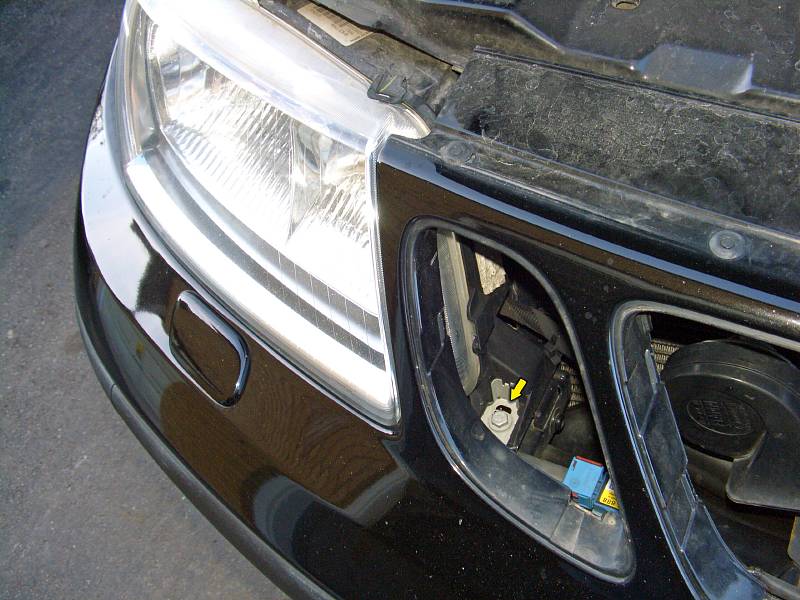 |
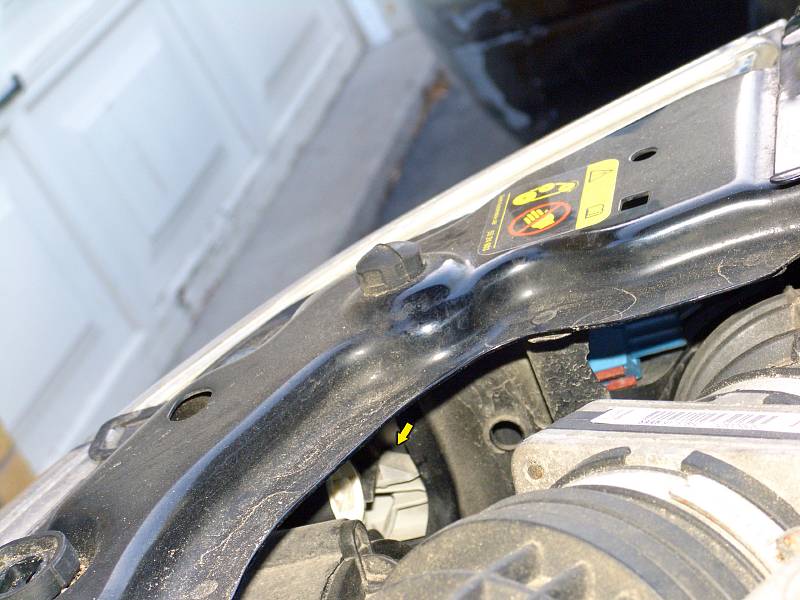
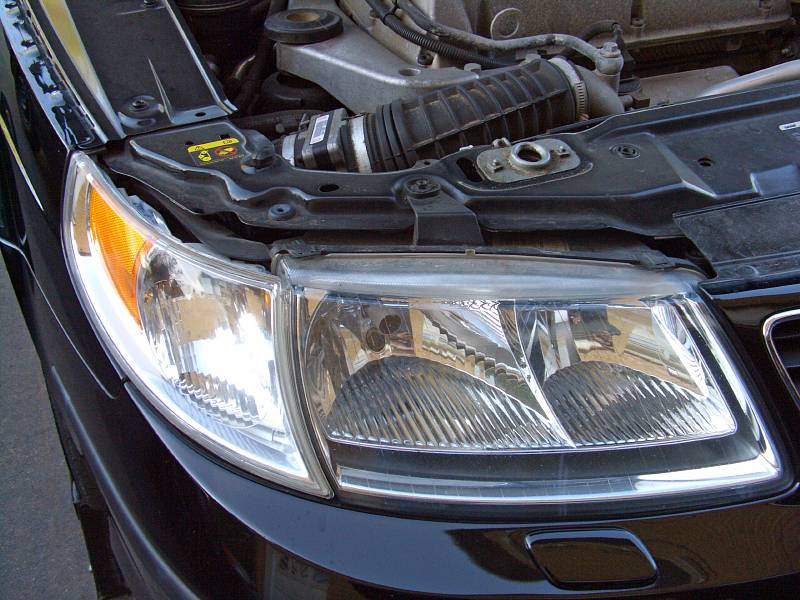
| 20.05.2007: Screw |
|
Undo the 10 mm screw holding the side of the headlight.
|
 |
| 20.05.2007: Corner light |
|
Press down on the latch on the inside of the corner light and slide the
corner light forward.
|
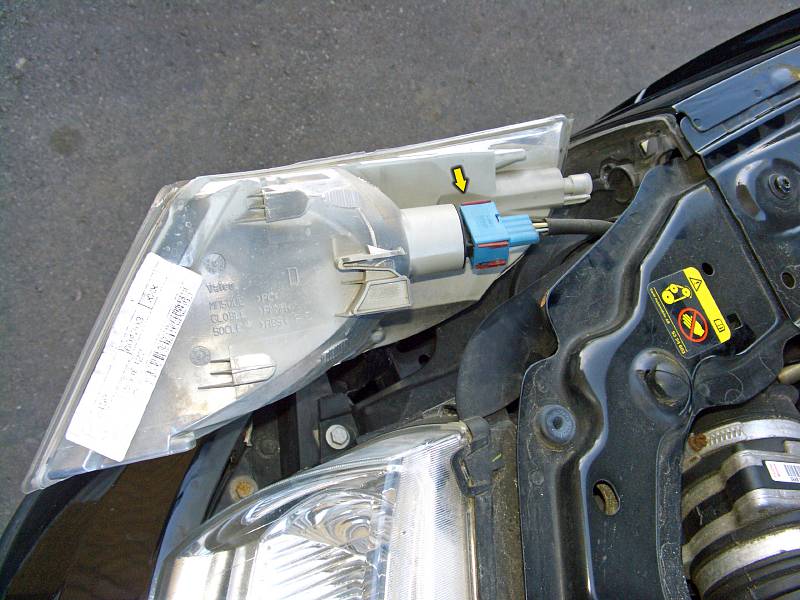 |
| 20.05.2007: Connector |
|
Disconnect the wires and remove the corner light unit.
|
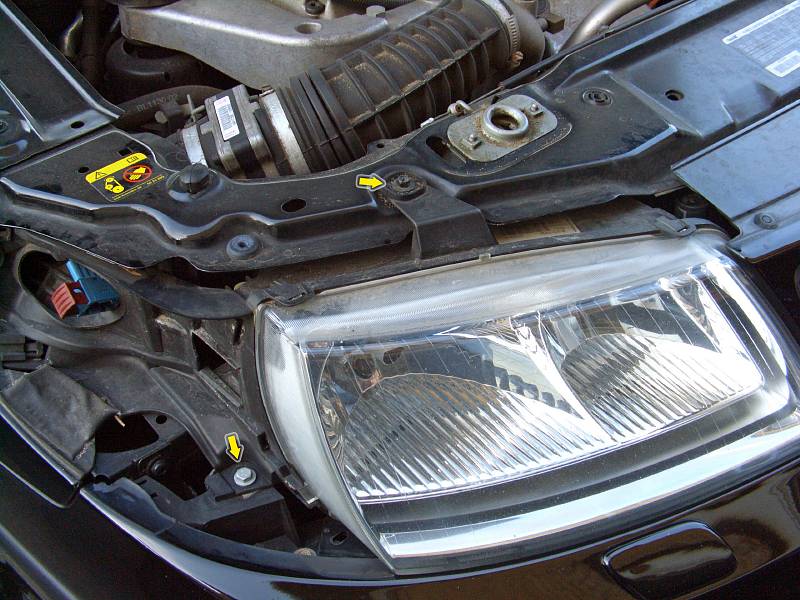 |
| 20.05.2007: Headlight |
|
Undo the two remaining screws and pull out the headlight assembly. It
takes some wiggling to get out.
|
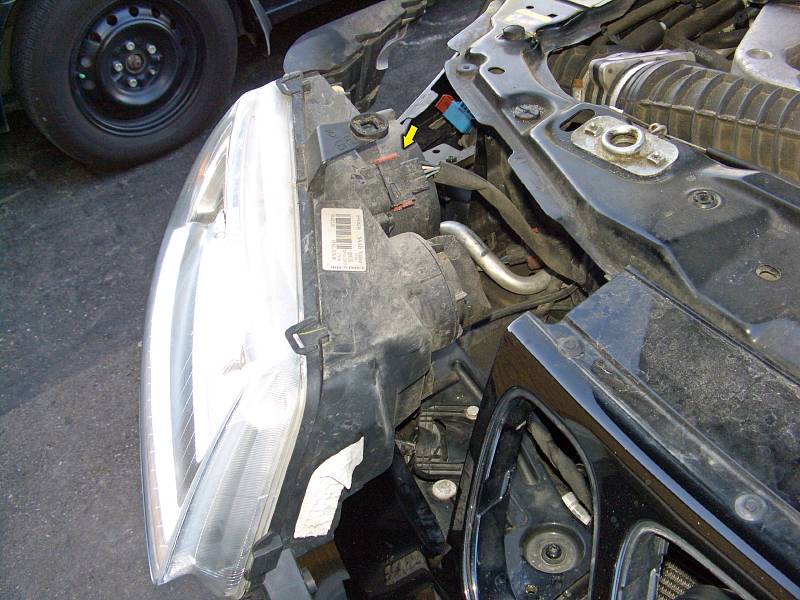 |
| 20.05.2007: Connector |
|
Disconnect the wiring harness and remove the headlight.
|
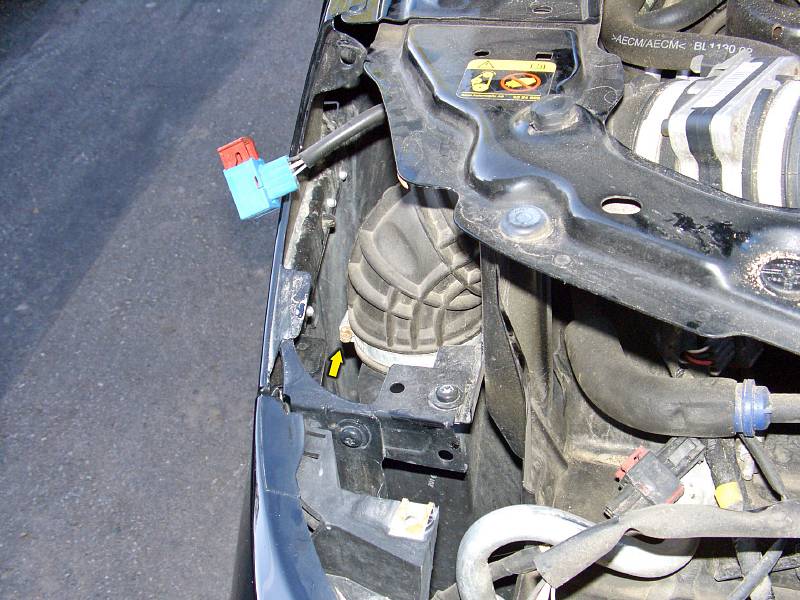 |
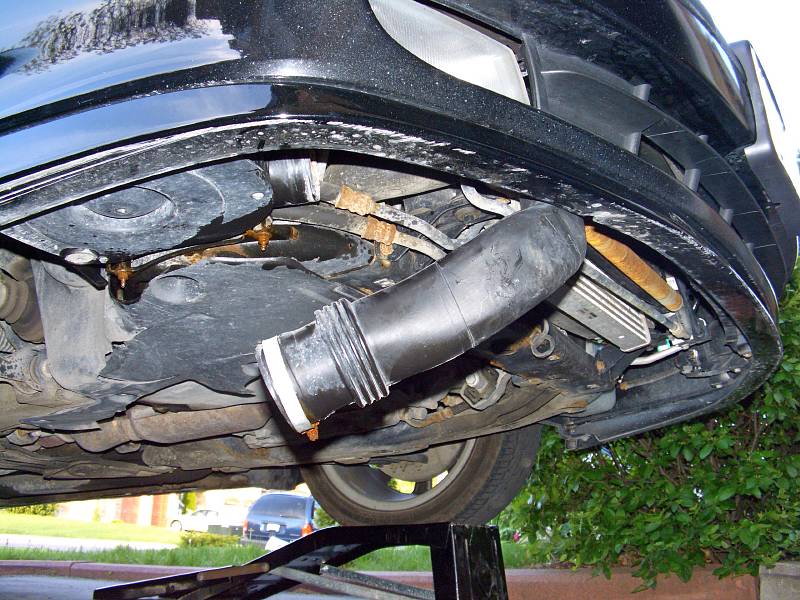
| 20.05.2007: Clamp |
|
Undo the clamp on the hose leading from the airbox to the MAF sensor.
|
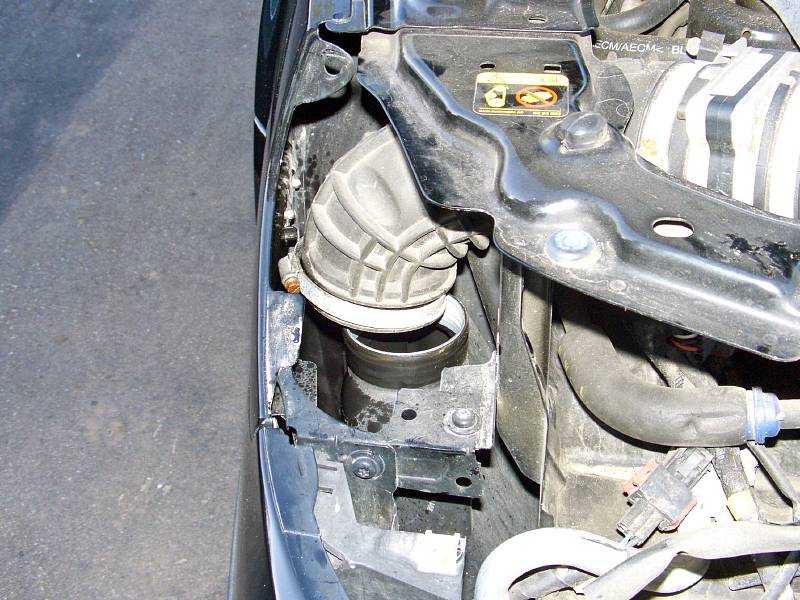 |
| 20.05.2007: Hose off |
|
Detach the hose from the airbox.
|
 |
| 20.05.2007: Lower shield |
|
Remove the lower shield. It's held by half a dozen Torx T25 screws.
|
 |
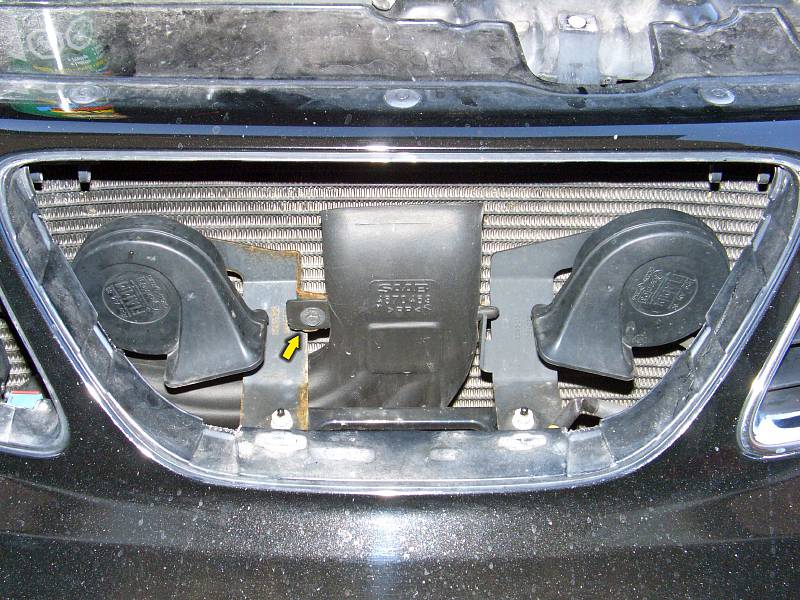
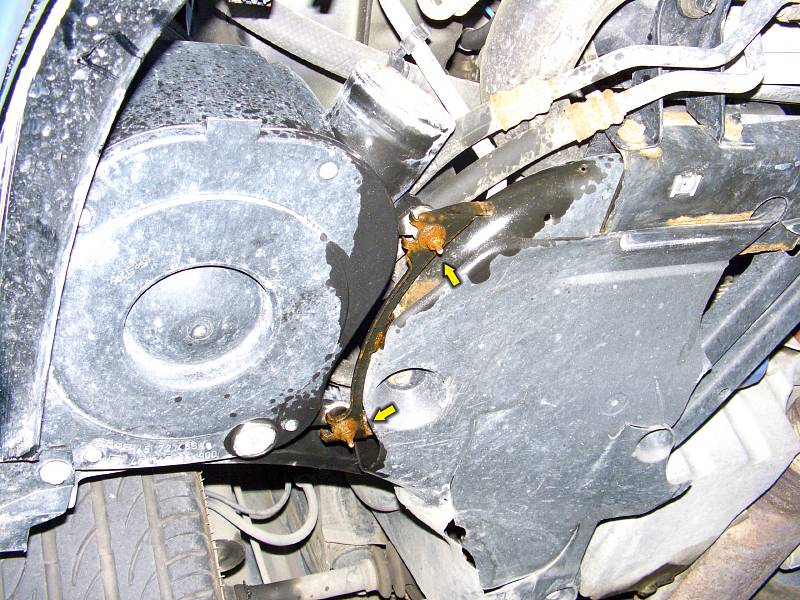
| 20.05.2007: Clamp |
|
Release the clamp on the airbox inlet pipe. This clamp often becomes rusty,
so don't hesitate to just cut it if nothing else works. You won't need it
later.
|
 |
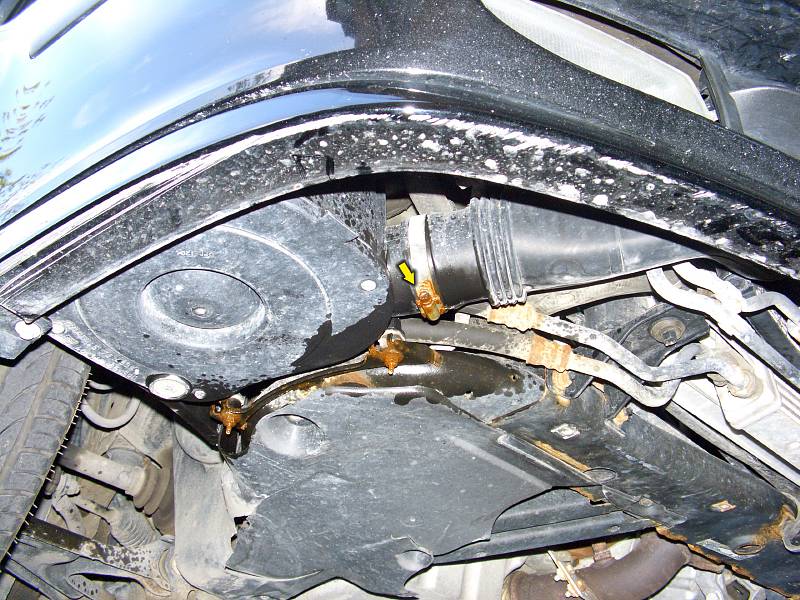
| 20.05.2007: Screw |
|
Undo the 8 mm screw holding the top of the inlet pipe behind the grille.
|
 |
| 20.05.2007: Inlet pipe |
|
Pull the inlet pipe out. You don't need it anymore.
|
 |
| 20.05.2007: Support nuts |
|
Undo two 10 mm nuts holding the airbox under the fender.
|
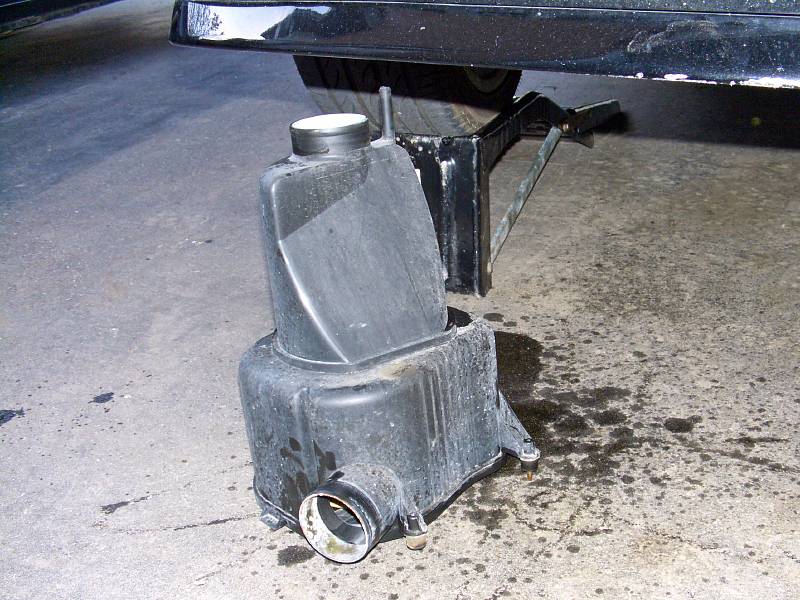 |
| 20.05.2007: Airbox |
|
Lower the airbox to the ground.
|
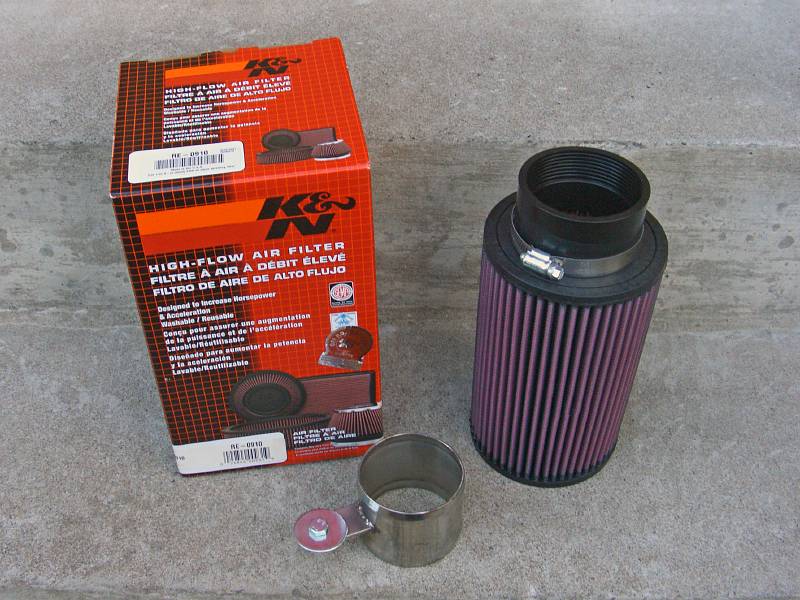 |
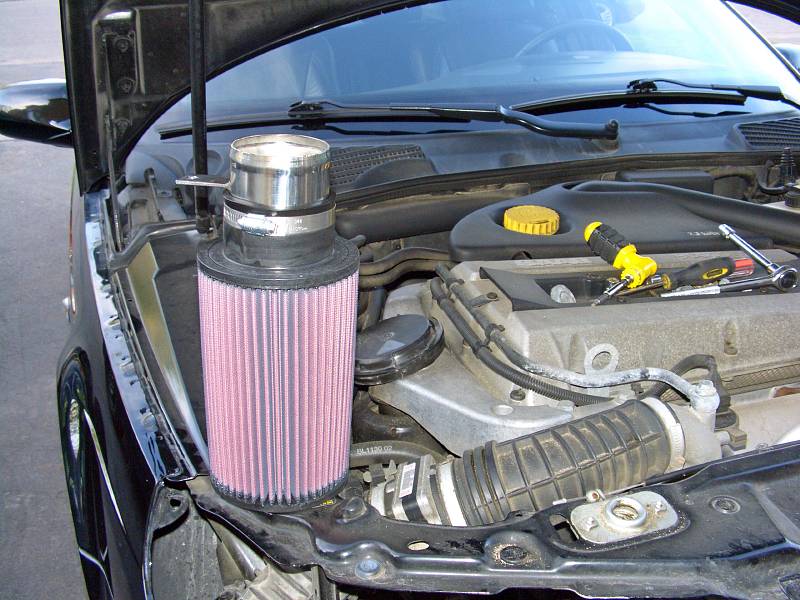
| 20.05.2007: Intake kit |
|
The intake kit comes with a reusable K&N filter, stainless adapter and
mounting hardware.
|
 |
| 20.05.2007: First clamp |
|
Attach the filter to the adapter and tighten the clamp.
|
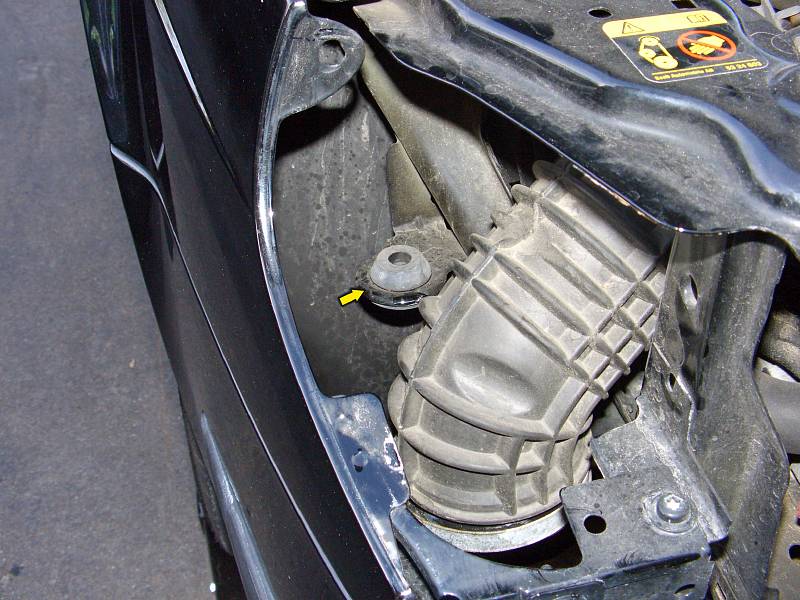 |
| 20.05.2007: Rubber bushing |
|
Remove the rubber bushing that previously held the top of the airbox.
|
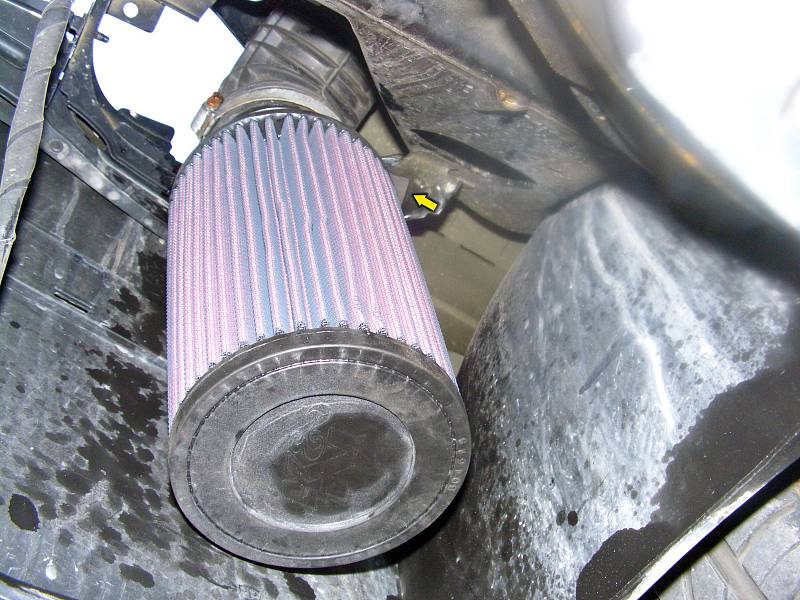 |
| 20.05.2007: Attached |
|
Guide the filter assembly from below so the mounting hole matches the
tab where the rubber bushing was.
|
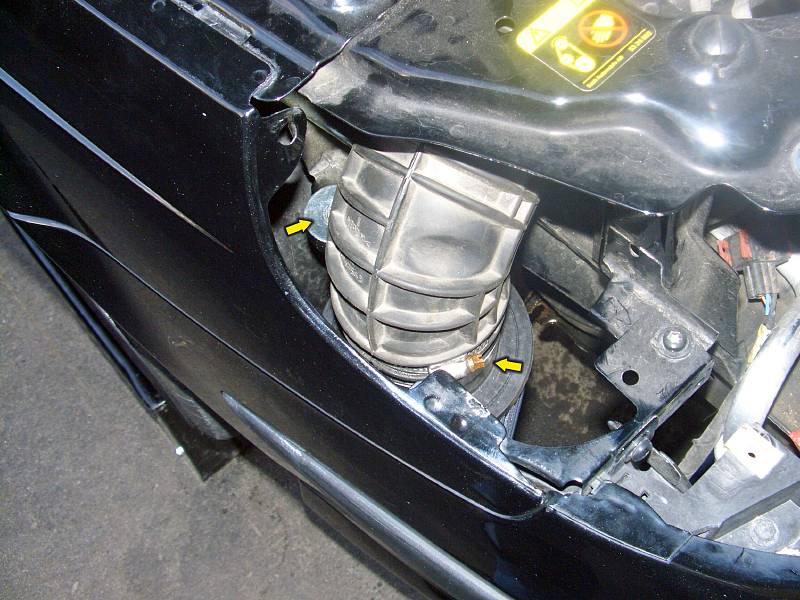 |
| 20.05.2007: Bolt and clamp |
|
Fit the hose onto the adapter. Tighten the bolt on the mounting tab and
the hose clamp. Make sure you position the hose as far to the inside as
possible, otherwise it will interfere with the headlight housing.
|
 |
| 20.05.2007: Done |
|
Install the headlights and the grille. Take the car for a ride and enjoy
you new intake ;].
|


