 |
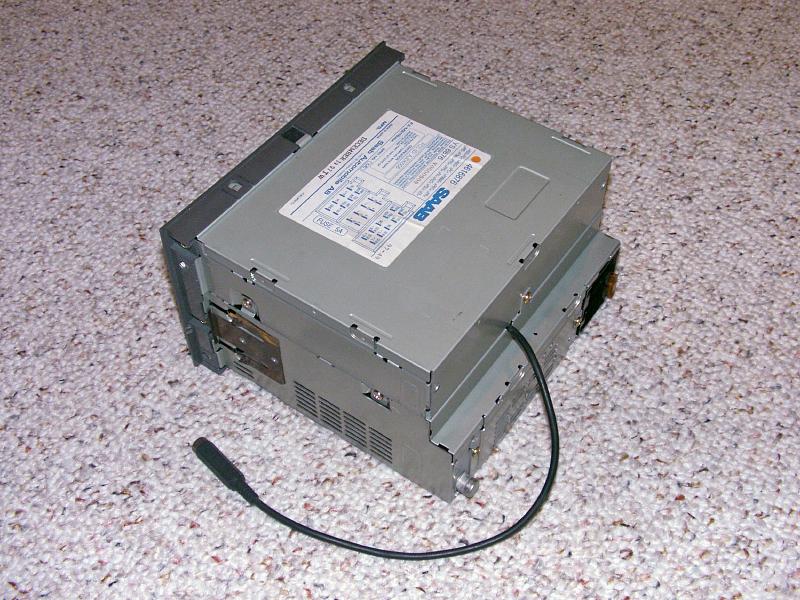
| 26.11.2006: Stereo removal |
|
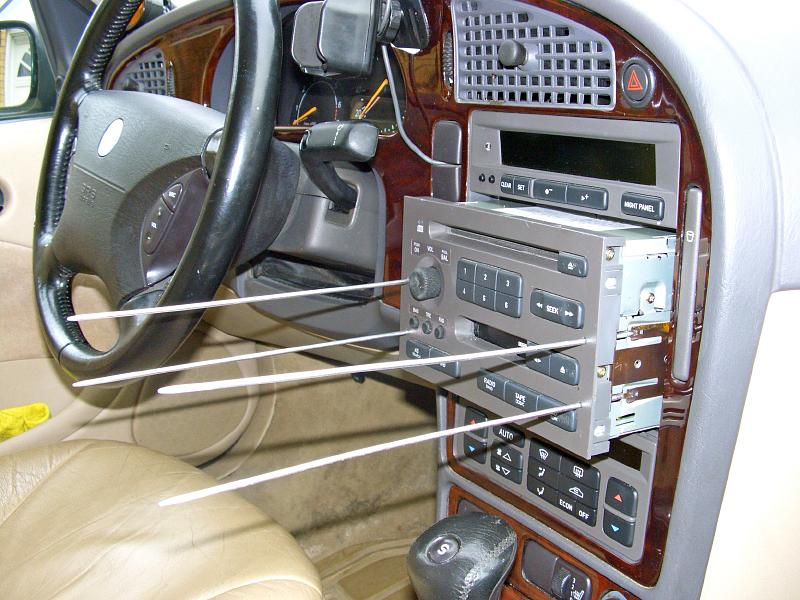
Remove the head unit from the car. If you don't have a stereo removal tool,
use a set of knitting needles, or just four long nails. Stick them in and
pull the stereo out.
|
 |
| 26.11.2006: Mounting case |
|
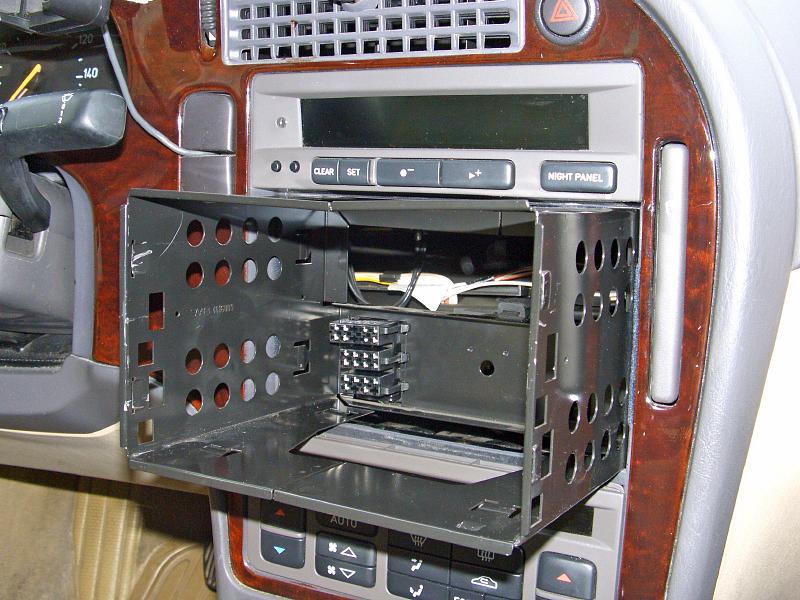
Press the sides of the mounting cage inward to release the latches and pull
the cage out. Detaching the wiring harness from the back of the cage will
make it easier to test the unit later.
|
 |
| 26.11.2006: Head unit |
|
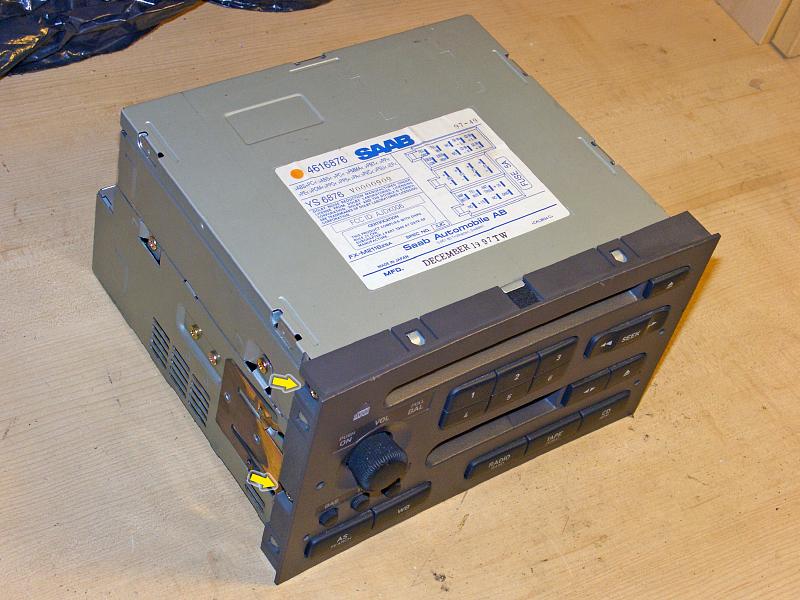
The face panel of the head unit is held by four Philips screws (two
on each side) and hald a dozen plastic latches.
|
 |
| 26.11.2006: Front panel removed |
|
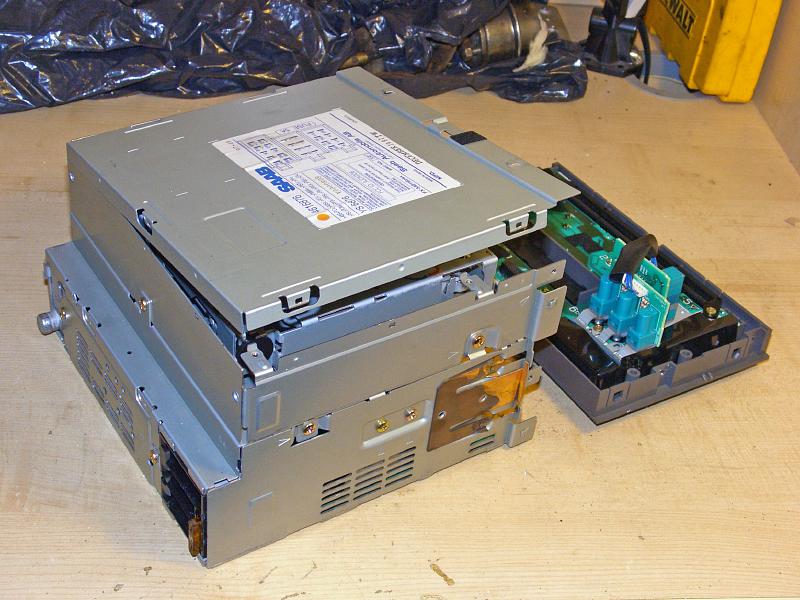
Unplug the front panel. The top cover of the CD player module is not
necessary to remove, but it's easy to pop if you're curious what's inside.
|
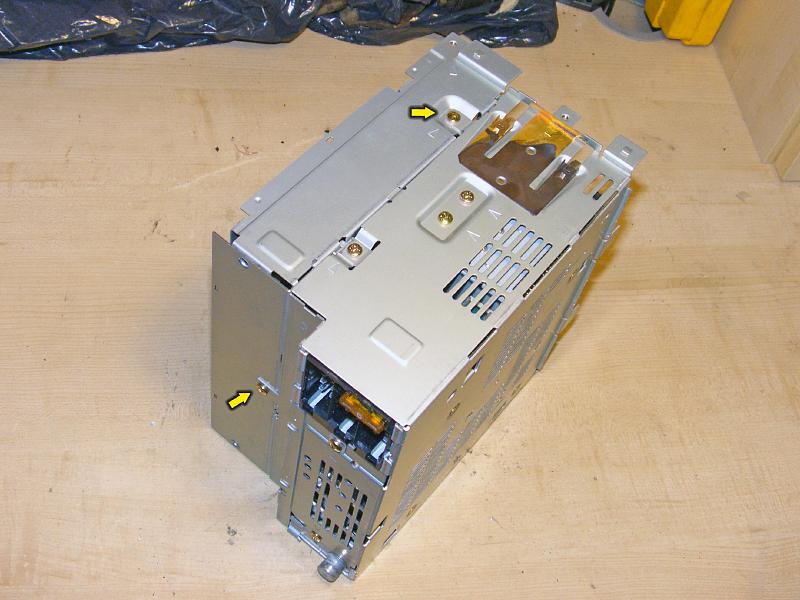 |
| 26.11.2006: CD player screws |
|
The CD module is secured by three Philips screws.
|
 |
| 26.11.2006: CD cable |
|
Before removing the CD module, unhook the ribbon cable from the main board.
|
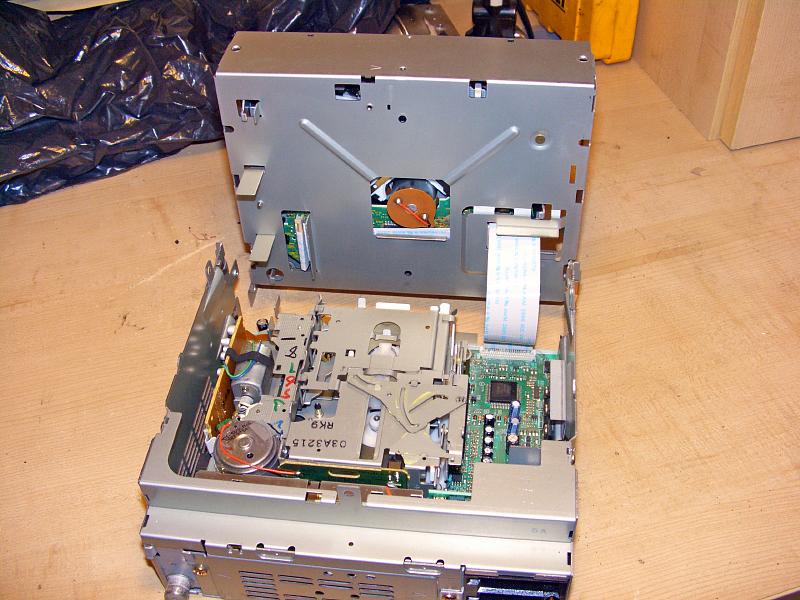 |
| 26.11.2006: CD module |
|
Lift the CD player module and store it away.
|
 |
| 26.11.2006: Tape module |
|
Unscrew the tape player module (4 more screws). The little vertical
board on the right side of the module is plugged into the main board.
Unplug it with care.
|
 |
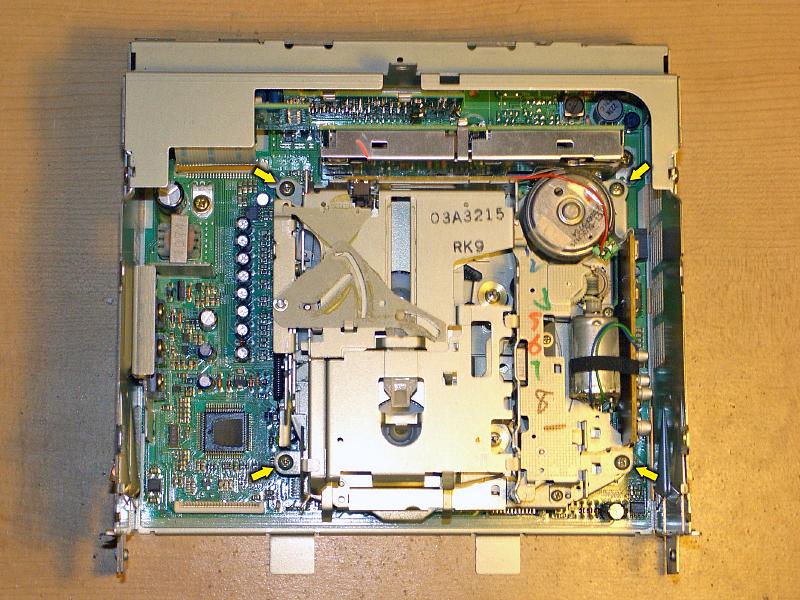
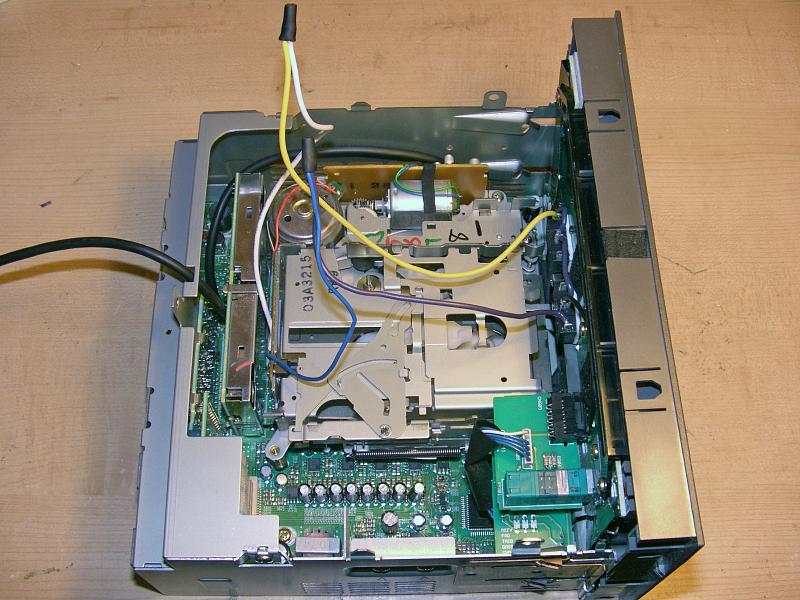
| 26.11.2006: Head board |
|
These two green jumpers lead to the stereo signals from the magnetic head.
I haven't noticed any feedback or distortion with the circuit uninterrupted,
but it's highly recommended to unsolder these jumpers to disconnect the
tape signal amplifier or install a switch to alternate between the deck
and the aux input.
|
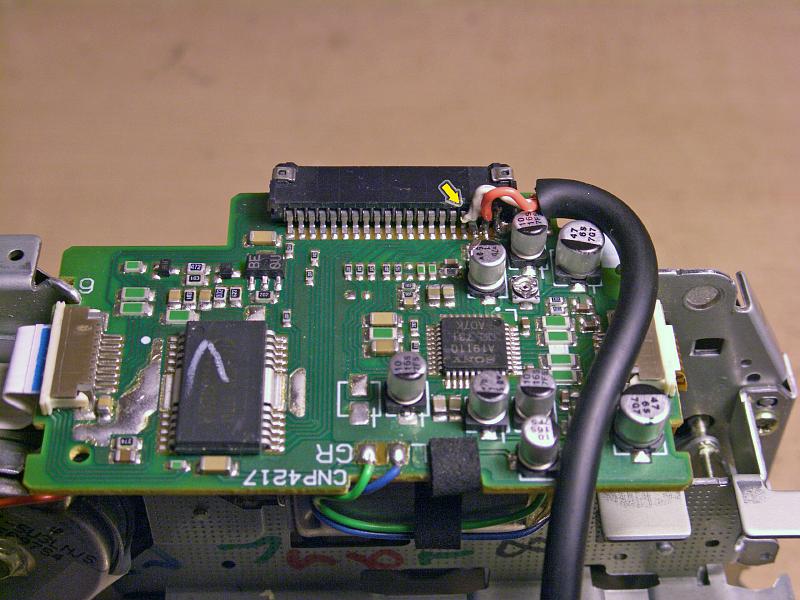 |
| 26.11.2006: Stereo signal |
|
Connect the external stereo wires to the connector leading to the main
board. Ground is pin #1, right channel (red) is pin #2, and left channel
(white) is pin #3. Some head units (AS2 vs AS3) have a different board
layout, but the pin-out of the connector is always the same.
|
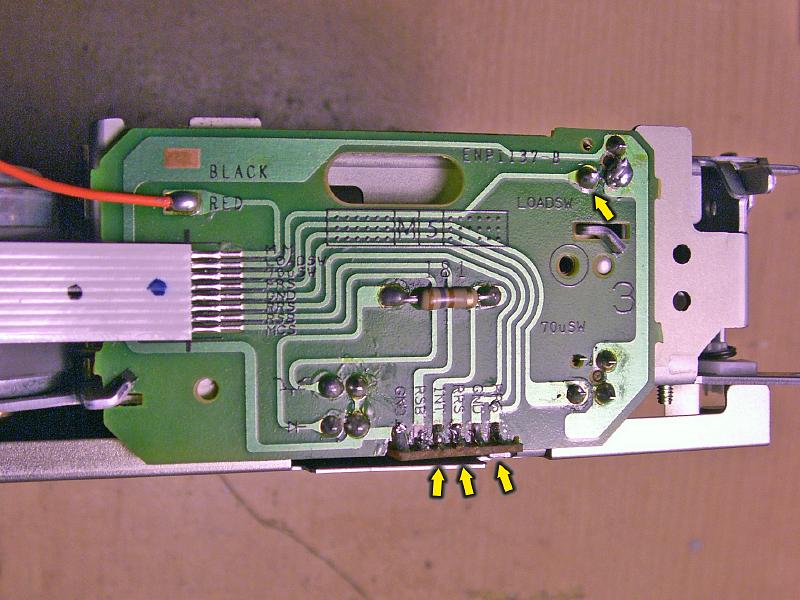 |
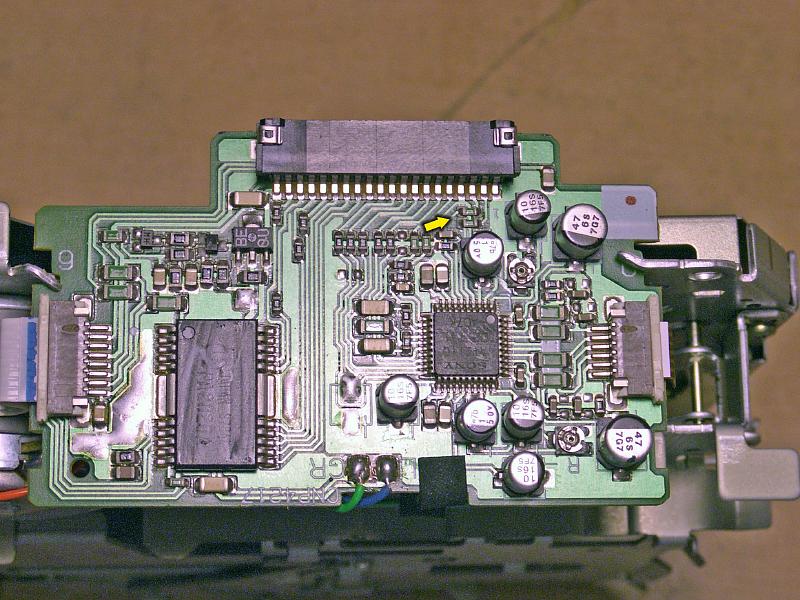
| 26.11.2006: Tape control board |
|
The tape control board carries the signals from various tape sensors. The
load switch ("LOADSW") in the top right is a switch that gets pushed when
the cassette goes in. The front and rear reel signals ("FRS" and "RRS") are
the rotation ticks from the tape spindles. And the "INT" signal initiates
the head engagement.
|
 |
| 26.11.2006: Signal taps |
|
First, tap into the load switch line. Grounding it tells the deck to load
the cassette tray. Shorting the front and rear reel signals will fool the
control logic into thinking that both reels are spinning (the downside is
that it will effectively disable the tape jam protection). Finally, solder
a wire to the resistor leading to the "INT" pin.
|
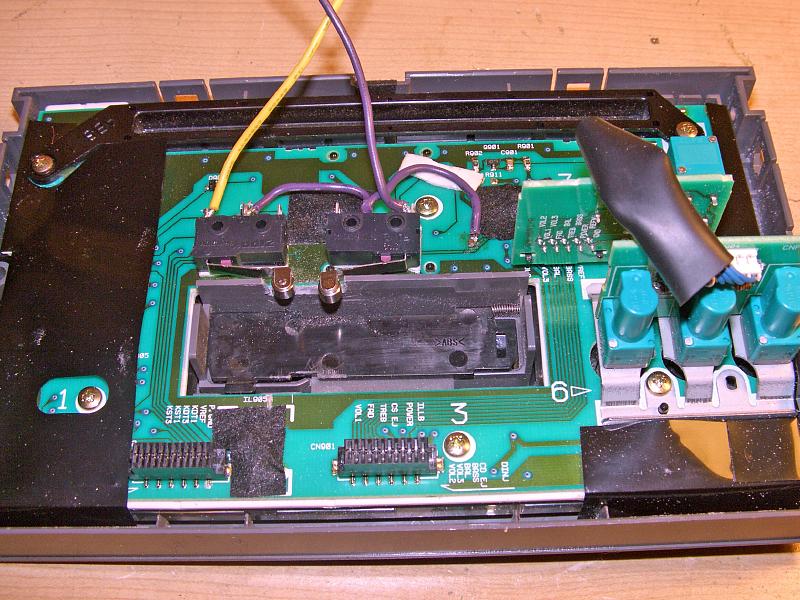 |
| 26.11.2006: Switches |
|
You can opt for an external switch, but I chose to install these two for a
completely stealthy setup. Note that the one on the right engages
first, and the left one only clicks when the tape door is at the end
of its travel. Both switches are normally open, closing them shorts
to ground (find a local ground source on the face panel board).
|
 |
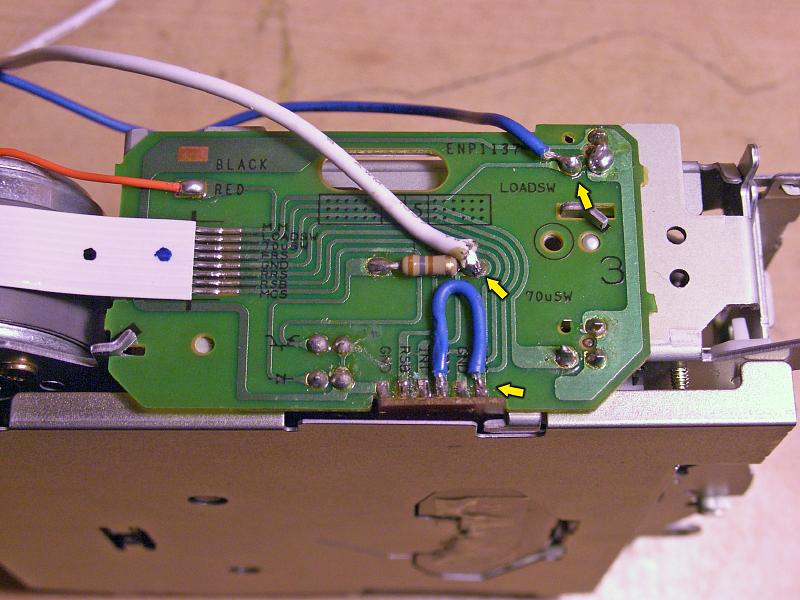
| 26.11.2006: Assembled |
|
Connect the first switch to the "LOADSW" signal, and the second switch
to the "INT" signal. If you're careful enough, you can even position the
switches so they are not engaged when a regular cassette hits the door,
to preserve the cassette playback functionality (sans the jam protection).
|
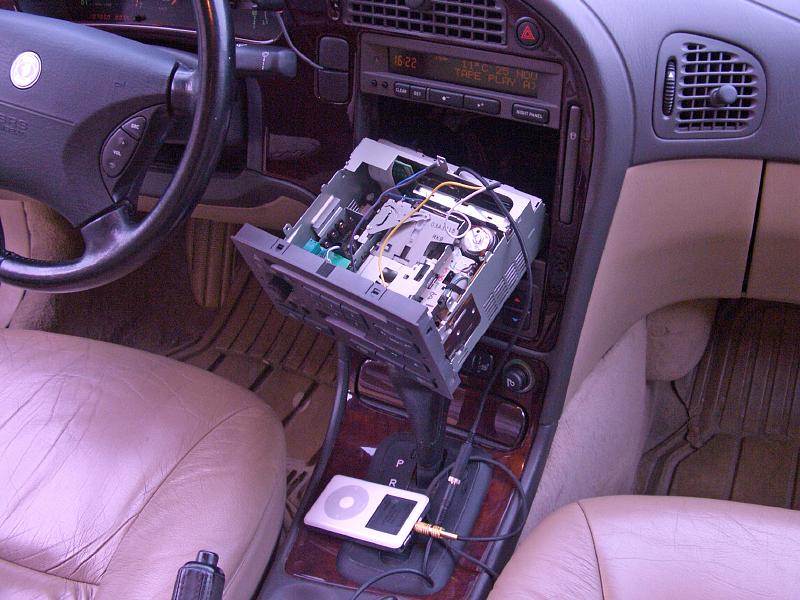 |
| 26.11.2006: Testing |
|
Connect the MP3 player and turn the stereo on. Push the cassette door
inward to hit the first switch. The stereo will switch to the tape mode.
Usually, the deck will start right on and show "TAPE PLAY A>" (or "B"),
playing the music from your MP3 player. If you only see "TAPE" on the
SID, push the door further to press the second switch for a second or
two, then release it. The deck will engage the playback and you'll see
"TAPE PLAY A>".
|
 |
| 26.11.2006: Complete |
|
Re-install the CD player module and put the head unit back into the car.
Route the auxillary cable to a convenient location of your choice. Enjoy
the music. If you find the tape suddenly switching to "FAST FORWARD" after
a few seconds of playback, disable the fast seek feature by pressing the
middle of the "SEEK" button on the head unit.
|
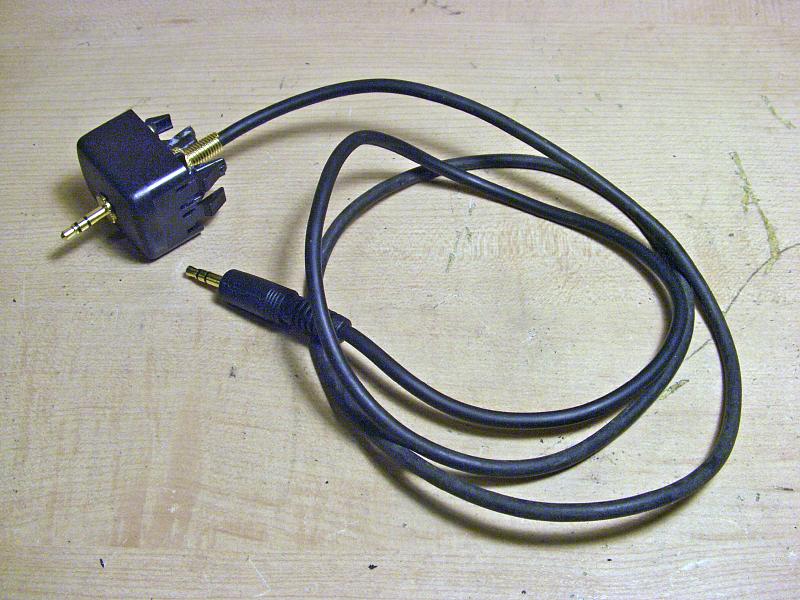 |
| 26.11.2006: Cable |
|
I attached the stereo plug to one of the dashboard blanks.
|
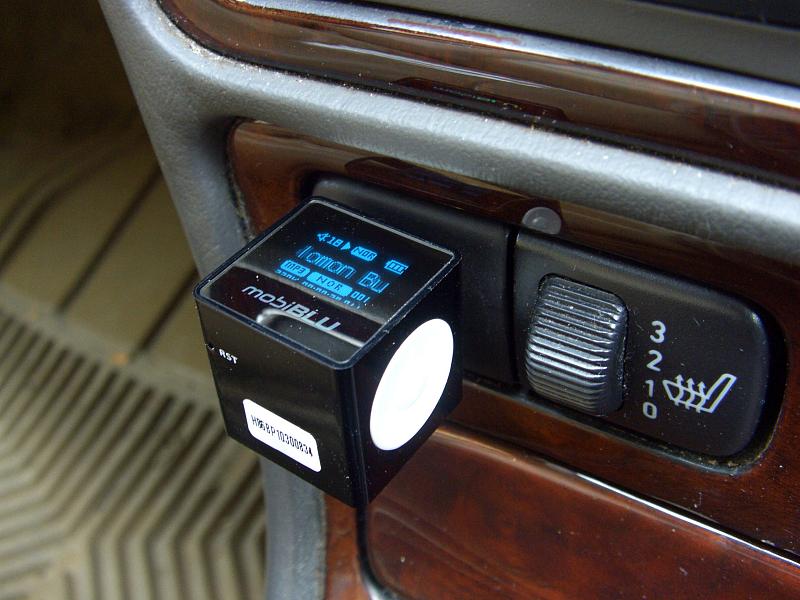 |
| 26.11.2006: mobiBLU |
|
The tiny mobiBLU player fits
directly onto the stereo jack and looks right at home at this location.
|


