 | 01.09.2006
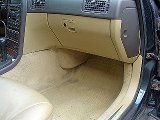
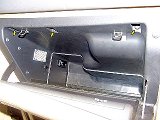
Passenger side
The cabin filter is located inside the heating and ventilation unit under
the dasboard. The access hatch is from the passenger side.
|  | 01.09.2006
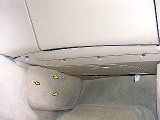
Carpet cover
Start by removing the small carpet cover under the glovebox. Its held by
three plastic rivets - pressing the middle tab inward unlocks it and lets
you pull the rivet out.
|
 | 01.09.2006
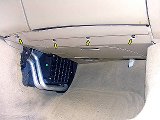
Lower dash cover
Undo the Torx screws alongside the lower dash cover and remove the cover.
|  | 01.09.2006
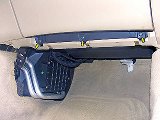
Lower glovebox screws
Undo three Torx screws holding the lower part of the glovebox.
|
 | 01.09.2006
Upper glovebox screws
Open the glove box and undo three more screws along its upper edge.
|  | 01.09.2006
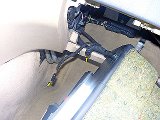
Vent hose
Pull the glovebox, unhook the electric connector and the cooling hose.
|
 | 01.09.2006
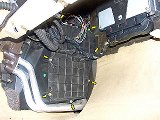
Filter cover
The filter cover is held by seven Phillips screws. A 7mm hex socket works too.
|  | 01.09.2006
Old filter
Pull the old filter and clean the compartment.
|
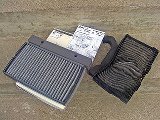 | 01.09.2006
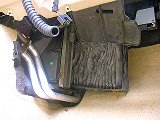
New vs old
This shows why is it important to replace your air filter often. You
breathe through this thing!
| 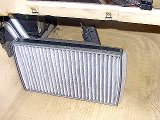 | 01.09.2006
New filter
The filter is installed horizontally, with the upper lip facing the front
of the car. Note the adhesive strip on the top side of the filter.
|
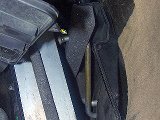 | 01.09.2006
Upper seal
Install the foam seal first, making sure that the cut-outs in it wrap
around the pipes along the top of the filter compartment.
| 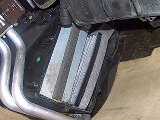 | 01.09.2006
Installed
Pull the protective film from the adhesive strip on top of the filter (it
will stick to the foam seal) and slide the filter in. Fit the trim in the
reverse order.
|
|


