 |
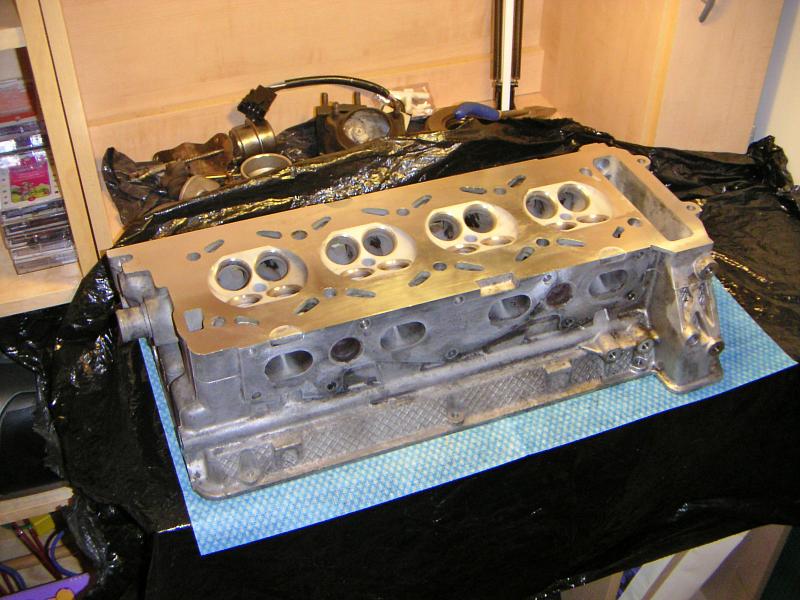
| 18.06.2006: Head |
|
A freshly cleaned and polished head, just from an engine rebuilder.
|
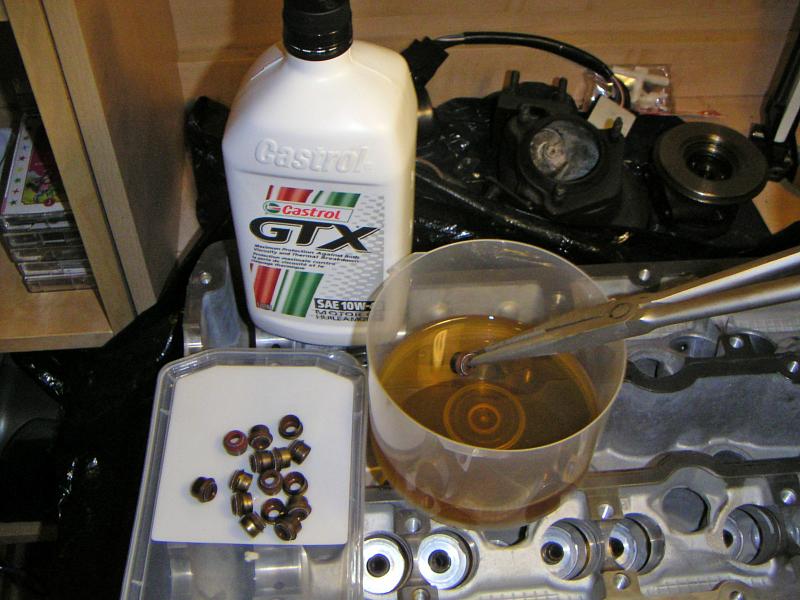 |
| 18.06.2006: Valve seals |
|
Fresh valve seals go in first. Dip them in oil before installing.
|
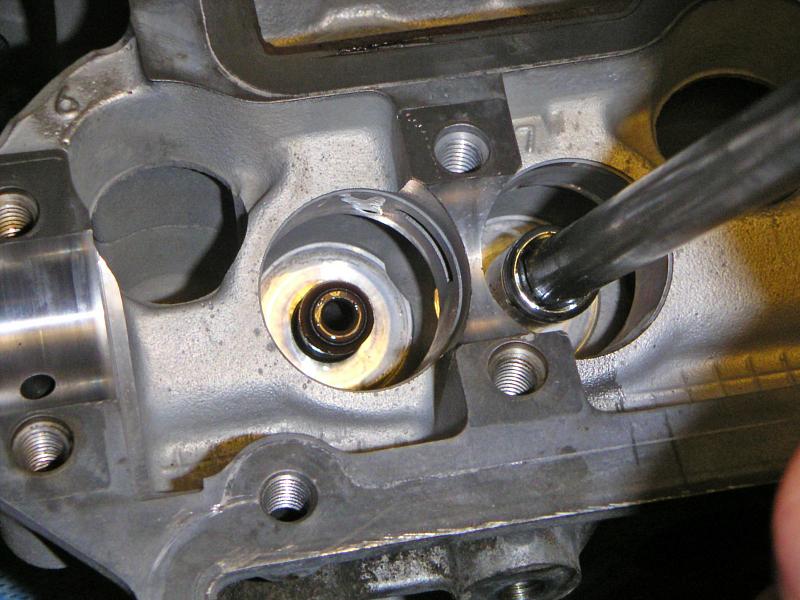 |
| 18.06.2006: Tapping in |
|
A seal just slides on the end of the valve guide. An 11 mm socket is a
perfect tool for tapping them on.
|
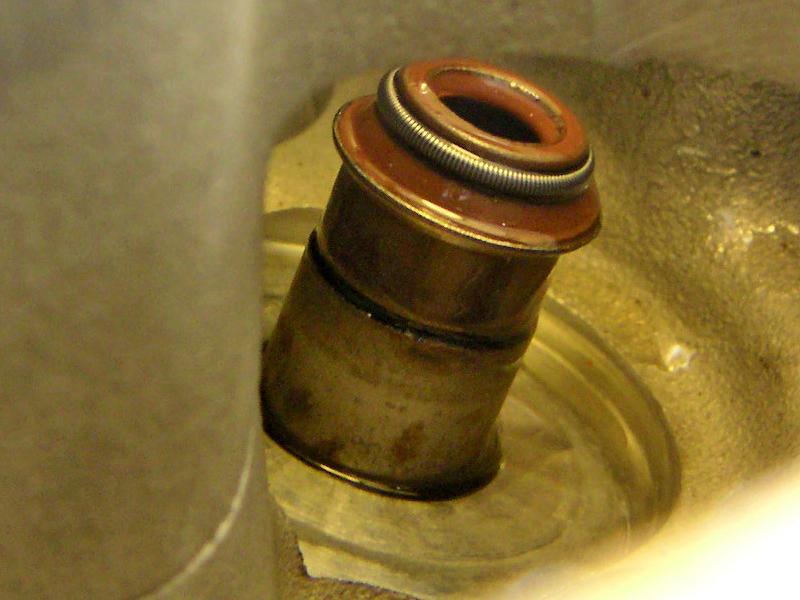 |
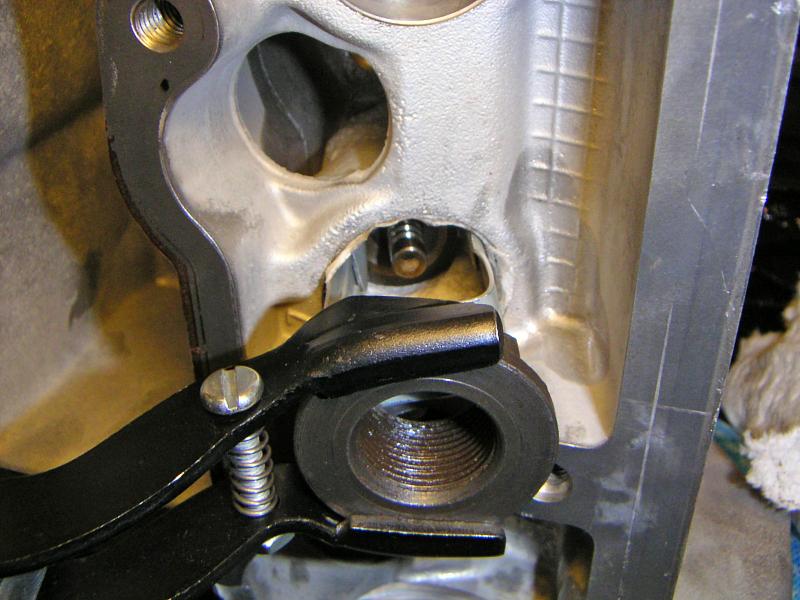
| 18.06.2006: Installed |
|
Close-up of a seal installed.
|
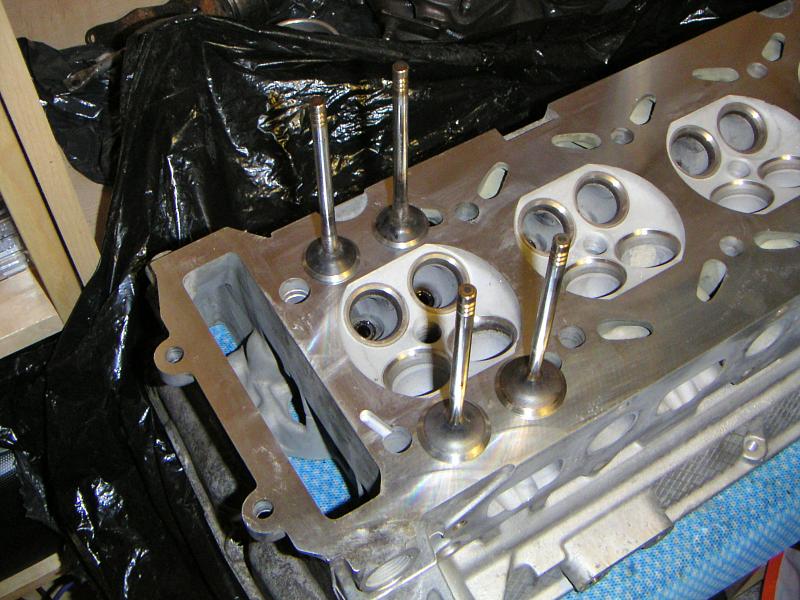 |
| 18.06.2006: Valves |
|
There are four valves per cylinder. The intakes are slightly larger.
|
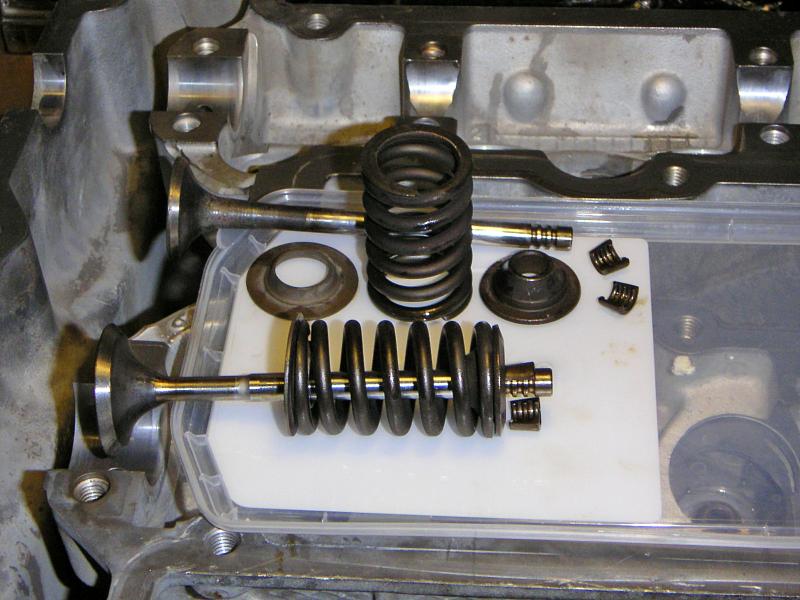 |
| 18.06.2006: Springs and washers |
|
The spring is sandwiched between two washers. The upper washer has a conical
collar wrapping around two collets that hold the valve stem.
|
 |
| 18.06.2006: Getting ready |
|
The valve is in the socket, the rest is ready to follow. A dab of
grease on the inside of the collets will make them stick to the valve stem
and ease the installation.
|
 |
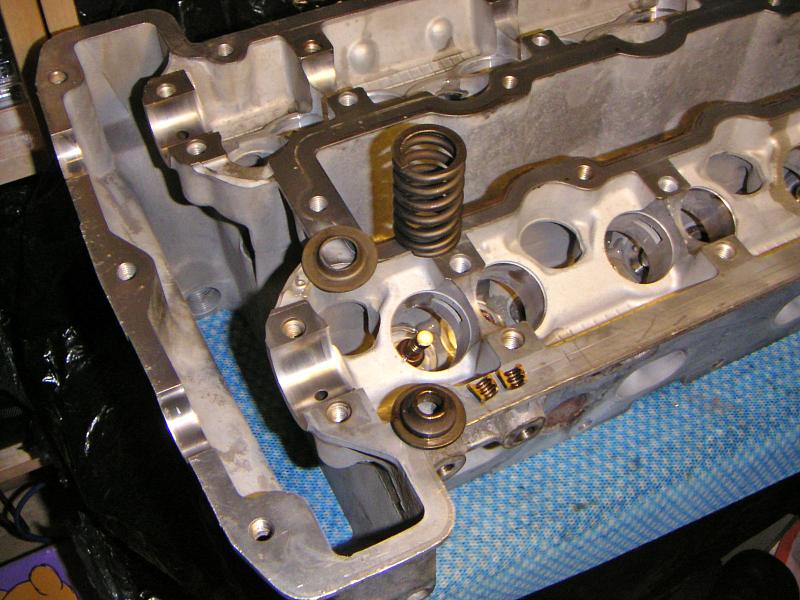
| 18.06.2006: Valve spring compressor |
|
Install the lower washer, the spring and the upper washer.
Use a spring compressor to clamp the spring against the valve.
|
 |
| 18.06.2006: Compressed |
|
When the spring is compressed, there's just enough room to insert the
collets using a pair of thin curved needle-nose pliers. Here's when
the grease on the collets comes in handy.
|
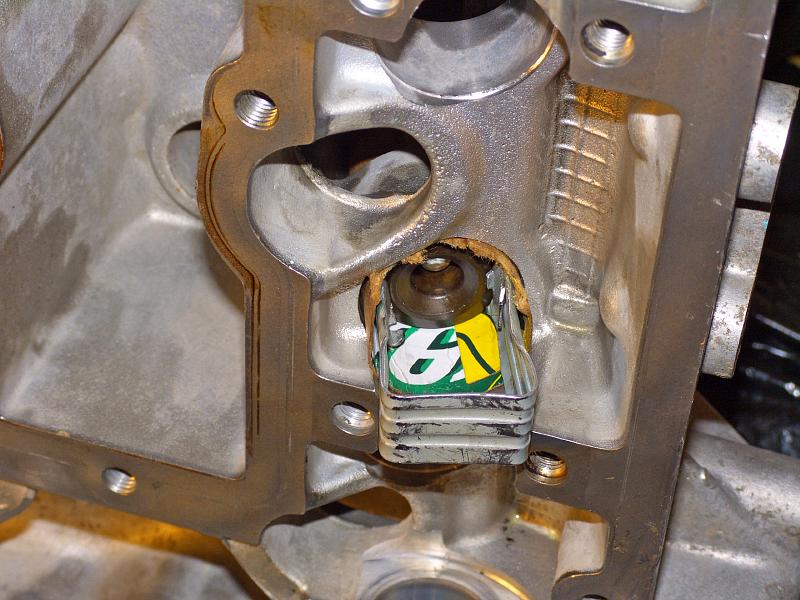 |
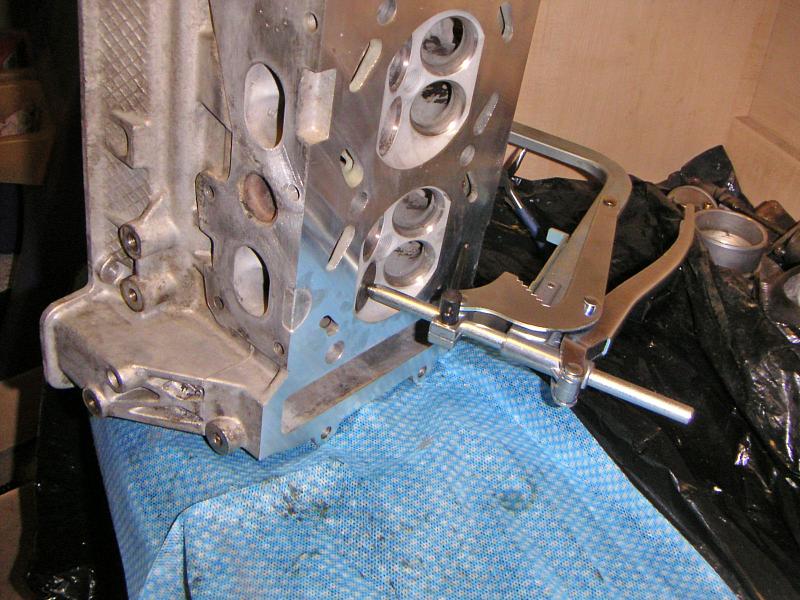
| 18.06.2006: Bracket |
|
The universal spring compressor I got from an auto parts store could not
reach far enough, so I had to improvise by making this U-shaped bracket.
The walls around the spring should be protected from scratches since they
act as sealing surfaces for hydraulic tappets.
|
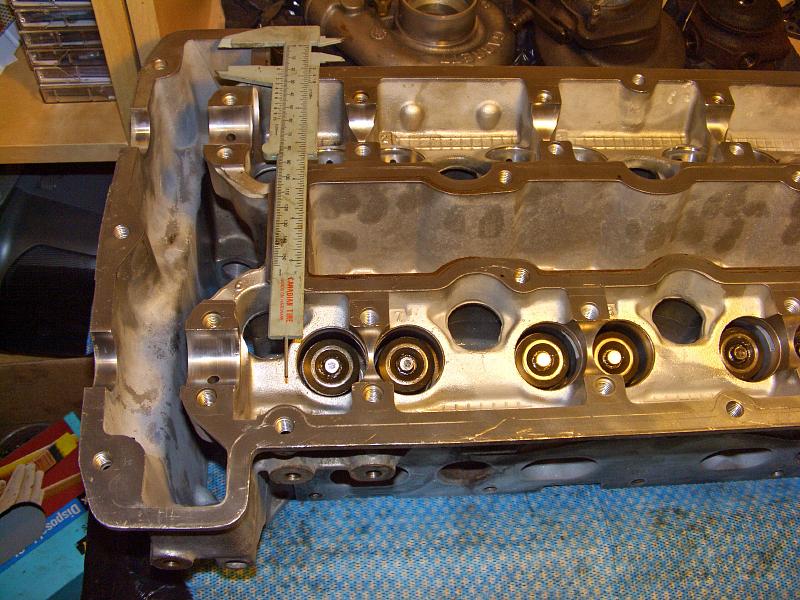 |
| 18.06.2006: Measurements |
|
Measure the depth from the camshaft bearing surface to the valve stem.
It should be between 19.5 and 20.5 mm.
|
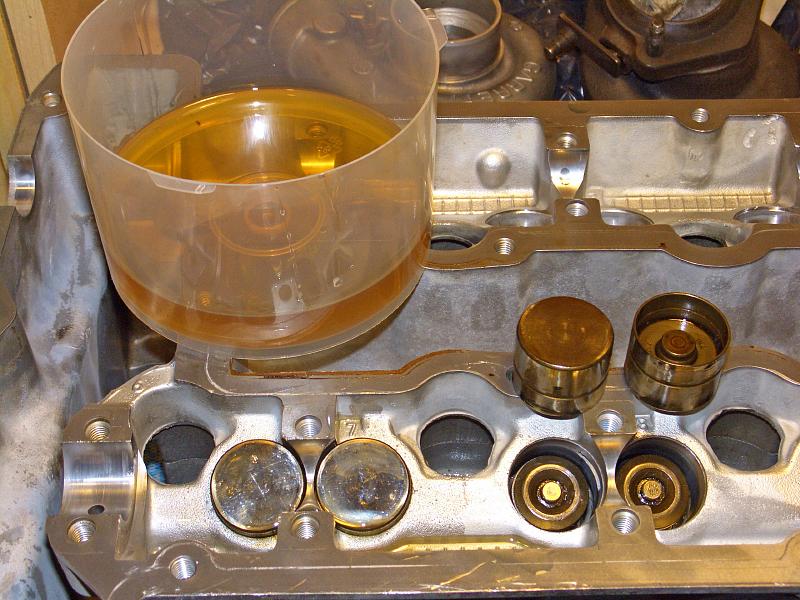 |
| 18.06.2006: Tappets |
|
Install the hydraulic tappets. Give them an oil bath before putting
them in.
|
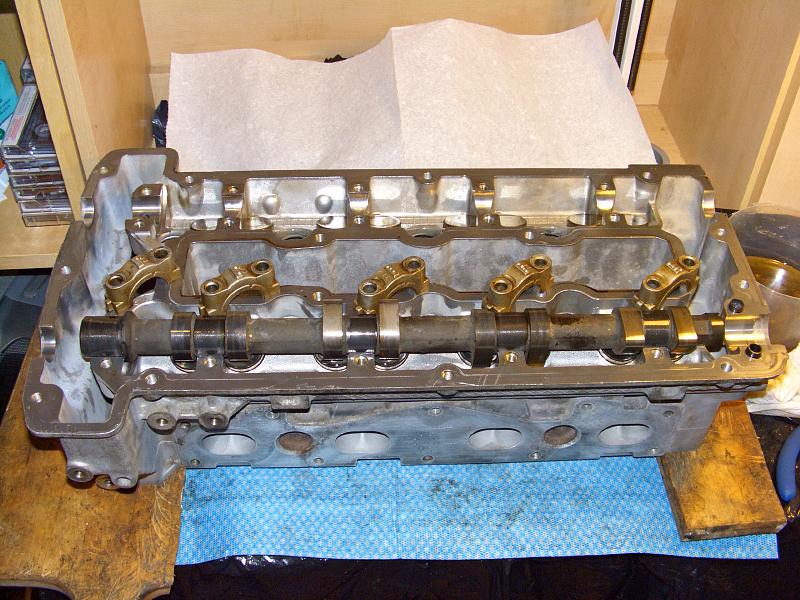 |
| 18.06.2006: Camshaft |
|
The camshaft bearing caps are numbered, but have rather bizarre markings.
My rebuilder marked them in a different fashion that was easier to read.
Put the head on wooden blocks so the valves won't be hitting the desk.
Lubricate the camshaft and put it in.
|
 |
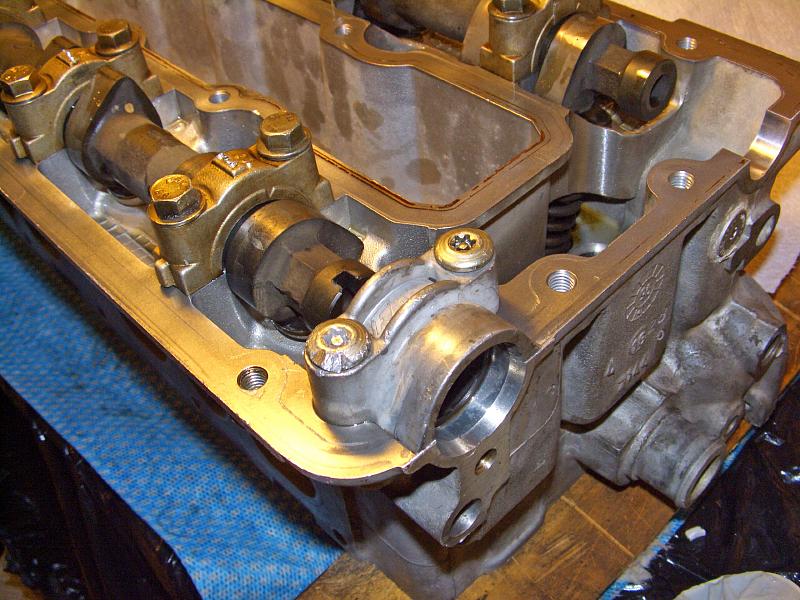
| 18.06.2006: Bearing caps |
|
Lubricate the bearing caps before they go in. The inner side bolts on the
four caps above the cylinders have oil passages in them.
|
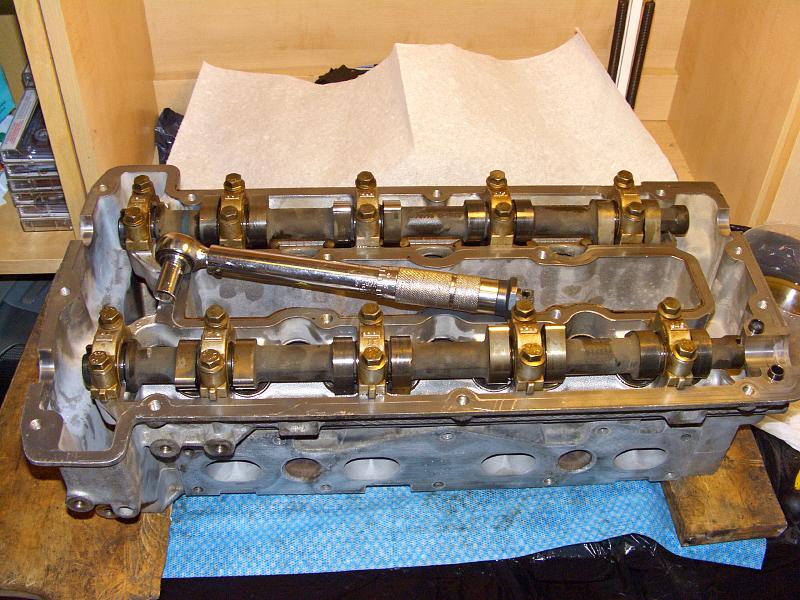 |
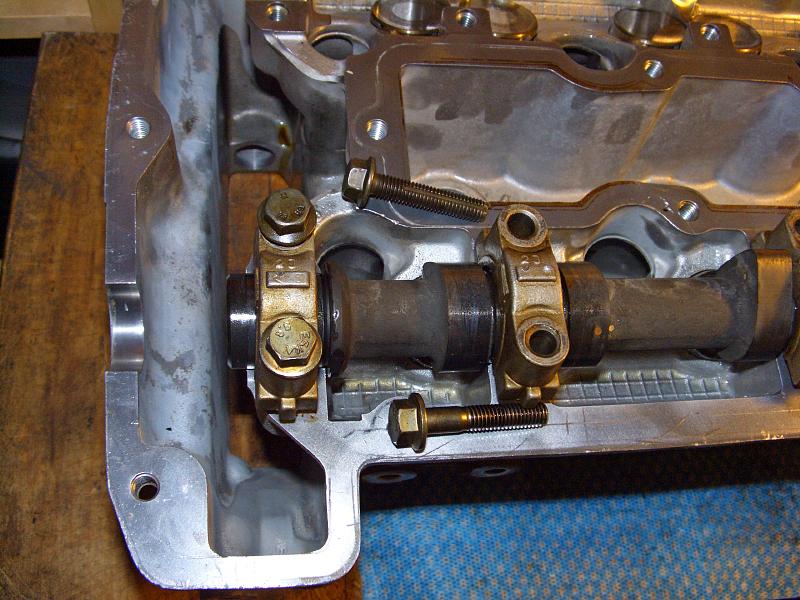
| 18.06.2006: Tightening |
|
Tighten the bolts to 11 ft-lbs, starting with the cap closest to the cams
pressing down on the tappets (12 mm socket). Install the second camshaft.
|
 |
| 18.06.2006: Side cover |
|
Attach the cover over the distributor cap hole (on turbo engines).
|


