 |
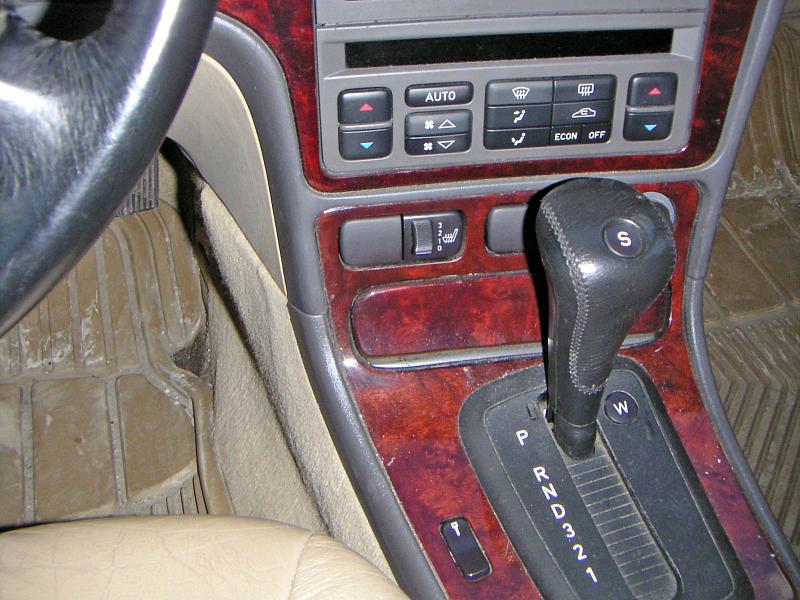
| 15.03.2006: Seat heater switch |
|
This document shows how to replace the seat heater switch bulbs, but many
others can be fixed in a similar fashion.
|
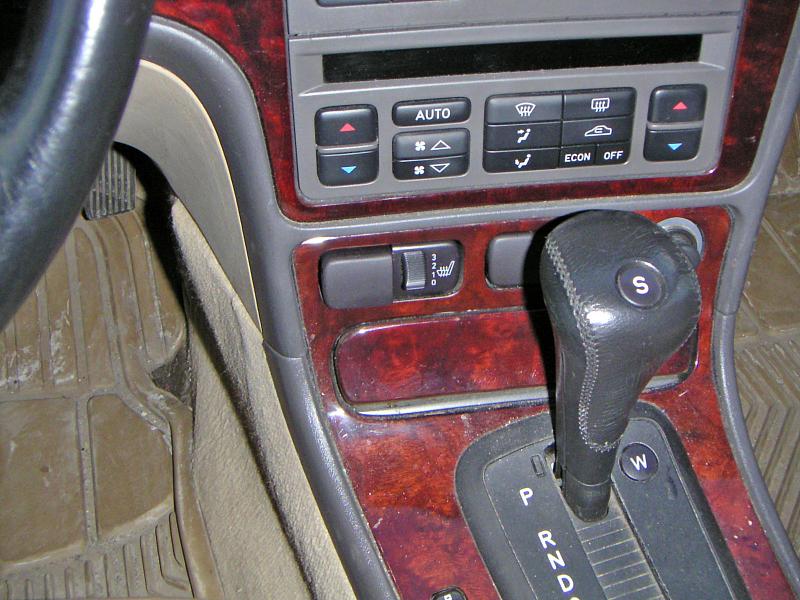 |
| 15.03.2006: Blank |
|
Pop the blank knob next to the switch. If your car has ventilated seats,
there would be no blank, and you'll have to figure out another way to pry
the switch out.
|
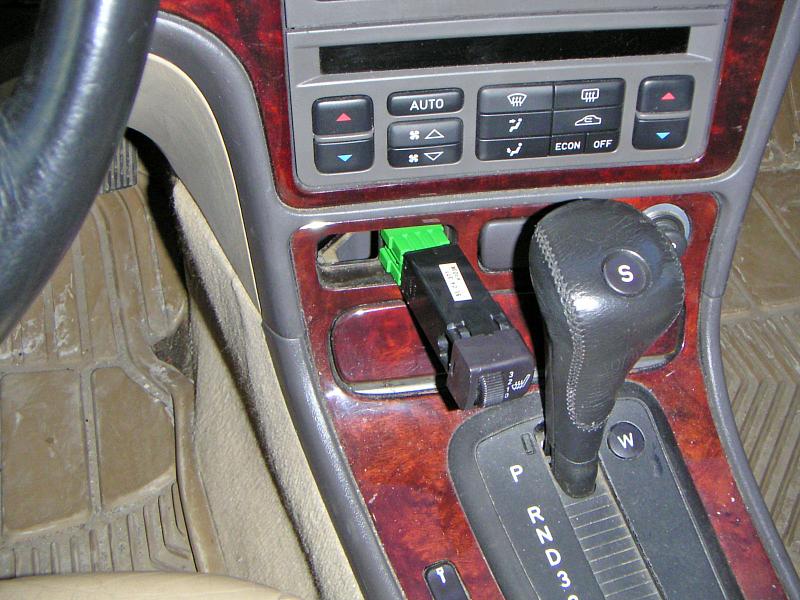 |
| 15.03.2006: Pushed out |
|
Push the switch out from behind and disconnect it from the harness.
|
 |
| 15.03.2006: Unplugged |
|
Don't worry about mixing the harnesses up, they are all in different colors.
|
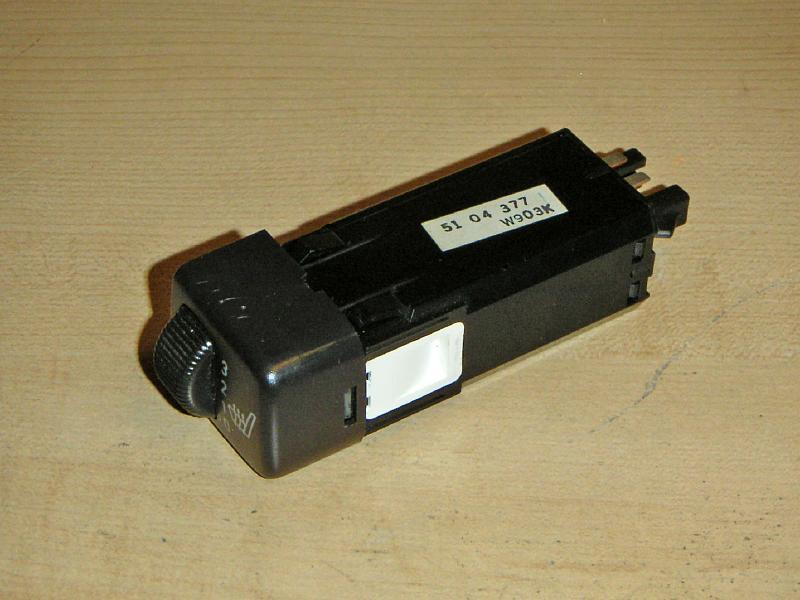 |
| 15.03.2006: Switch |
|
Locate a small white cover on the side of the switch.
|
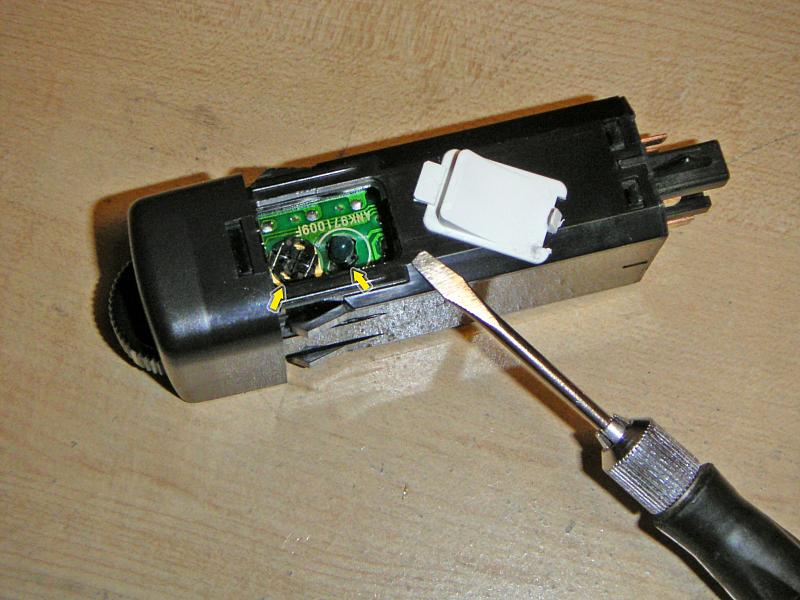 |
| 15.03.2006: Cover |
|
Open it, and you will see two bulbs inside.
|
 |
| 15.03.2006: Thumbwheel bulb |
|
Use a flat screwdriver to take out the thumbwheel bulb.
|
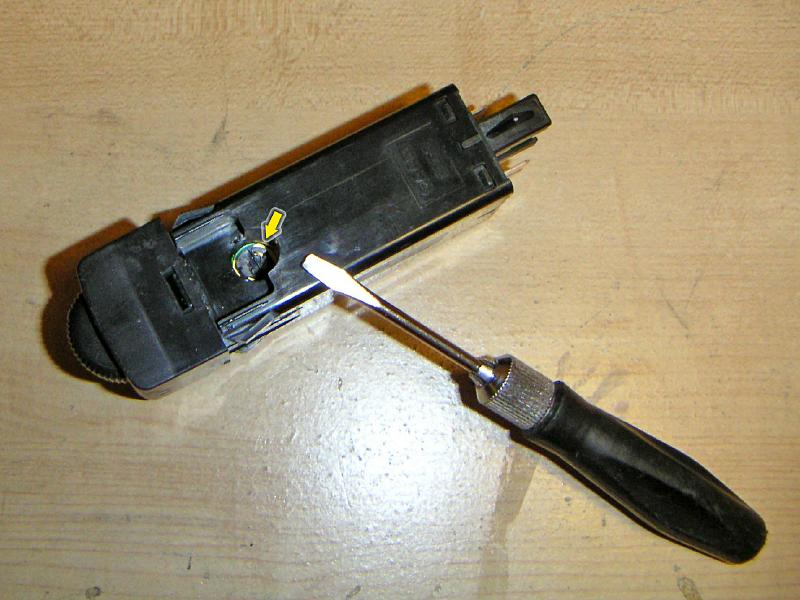 |
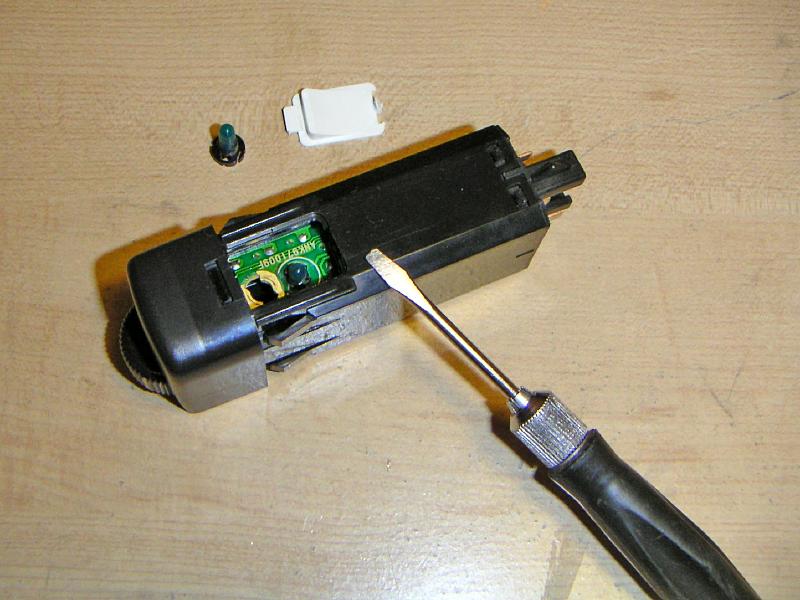
| 15.03.2006: Panel bulb |
|
The bulb that lights up the panel is accessible from the other side.
|
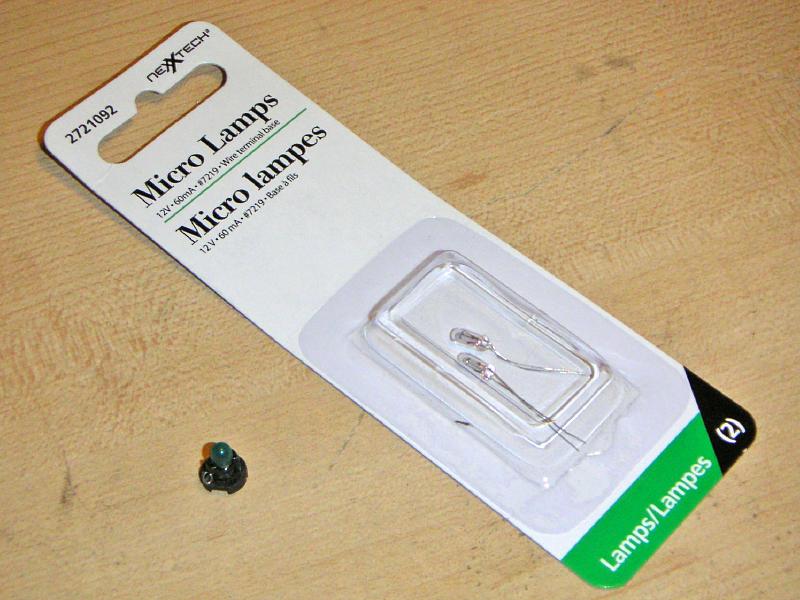 |
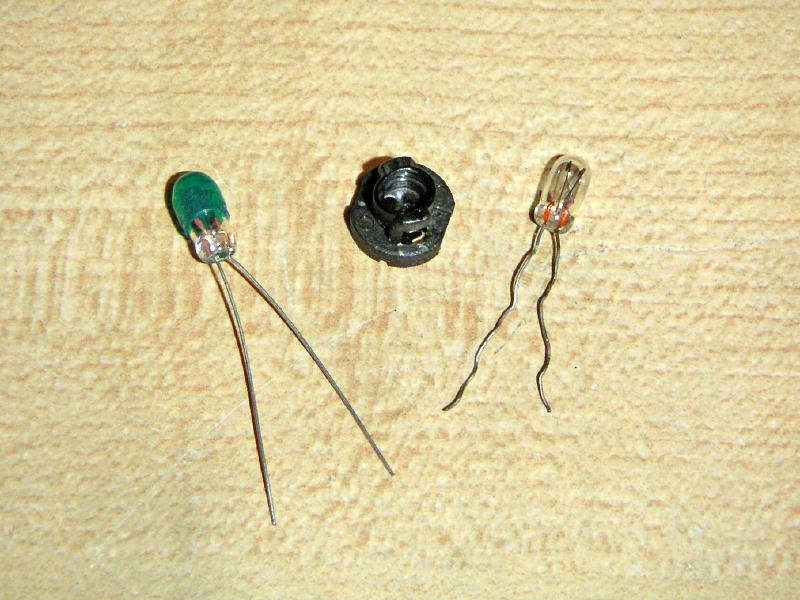
| 15.03.2006: New bulbs |
|
New bulbs are $10-15 each at the Saab dealer. I've found these 12V lamps at
Radio Shack for $3/pair.
|
 |
| 15.03.2006: Leads unbent |
|
Straighten the leads. On older bulbs they are soldered to contact studs.
If that's the case, cut the wire and discard the studs.
|
 |
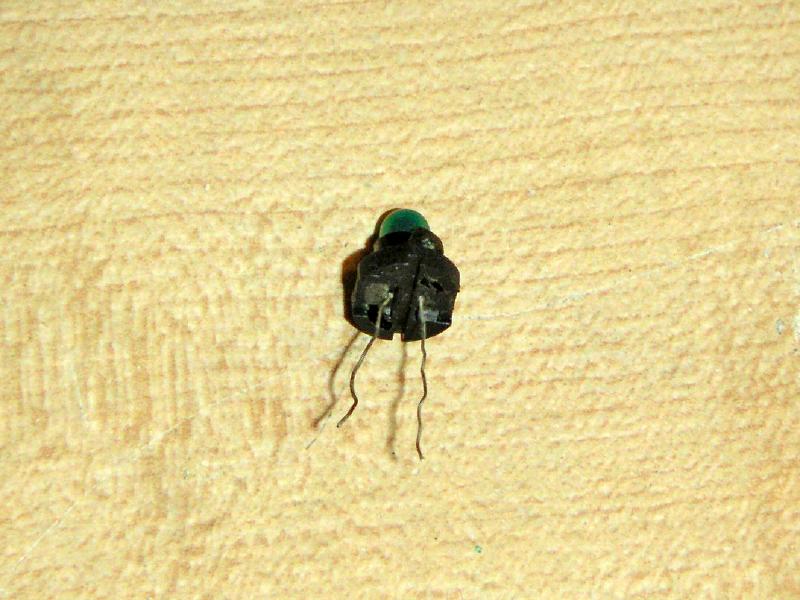
| 15.03.2006: Bulb out |
|
Remove the bulb from the plastic socket.
|
 |
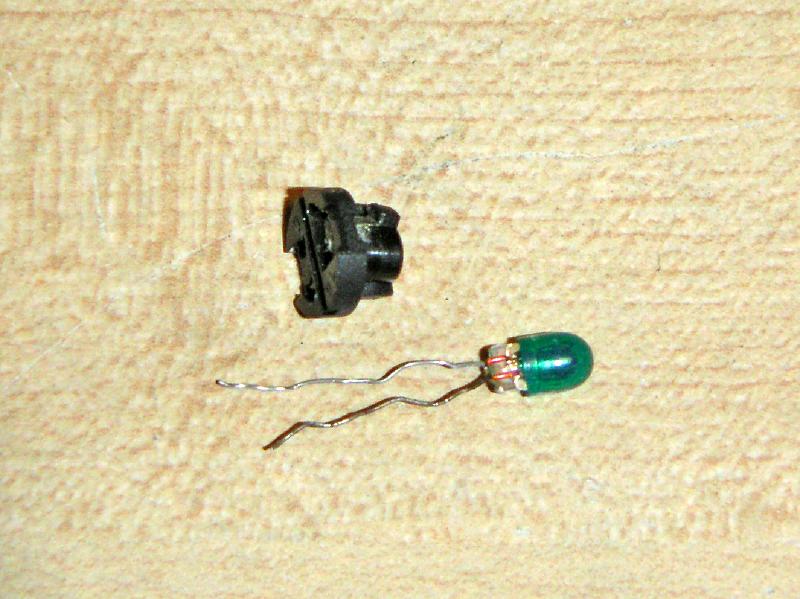
| 15.03.2006: Cap off |
|
Take off the transparent green cap.
|
 |
| 15.03.2006: New bulb |
|
Put the cap on the new bulb.
|
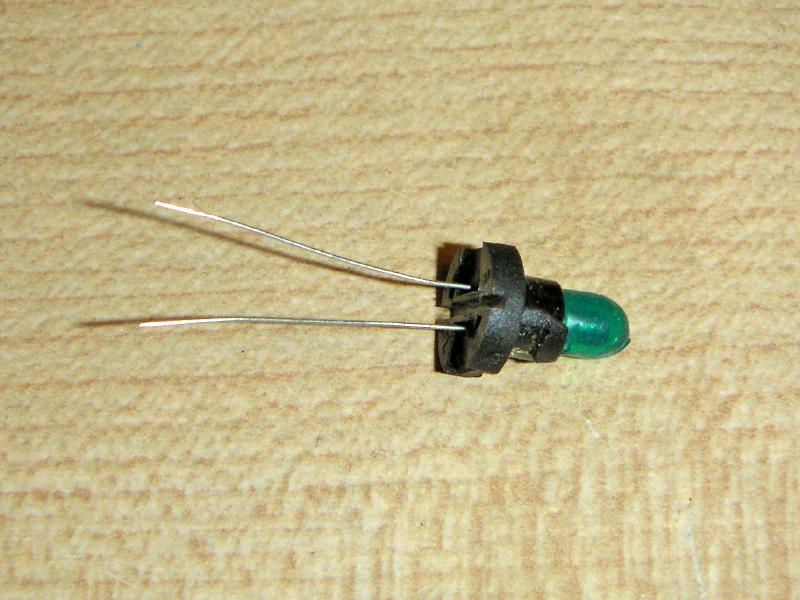 |
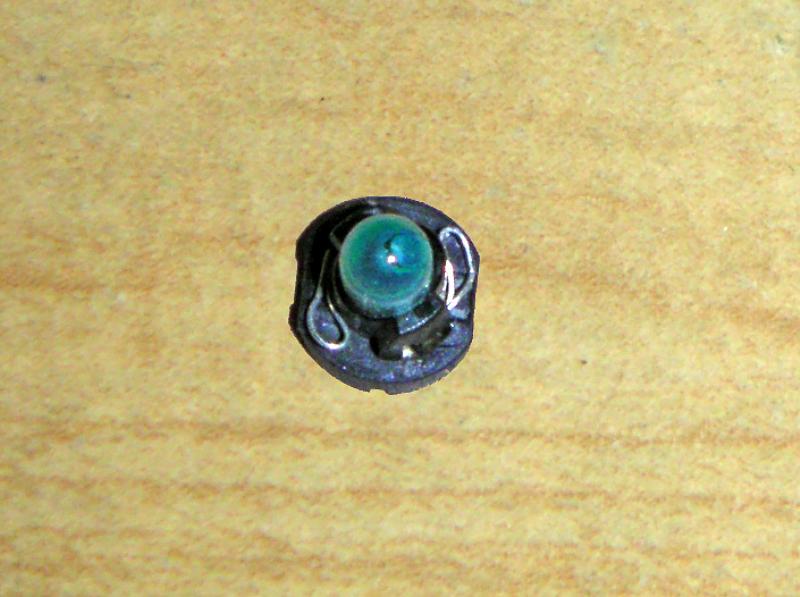
| 15.03.2006: Back into socket |
|
Insert the bulb into the socket.
|
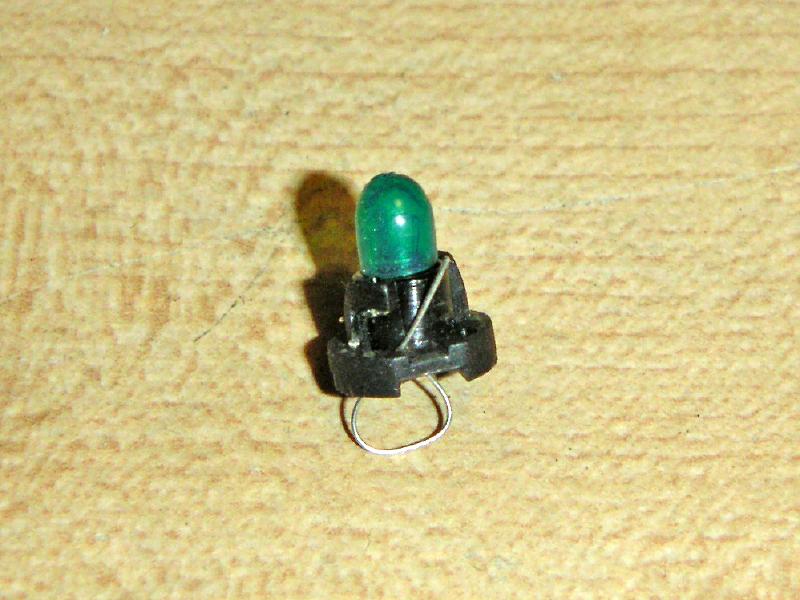 |
| 15.03.2006: Wire loop |
|
On the old style socket, pull the wire through a hole in the socket...
|
 |
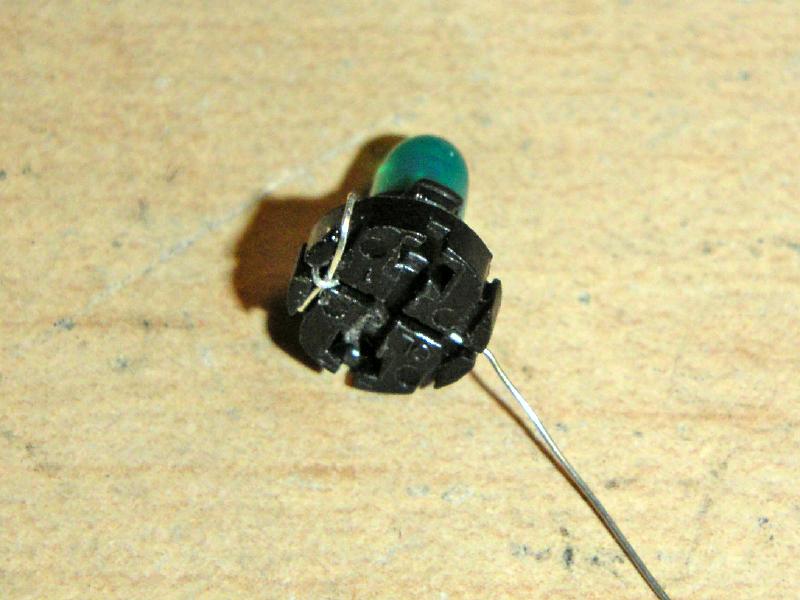
| 15.03.2006: Old style |
|
...make a loop and bend it to form a contact patch.
|
 |
| 15.03.2006: Bent wire |
|
Newer sockets have a groove for the wires.
|
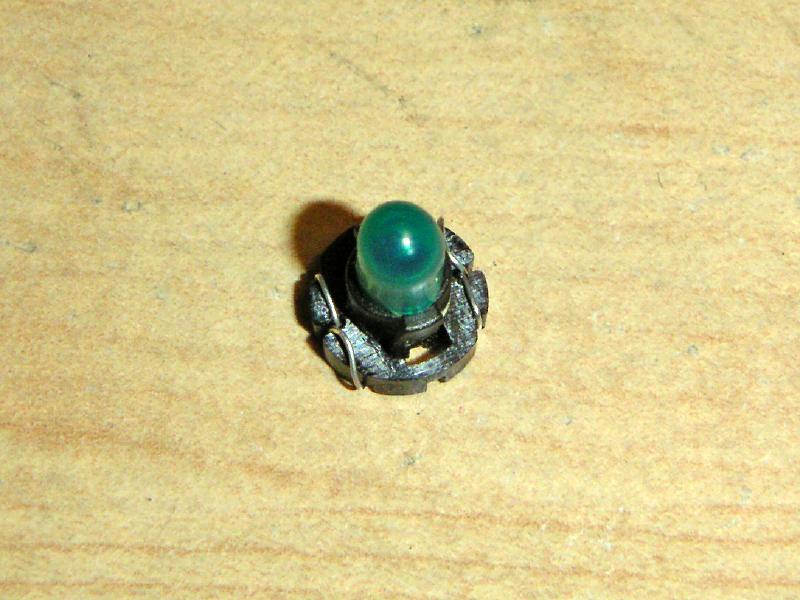 |
| 15.03.2006: New style |
|
It makes for a better fit.
|
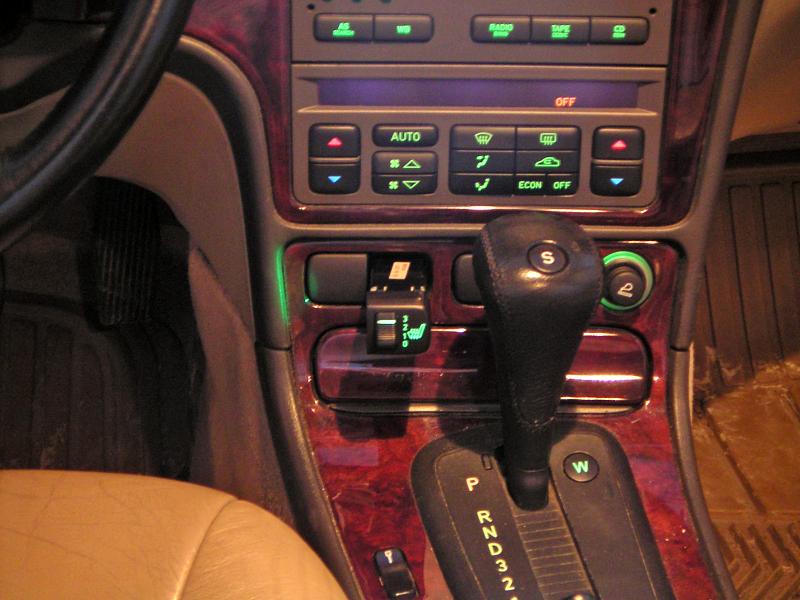 |
| 15.03.2006: Testing |
|
Install the switch and see now nicely it lights up ;).
|


