 |
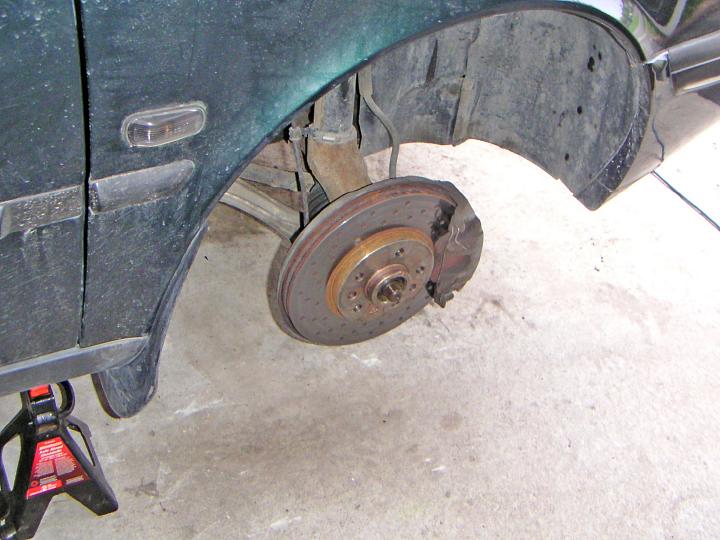
| 13.10.2005: Wheel removed |
|
With the car still on the ground, remove the centre cap from the wheel and
loosen the hub nut using a 32 mm socket (a 1¼" will do) and a
breaker bar. Loosen the wheel bolts while you're at it too (17 mm socket).
Raise the car and remove the wheel.
|
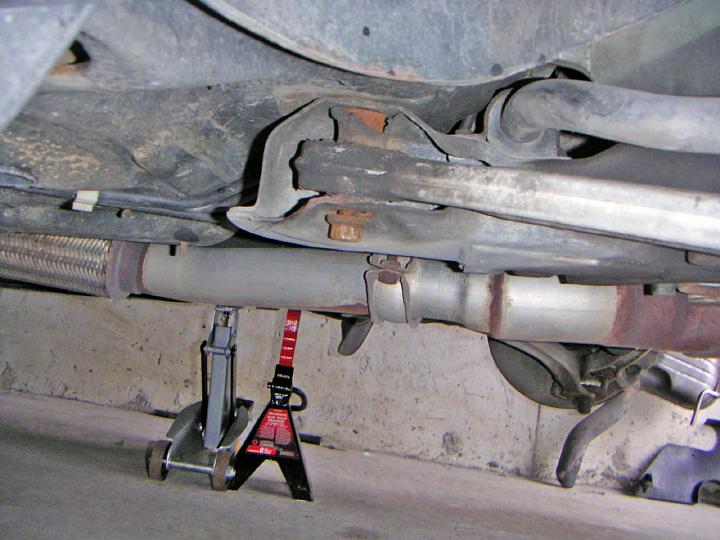 |
| 13.10.2005: Subframe bolt |
|
Unbolt the rearmost subframe bolt holding the stanchion arms (16 mm socket).
These bolts tend to wear out on the bottom end, so consider a pair of new
ones. Pull the arm out of the subframe.
|
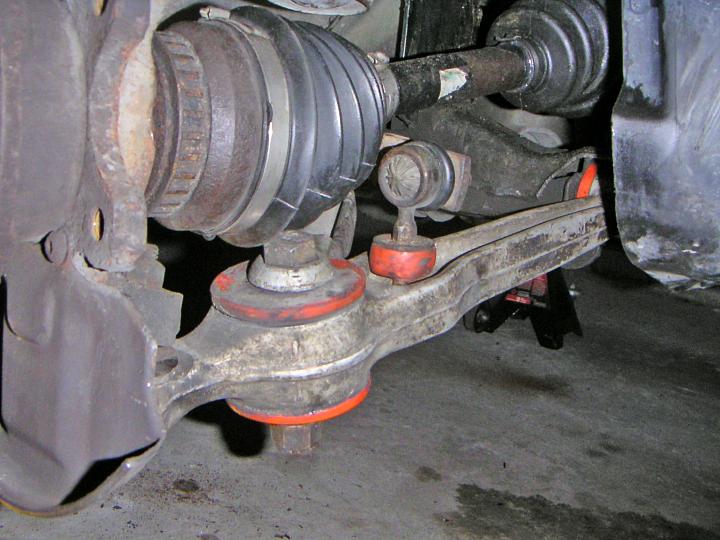 |
| 13.10.2005: Control arm |
|
Remove the caliper and the brake rotor if they are in the way.
Disconnect the control arm from the subframe (15 mm socket). Unbolt the
sway bar link from the control arm.
|
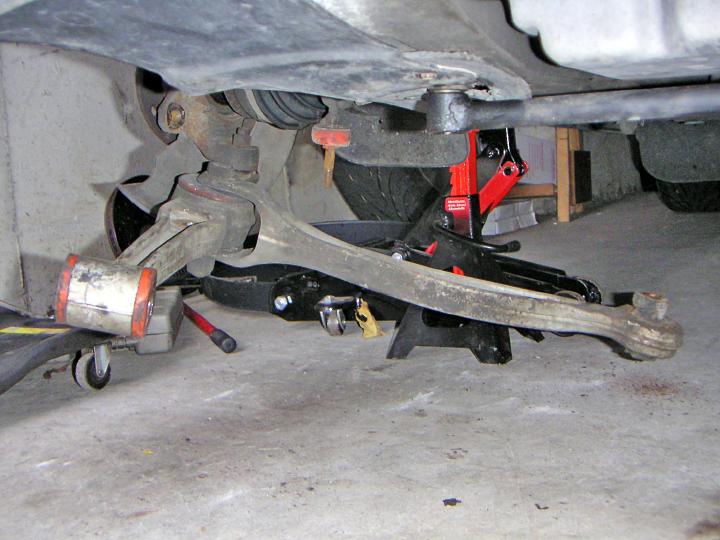 |
| 13.10.2005: Separated |
|
Unbolt the stanchion arm from the control arm and remove it from the car.
|
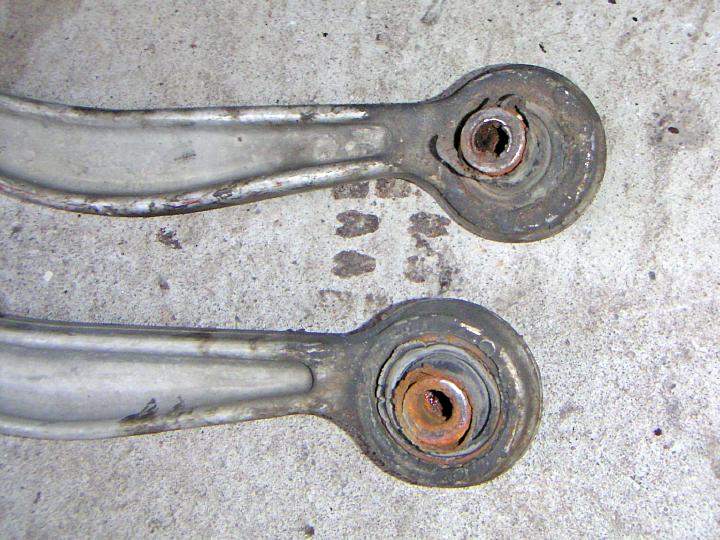 |
| 13.10.2005: Worn bushings |
|
With 276K km on the clock, these bushings look completely destroyed.
|
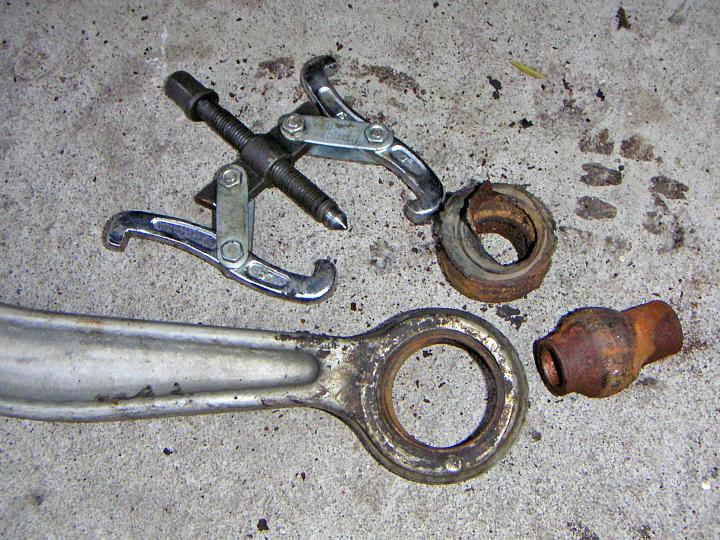 |
| 13.10.2005: Apart |
|
If you ever wondered what's inside, here's your answer. And there also was
hydraulic oil... a long time ago.
|
 |
| 13.10.2005: Sleeve |
|
The remaining bushing sleeve can be removed with a help of a hacksaw and
a cold chisel.
|
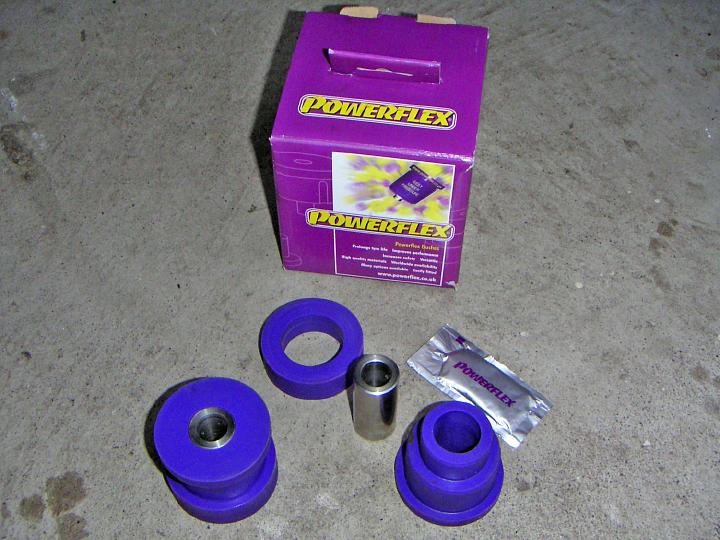 |
| 13.10.2005: Powerflex |
|
The Powerflex bushings are a solid two-piece design, and they are worth
your attention for the ease of installation alone.
|
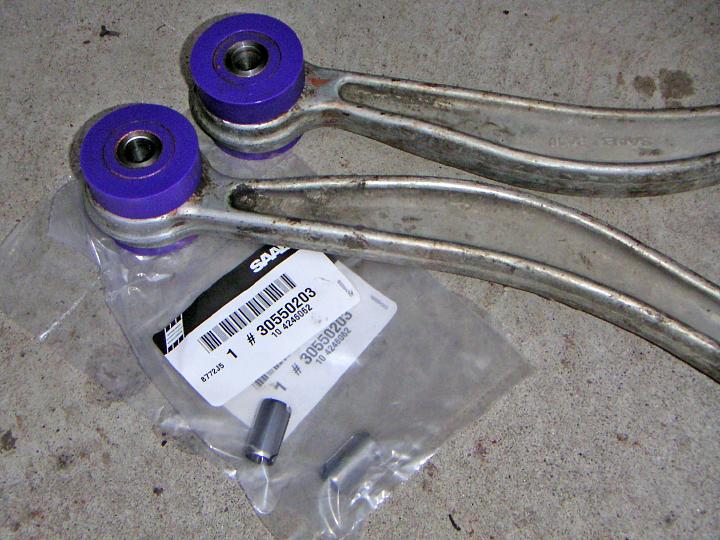 |
| 13.10.2005: Spring sleeves |
|
Lubricate the bushings with supplied grease and slide them into the arms.
You will also need a pair of new springs sleeves for EACH arm. If your
original bushings were dead as mine, chances are the spring sleeves are
a heap of rust by now.
|
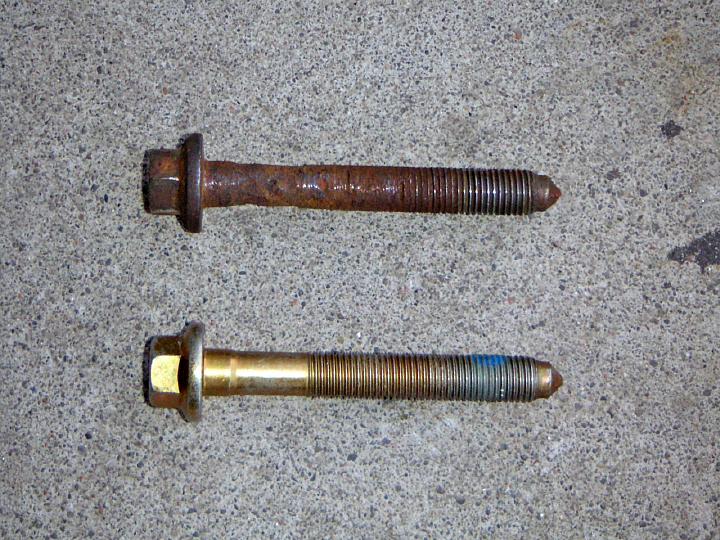 |
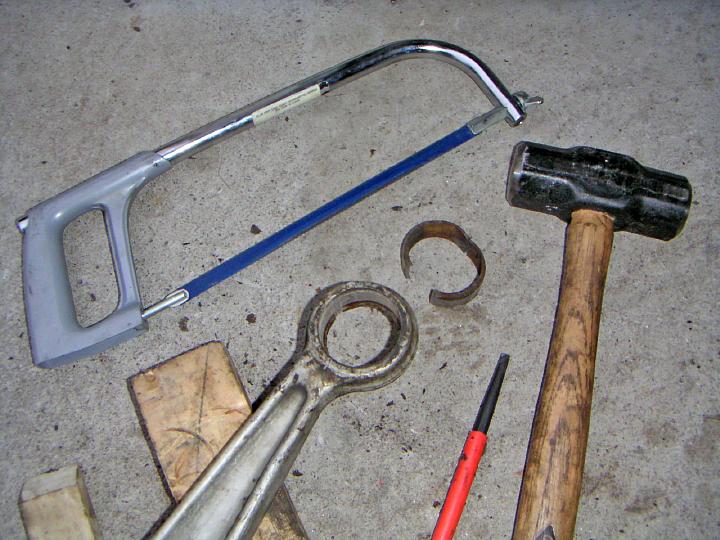
| 30.10.2005: Bolts |
|
This is what happens when you run your car with worn stanchion arm
bushings and rusted spring sleeves. The bolt looks like someone
chewed on it. A new bolt is pictured below.
|
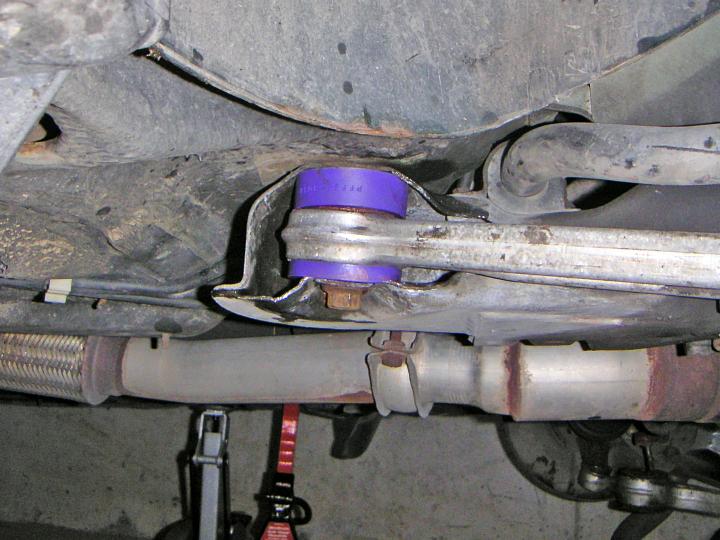 |
| 13.10.2005: Installed |
|
You might need to slightly widen the opening in the subframe to fit
the new bushings in, otherwise the installation is easy and straightforward.
Refer to this guide for tightening torque values.
|


