 |
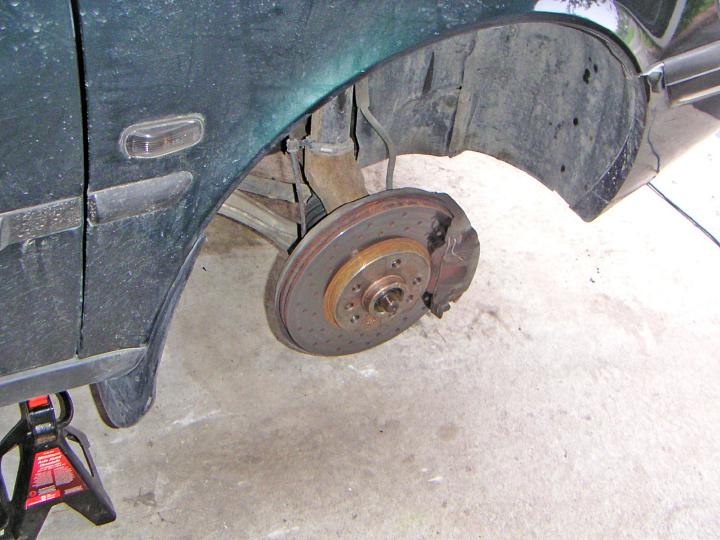
| 13.10.2005: Wheel removed |
|
With the car still on the ground, remove the centre cap from the wheel
and loosen the hub nut using a 32 mm socket (a 1¼" will do)
and a breaker bar. Loosen the wheel bolts while you're at it too (17 mm
socket). Raise the car and remove the wheel.
|
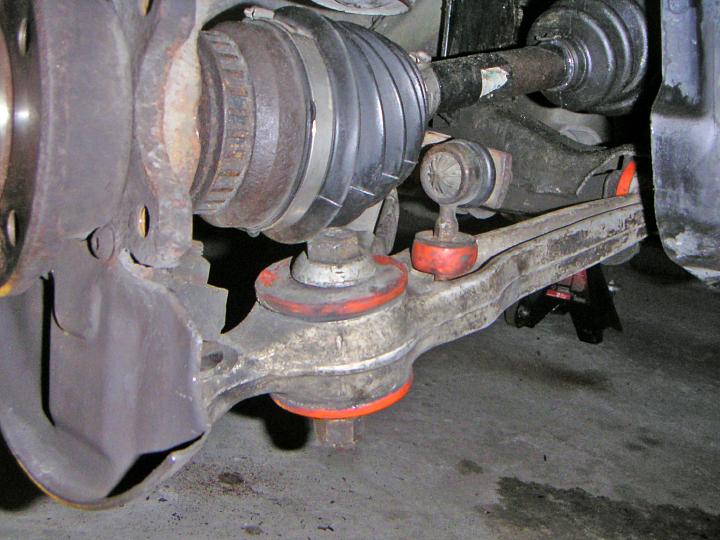 |
| 13.10.2005: Control arm |
|
Remove the brake caliper (10 mm Allen) and rotor (5 mm Allen). Now you can
choose to either separate the ball joint or unbolt the control arm from
the subframe. I find the control arm to be easier.
|
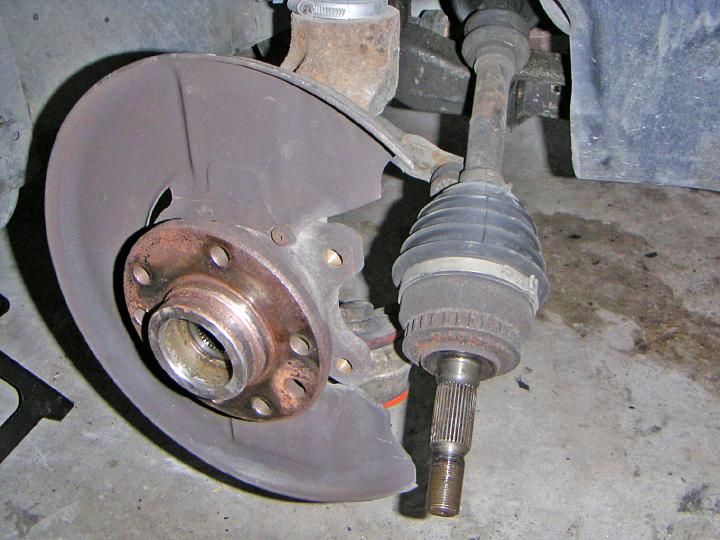 |
| 13.10.2005: Driveshaft |
|
Tilt the strut and pull the driveshaft out of the hub.
|
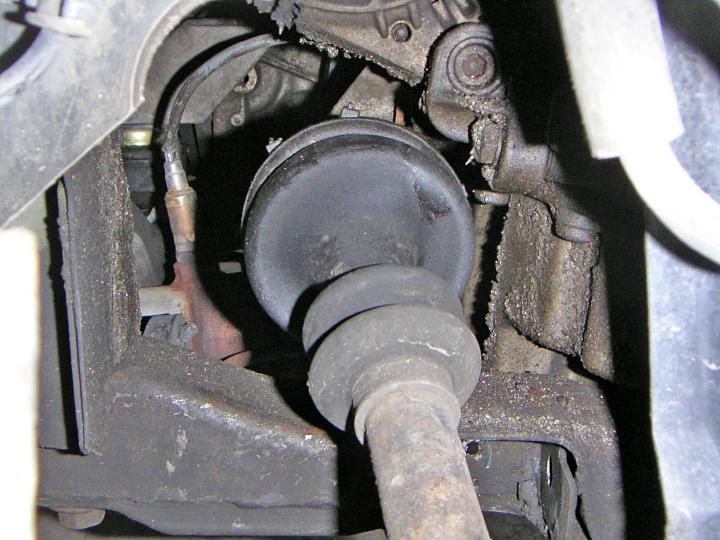 |
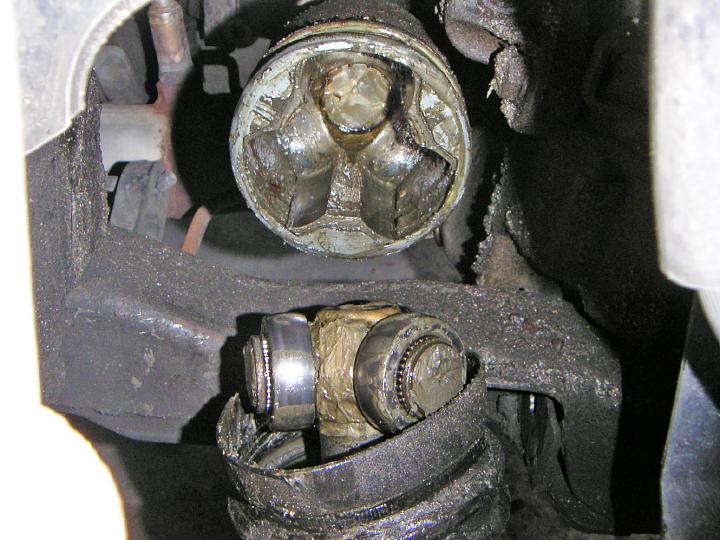
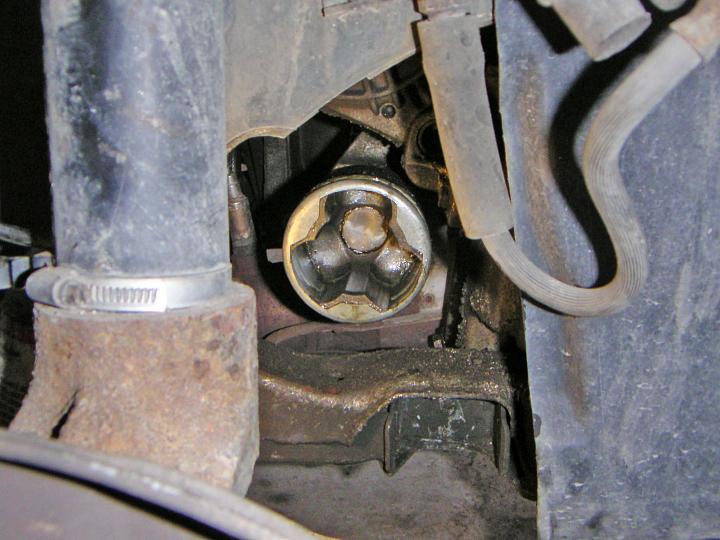
| 13.10.2005: Inner joint |
|
The inner CV joint is located right above the subframe. These grease
splatters are an indication of the leaky boot.
|
 |
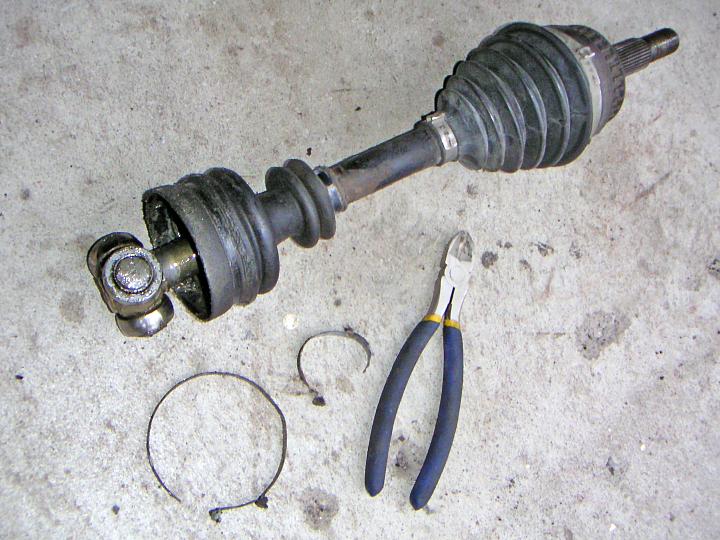
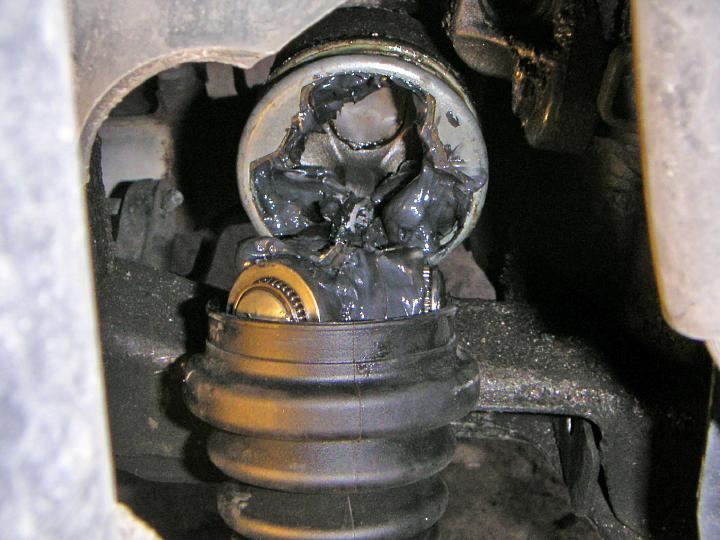
| 13.10.2005: Separated |
|
Cut the clamps and separate the shaft. It's much easier than the
outer joint,
this one just pulls right out.
|
 |
| 13.10.2005: Driveshaft |
|
Looks like my old boot was held by plastic wire ties, and there wasn't
much grease left.
|
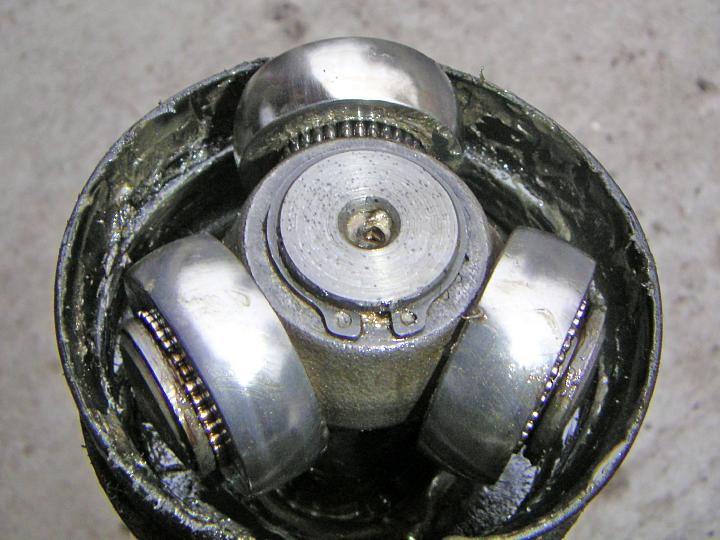 |
| 13.10.2005: Snap ring |
|
Remove the snap ring on top of the shaft and gently tap the tripod bearing
until it comes off. It's VERY tight.
|
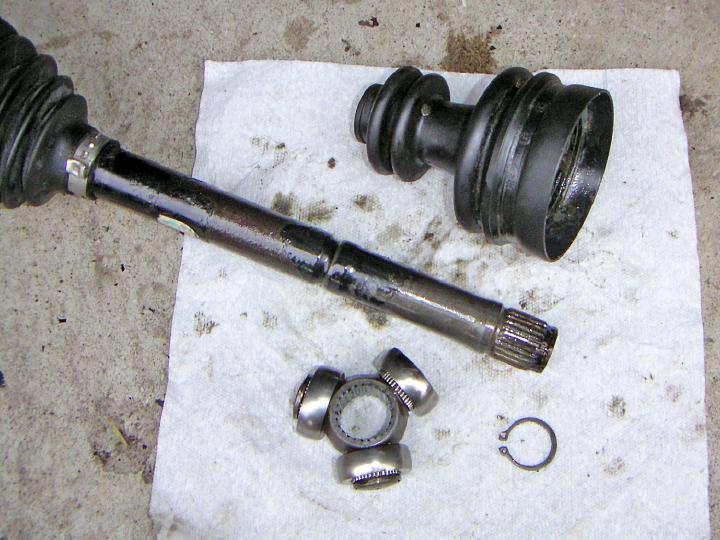 |
| 13.10.2005: Disassembled |
|
Once the bearing is removed, you can pull the boot off and wipe everything
thoroughly.
|
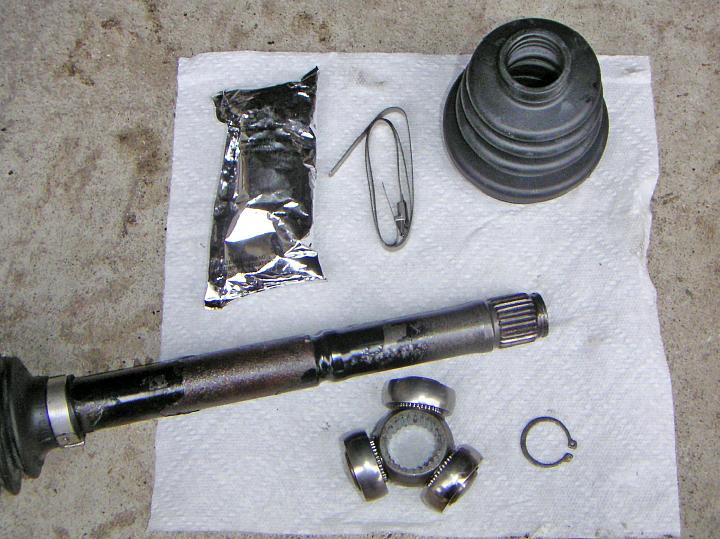 |
| 13.10.2005: Boot kit |
|
The kit comes with a new boot, two rather awkward clamps and a bag
of fresh grease.
|
 |
| 13.10.2005: Cleaning |
|
Clean the companion flange too.
|
 |
| 13.10.2005: Fresh grease |
|
Assemble the joint and fill it with fresh grease.
|
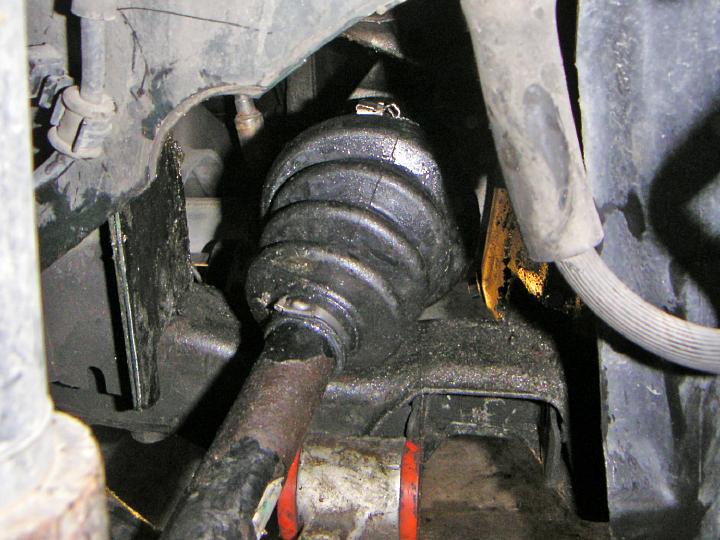 |
| 13.10.2005: Installed |
|
Pull the boot over the companion flange and crimp the clamps tightly.
Refer to this guide
for tightening torque for suspension bolts.
|


