 |
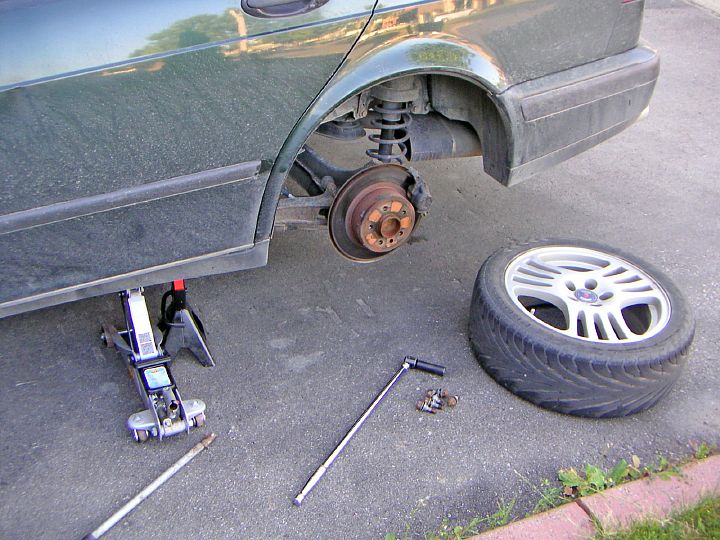
| 09.07.2005: Wheel off |
|
Raise the rear end of the car, secure it on jack stands and take the wheels
off (17 mm socket). My cars always manage to turn up dirty just the day
before I plan to do some work on them. They look much cleaner normally ;).
|
 |
| 09.07.2005: Bracket |
|
On the 9-5, undo the 10 mm bolt holding the handbrake/brake line bracket
to the suspension arm. On the NG900/9-3 the brake line is attached with
plastic clips.
|
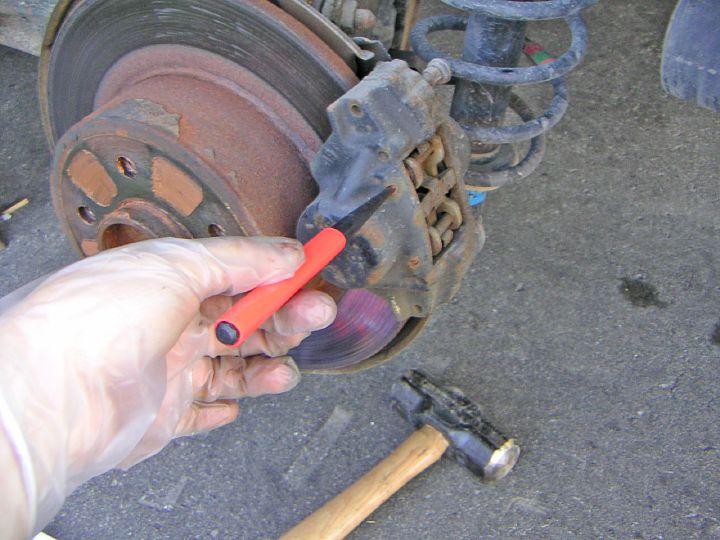 |
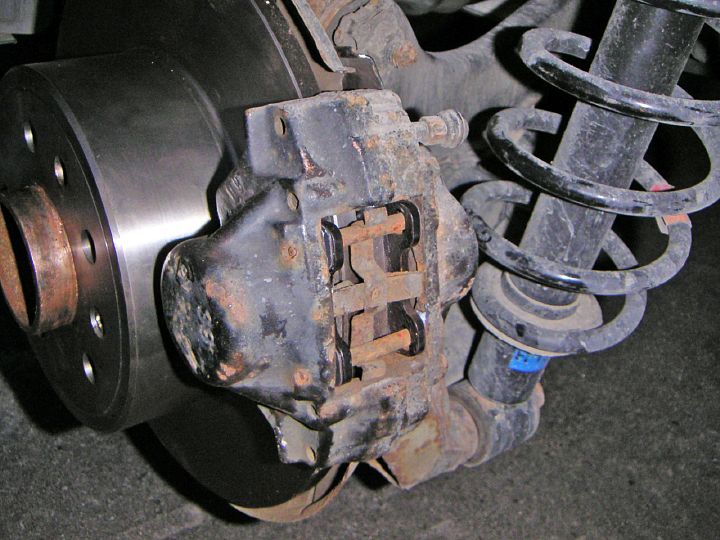
| 09.07.2005: Punching out |
|
Hammer out the pins on the back of the caliper. A thin punch works well.
It's amusing that all you need to change the rear pads on a Saab is a
hammer ;).
|
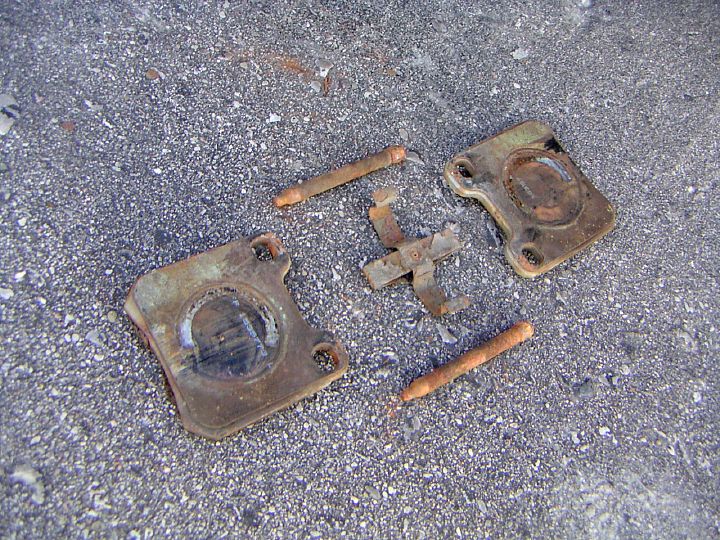 |
| 09.07.2005: Pins and pads |
|
Remove the pins, the spring and the brake pads.
|
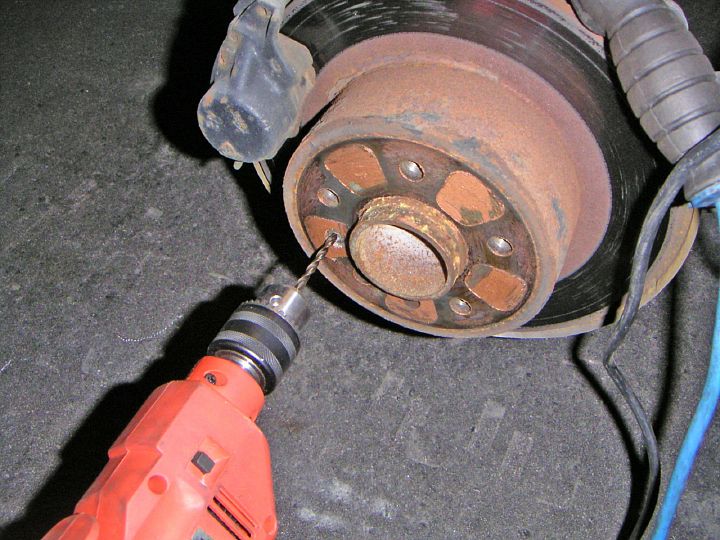 |
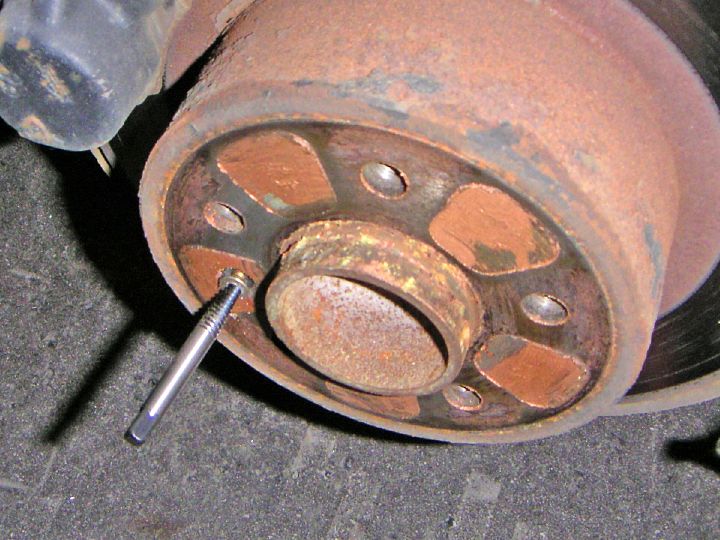
| 09.07.2005: Drill |
|
With 160K on the car and the rotors being original, the chances that the
index screw will come out without a fight are very slim. The screw on
the right side had to be drilled out. Stock up on spare screws before
you start this job.
|
 |
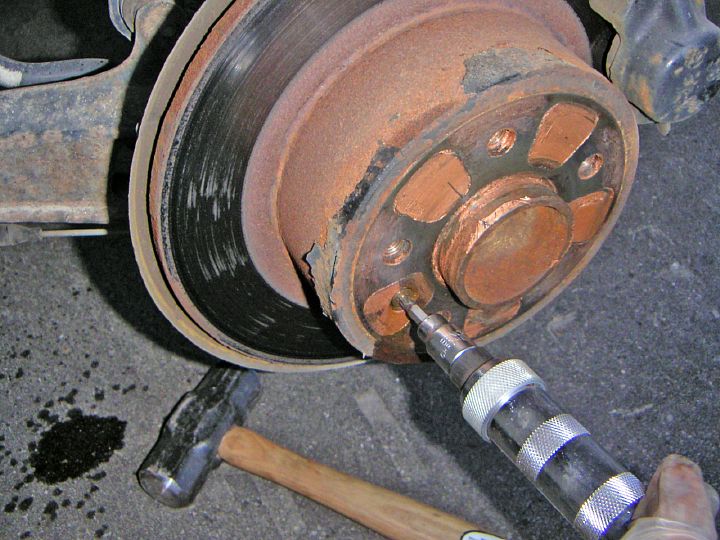
| 09.07.2005: Screw extractor |
|
The screw extractor quickly finishes the job. After the
exhaust manifold
job this felt like a piece of cake.
|
 |
| 09.07.2005: Impact driver |
|
The screw on the left side came out with a help of an impact driver,
no drilling was required. The original screws take a Torx T30 socket.
|
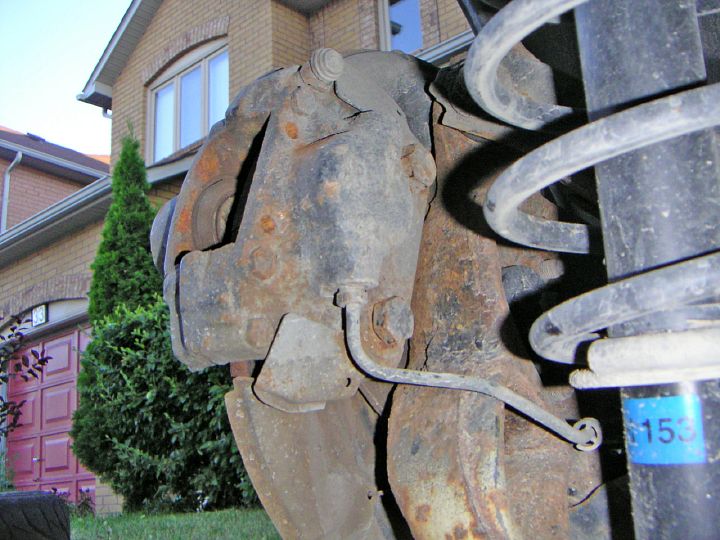 |
| 09.07.2005: Caliper bolts |
|
Undo the caliper bolts. The clearance on the 9-5 is quite tight, there's
barely enough room for a short 18 mm socket and a flat ratchet handle.
|
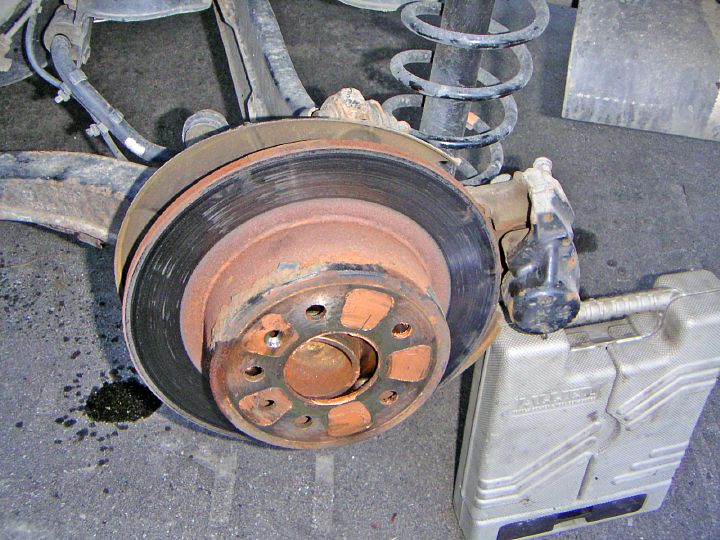 |
| 09.07.2005: Rotor |
|
Support the caliper so it won't be hanging on the brake line. With the
caliper out of the way, the rotor comes off (if you're lucky ;).
|
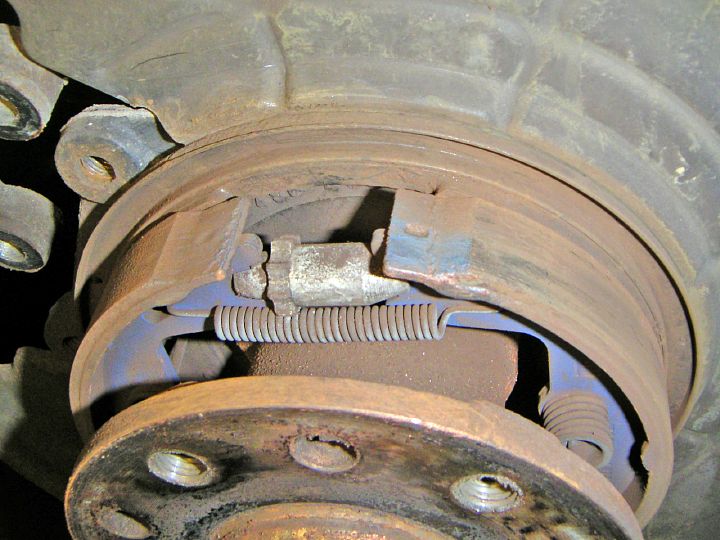 |
| 09.07.2005: Handbrake |
|
Take your time to study the handbrake adjuster. On the right side of the
car, the star-shaped wheel has to be turned downward to tighten the
handbrake. Upward on the left side.
|
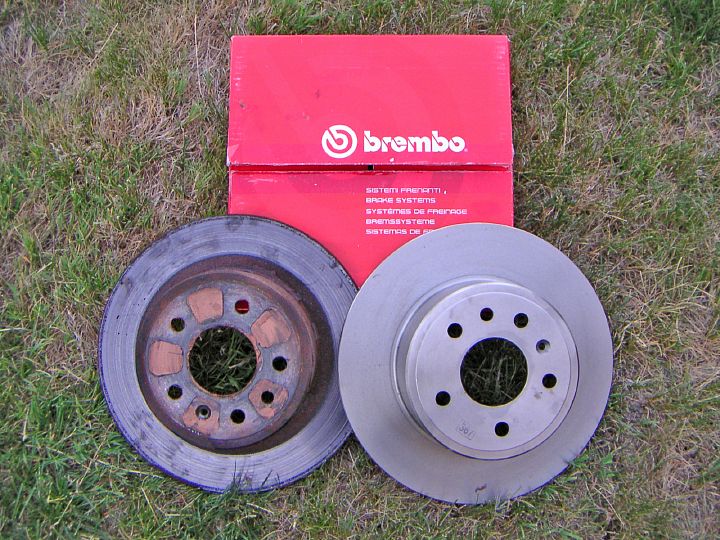 |
| 09.07.2005: Old and new |
|
My shiny new Brembo rotors from. They came with
two index screws included.
|
 |
| 09.07.2005: Old and new |
|
The minimum thickness for the rotors is 8 mm. The new ones measure at 10 mm.
The old ones were only worn down to 9 mm, but they had deep grooves and
a lot of rust.
|
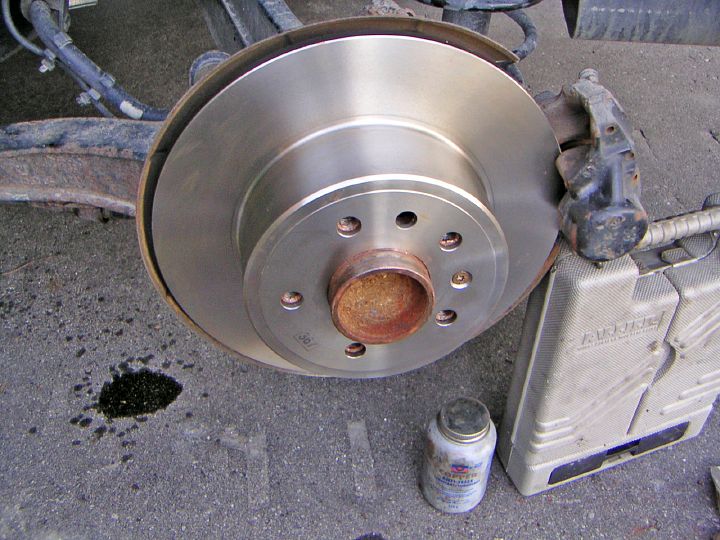 |
| 09.07.2005: New rotor |
|
Install the rotor, apply some anti-seize to the mating surfaces and the
index screw. Do not tighten the screw too much, it's just there to position
the rotor. Tighten the caliper bolts to 59 ft-lbs, put some loctite on
the thread. Attach the brake line bracket to the suspension arm.
|
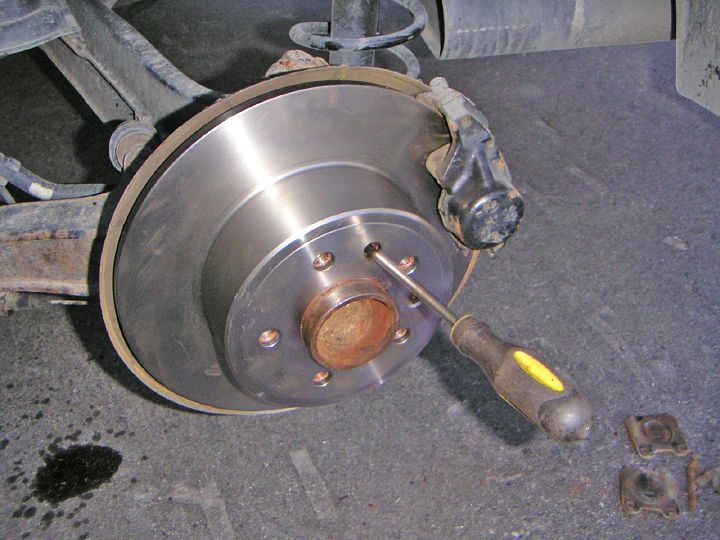 |
| 09.07.2005: Handbrake adjustment |
|
Now is the good time to adjust the handbrake. Release the brake lever and
use a flat screwdriver to spin the adjuster wheel until the shoes grab. Then
unwind the adjuster so the rotor just starts spinning freely. Repeat on the
other side. If done correcly, the lever should be tight at 3-4 clicks now.
|
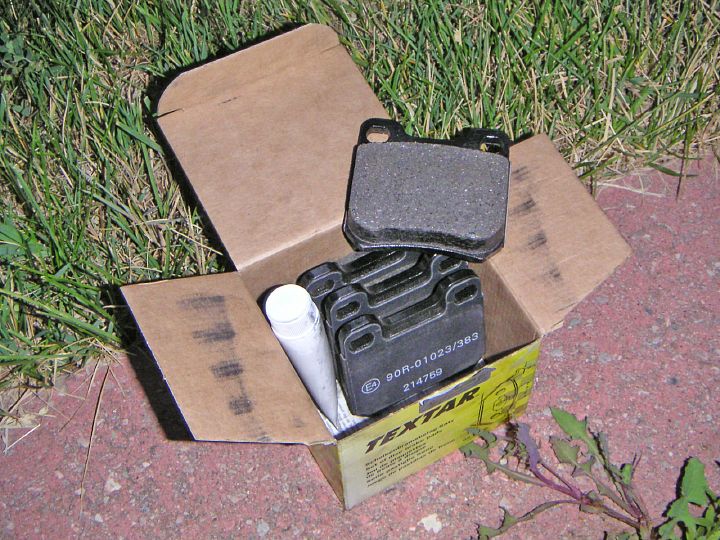 |
| 09.07.2005: New pads |
|
Pull the new pads out of the box. Apply the lubricant to the back side and
insert them into the caliper. Inspect the pins and the springs, use a new
set if the old ones became rusty and fragile.
|
 |
| 09.07.2005: Installed |
|
Hammer the pins back in, the spring goes in after the first pin is inserted.
Install the wheels (81 ft-lbs) and lower the car to the ground.
|


