 |
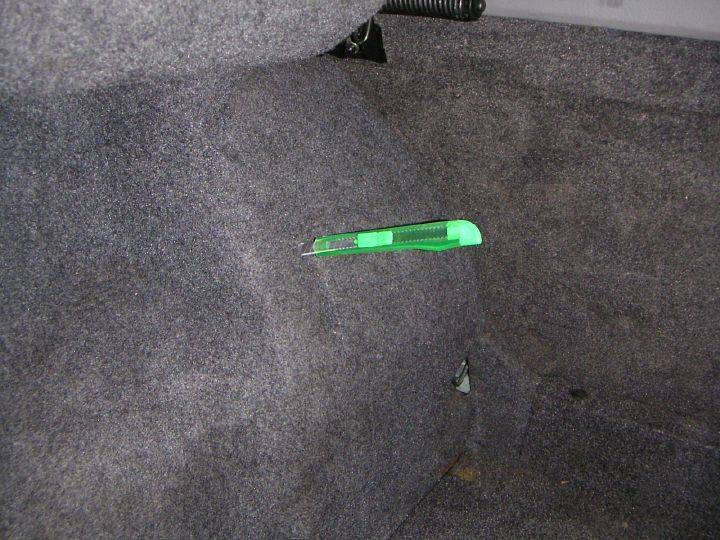
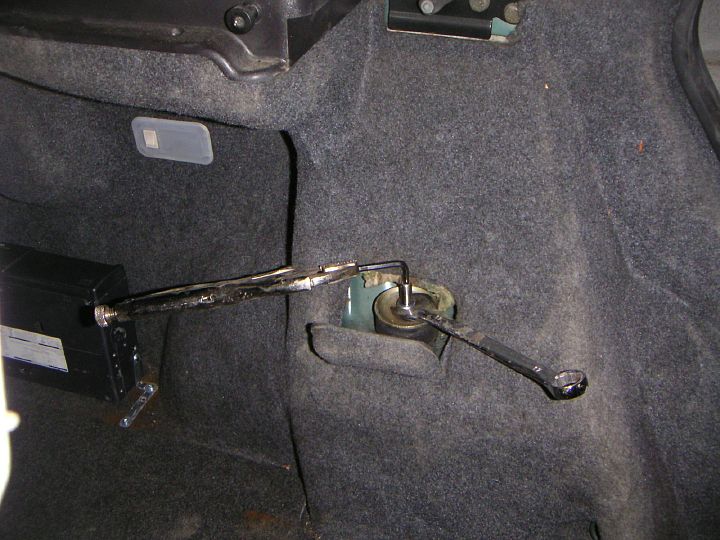
| 15.02.2005: Knife |
|
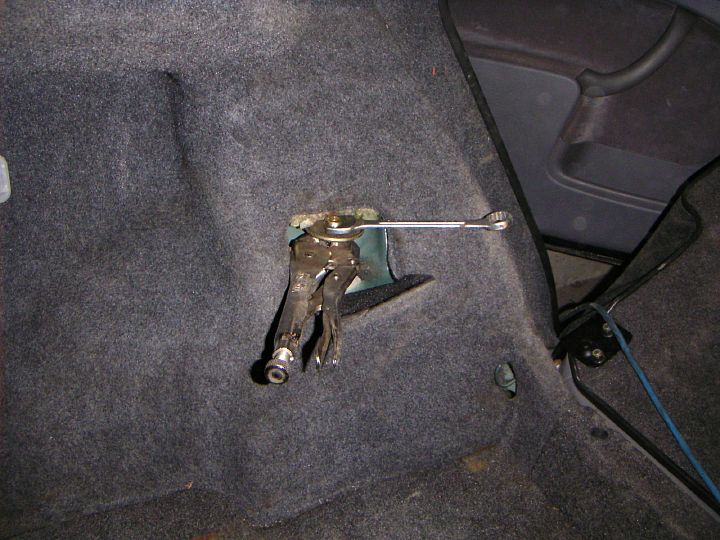
If this is the first time the rear shocks are being replaced on your car,
you need to cut out the flaps in the trunk upholstery. They are clearly
marked, and are easy to cut with a sharp knife.
|
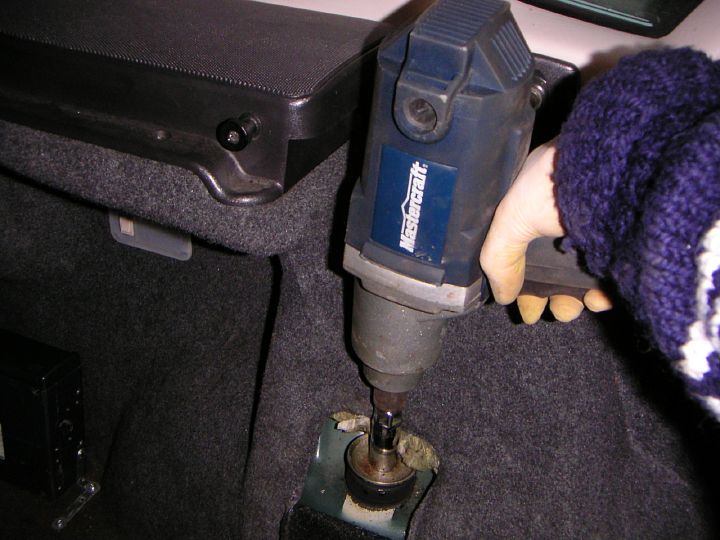 |
| 15.02.2005: Impact wrench |
|
If the car has a considerable age, there's a good chance the top of the
damper rod would be covered with rust. An impact wrench is a quick and
easy way to move the stuck upper nut (16 mm socket). Do not remove the nut
completely yet.
|
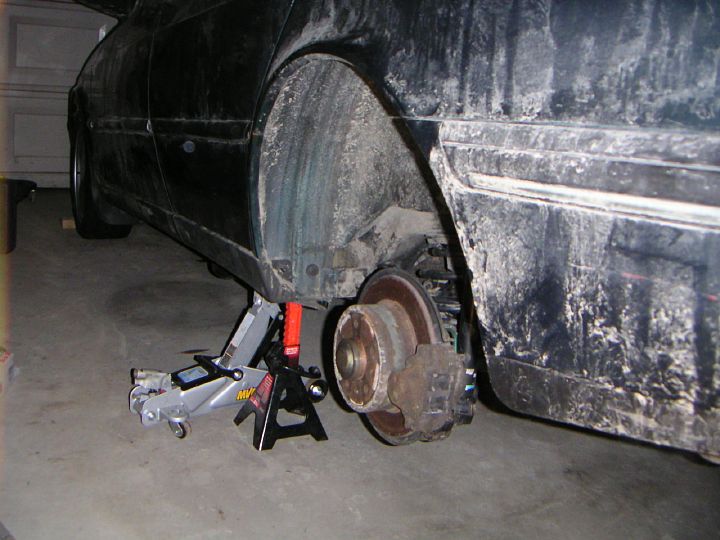 |
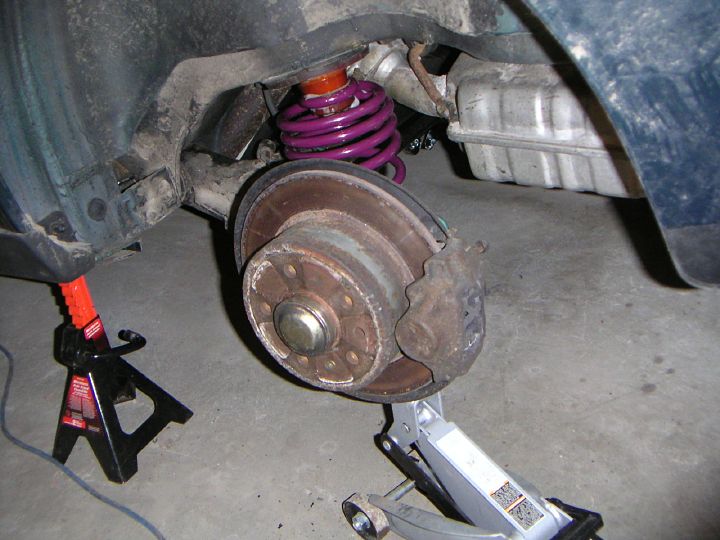
| 15.02.2005: Car jacked up |
|
Jack up the car and take the wheels off. Yes, this is salt on the car
(even though it's been washed just a couple of days before it went to
the garage).
|
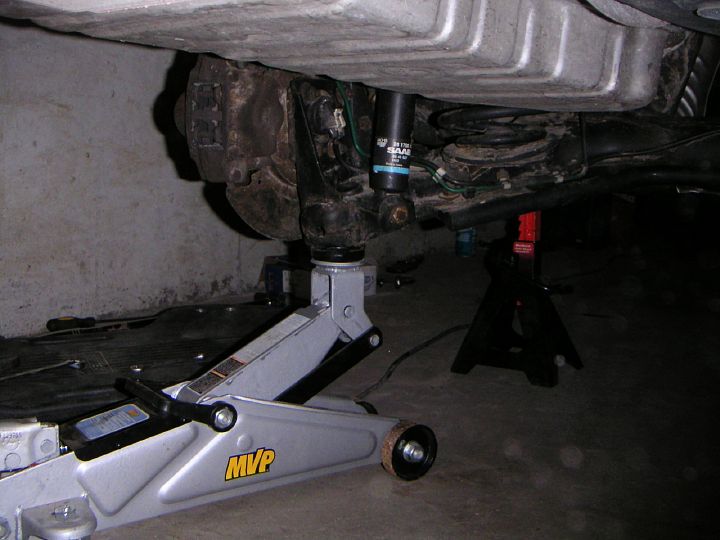 |
| 15.02.2005: Lower nut |
|
Support the rear axle and undo the lower nut on the damper (17 mm socket).
|
 |
| 15.02.2005: Springs |
|
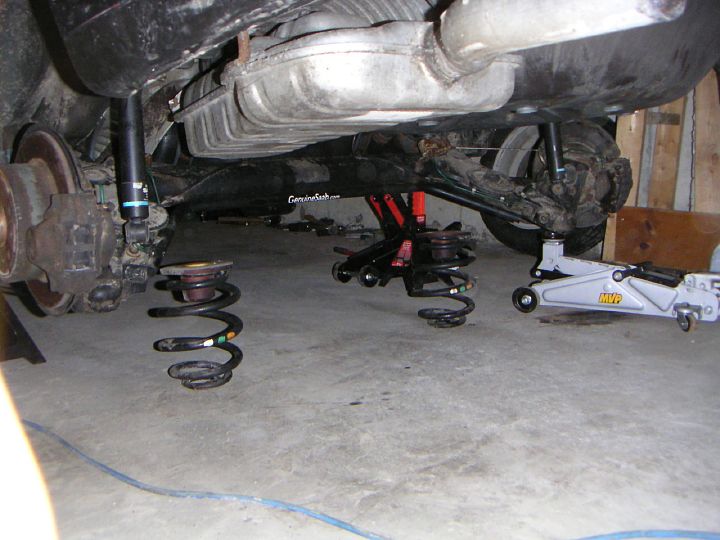
Once both dampers are disconnected from the suspension, you can lower the
rear axle and remove the springs from their seats.
|
 |
| 15.02.2005: Upper nut |
|
Take off the upper nut and the washer. There's no need to remove the rubber
bushing (besides, it looks like it's glued in there).
|
 |
| 15.02.2005: Damper |
|
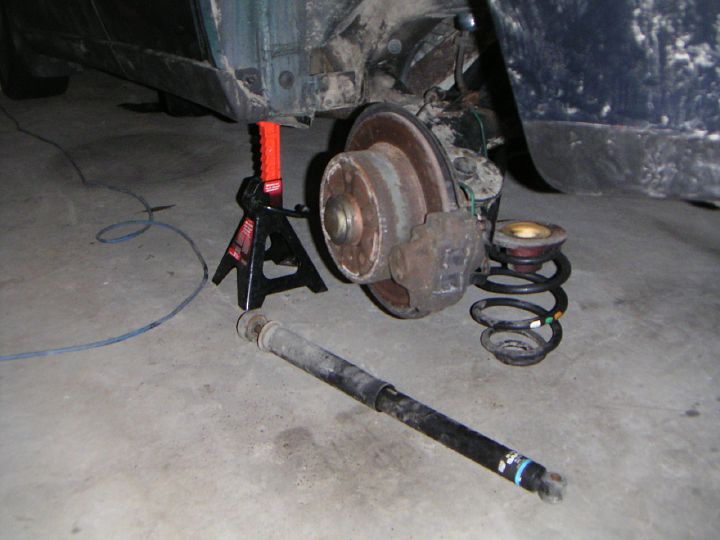
Remove the old damper. Note the position of the washer and the lower rubber
bushing.
|
 |
| 15.02.2005: Bump stop |
|
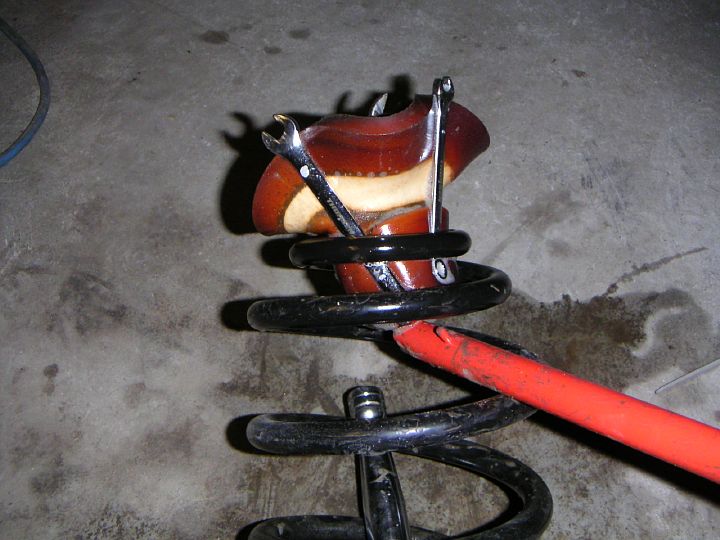
The bump stop was a huge pain to remove. I had to stick several thin metal strips
as guides between the bump stop and the spring (I used thin wrenches), and
keep spraying it with soapy water or another lubricant while trying to pry
it out. Here's a
simple alternative
suggested by a reader.
|
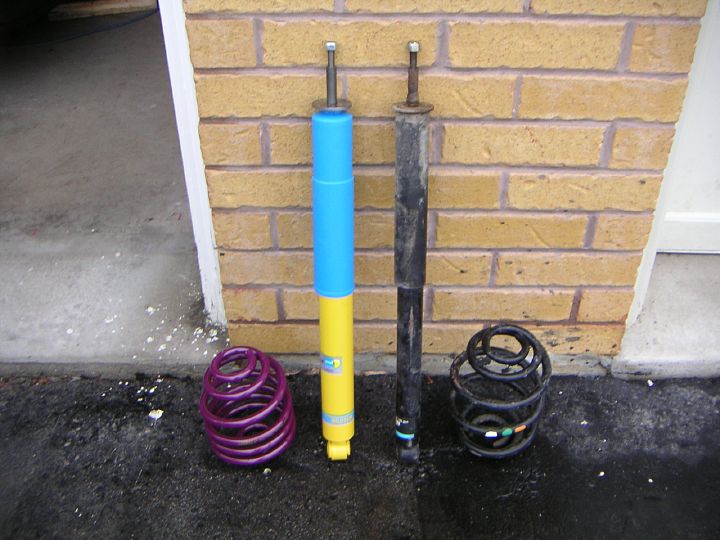 |
| 15.02.2005: New vs old |
|
The comparison between the old and new parts. Not much to comment here,
the Intrax springs are shorter (and of the progressive design), while
the Bilstein dampers are stiffer and visibly stronger.
|
 |
| 15.02.2005: Bump stop |
|
It helps to use the weight of the car to push the bump stop into the
new springs. Use a jack on the rear axle and keep spraying the bump stop
with soapy water. It goes half-way in, then you need to take it out and
push it in the rest of the way by hand.
|
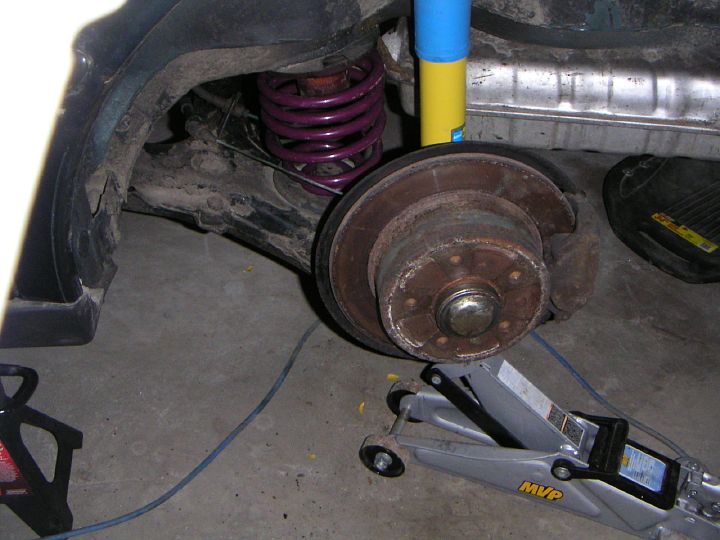 |
| 15.02.2005: Fitting |
|
Fit new springs and dampers. Note the location of the coil ends on the
old springs (they were positioned with colour markings looking rearward),
and place the new springs accordingly. Tighten the lower damper nut
to 45 ft-lbs (17 mm socket).
|
 |
| 15.02.2005: Upper nut |
|
Put the wheels on, lower the car and tighten the upper nut on the dampers
to 15 ft-lbs (5 mm Allen key and 17 mm wrench). Close the flaps you cut
in the trunk upholstery. This was much easier than
the front,
wasn't it? ;)
|


