 |
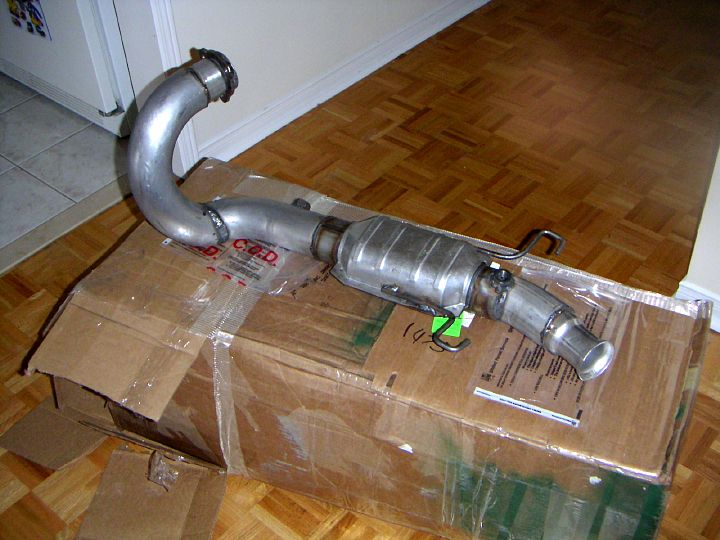
| 19.01.2005: Downpipe |
|
The pipe and the box it arrived in. It was carefully cushioned
by an immense amount of cardboard and other packing material ;).
|
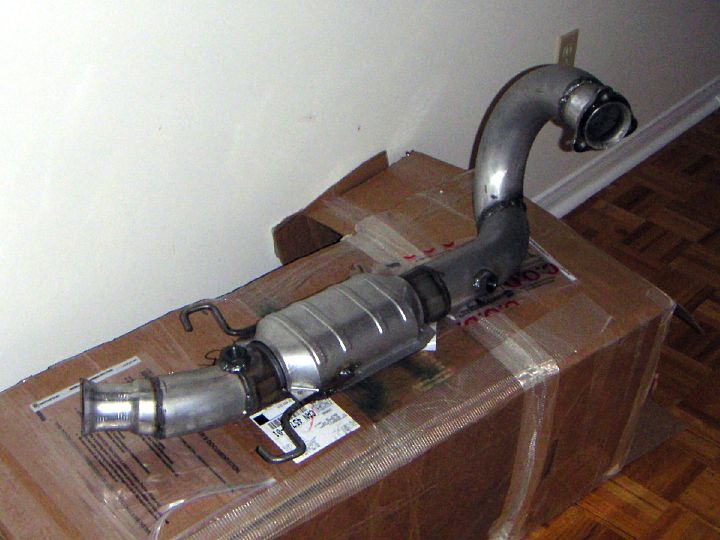 |
| 19.01.2005: Downpipe |
|
Surprisingly, the pipe weights less than
you would expect from such a large piece of metal. It's actually lighter
than the stock part, despite the bigger size.
|
 |
| 19.01.2005: Front O2 sensor |
|
You need to raise the front of the car to do the job (I used ramps).
First, unscrew the front O2 sensor using an open ended 7/8" wrench.
A bit of solvent would not hurt first. You might try to attempt the rear
O2 sensor too, but there's very little clearance around it, so it's
easier to take care of it later.
|
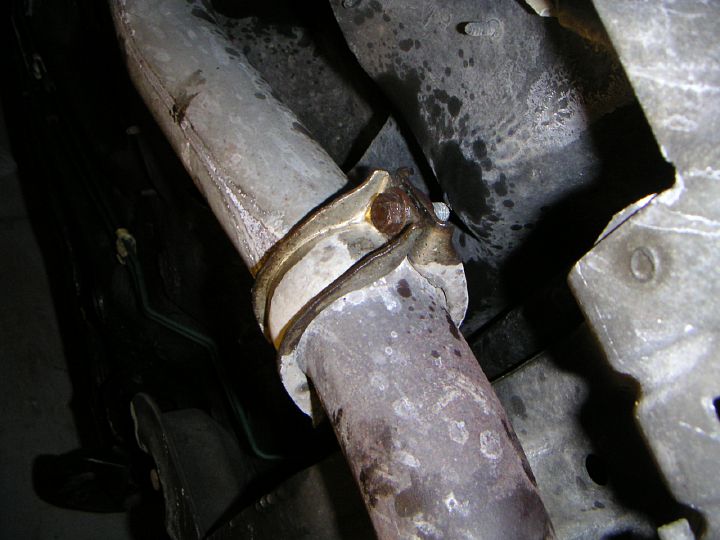 |
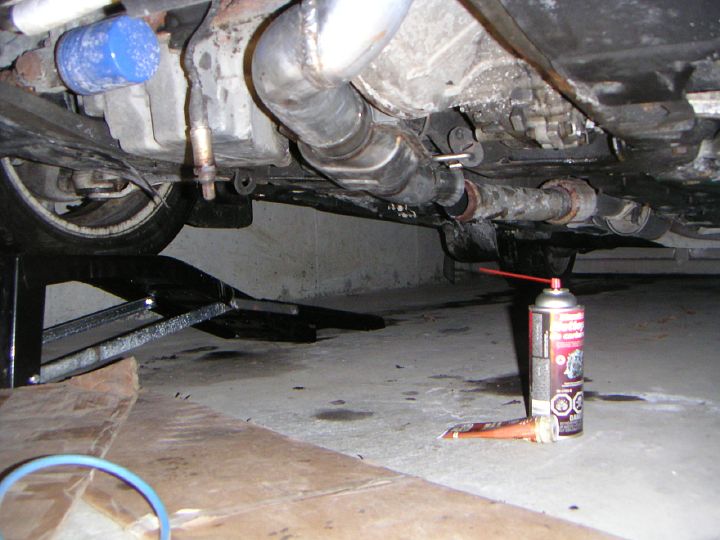
| 19.01.2005: Exhaust clamp |
|
Undo the bolts on the clamp that connects the intermediate flex pipe to the
catalitic converter. The bolts are 13 mm or 1/2". The joint would likely
be sealed, so you will have use a hammer to break the bond after the clamp
is off. Be careful not to put too much strain on the flex pipe.
|
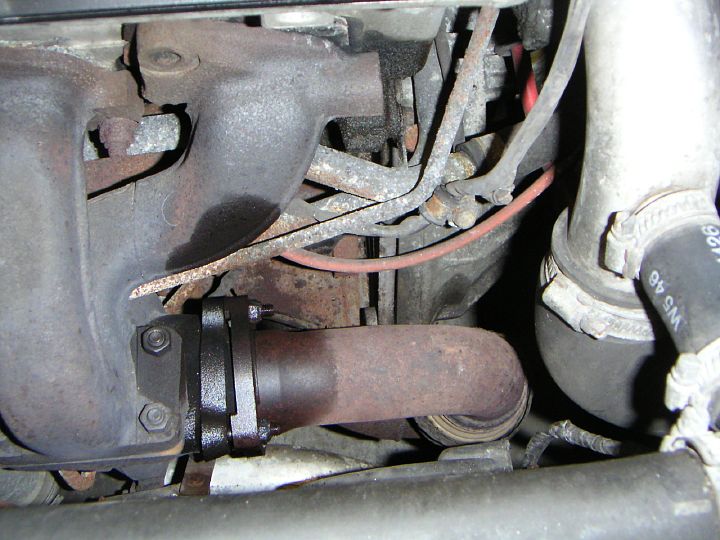 |
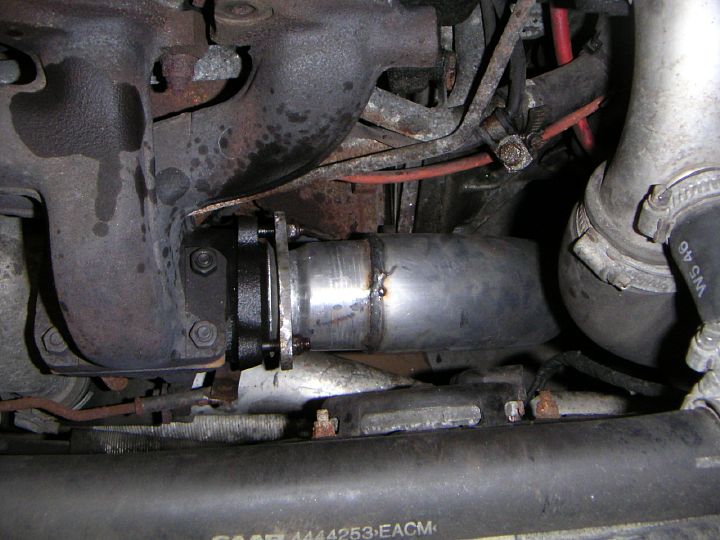
| 19.01.2005: Front pipe |
|
Unbolt the front section of the downpipe from the turbo. Two nuts are
accessible from the top, and one from below. A 13 mm socket was a loose fit,
so I used a 1/2" to escape rounding the nuts off. Two were OK, one was
very tight, but a bit of solvent did the job.
|
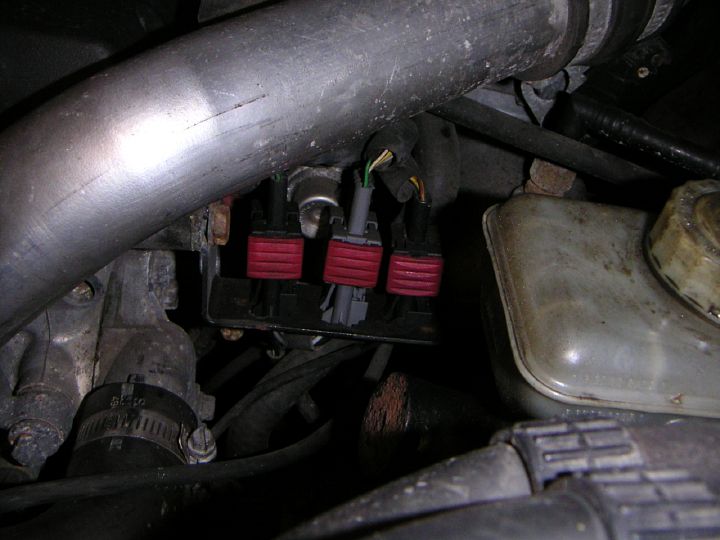 |
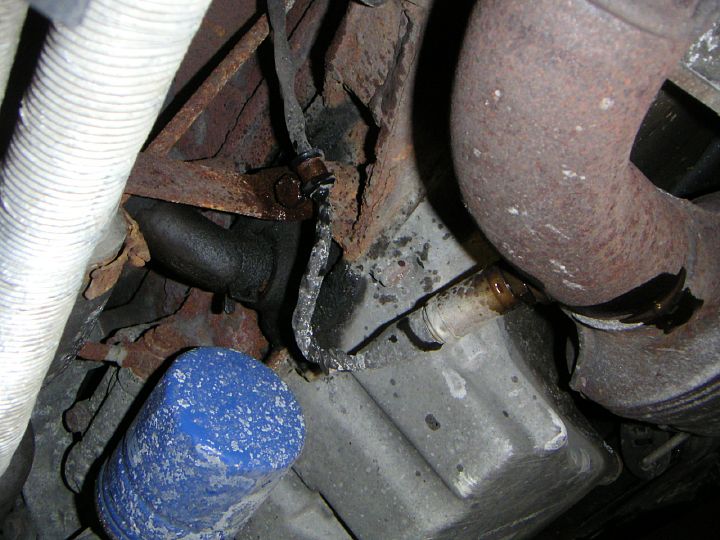
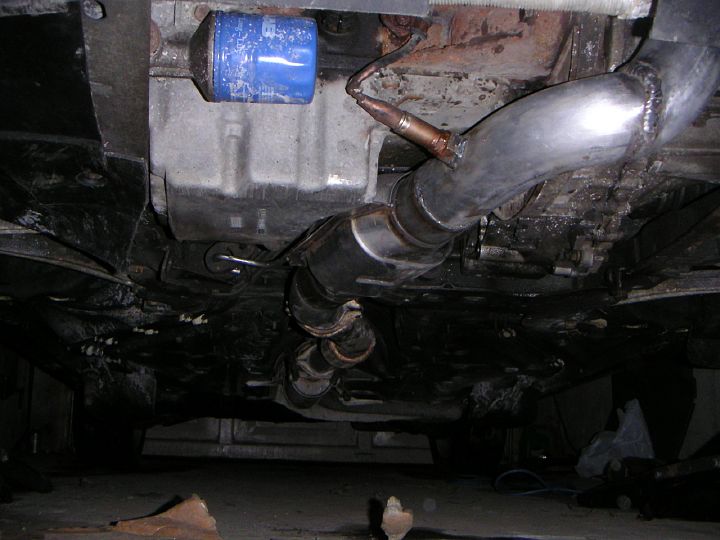
| 19.01.2005: O2 sensor wire |
|
Before lowering the pipe to the floor, unplug the rear O2 sensor (the middle
connector on this picture). Remove the lower part of the connector from the
housing and pull it down to let it hang free.
|
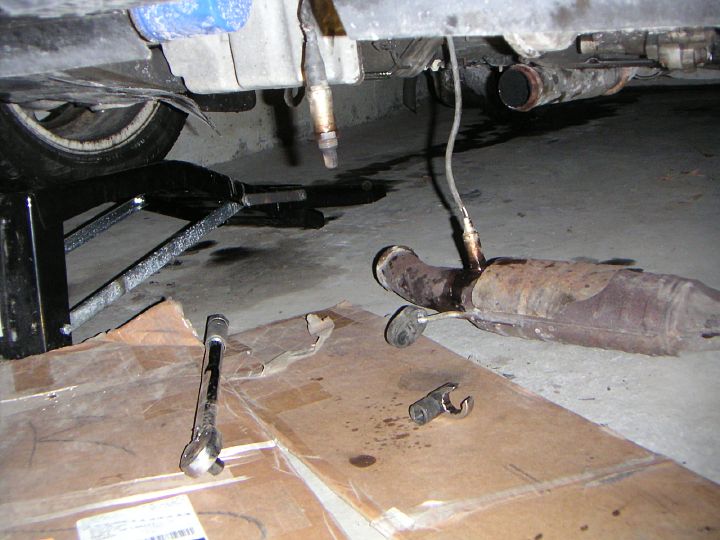 |
| 19.01.2005: Rear O2 sensor |
|
Lower the downpipe with the cat to the floor (the length of the rear O2
sensor wire will allow that) and remove the sensor using an open ended
socket or a 7/8" spanner. The pipe is free now.
|
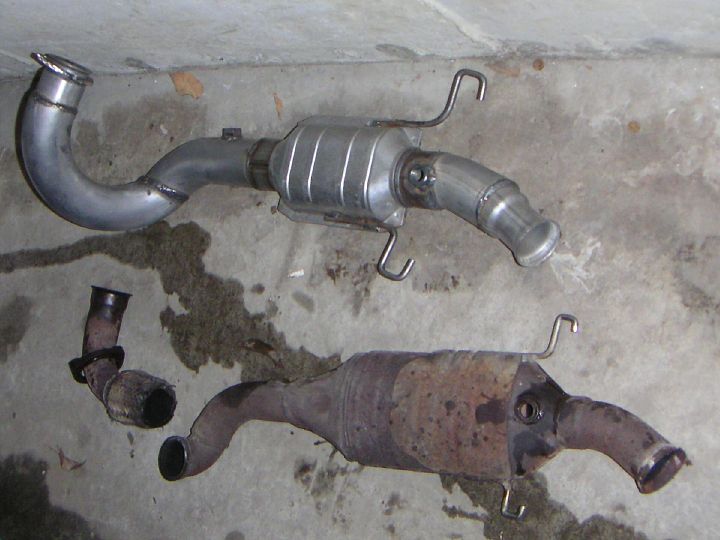 |
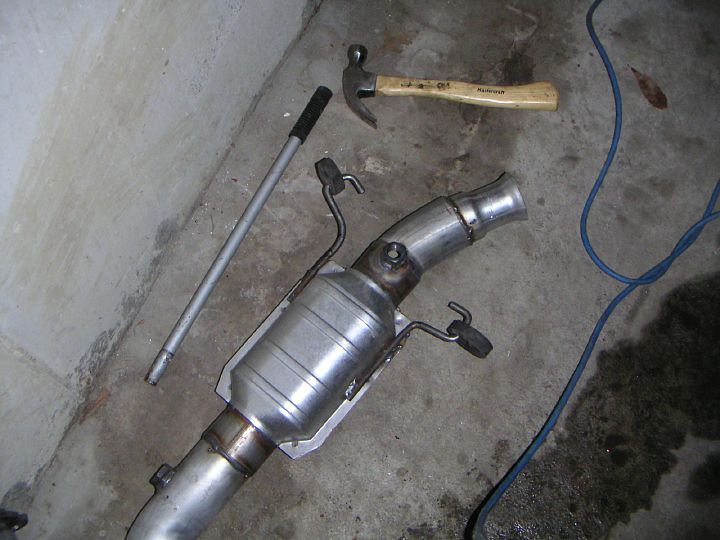
| 19.01.2005: Old and new |
|
The old downpipe compared to the new one. The flex joint on the old pipe
rusted so much that it almost separated from the lower section (no wonder I
had such a leak), and it only took me a slight pull to tear it off
completely.
|
 |
| 19.01.2005: Hangers |
|
The hangers were made too wide and took some time to adjust. This was the
biggest hassle: you need to put the pipe back on the car after each
adjustment to check if everything fits properly.
|
 |
| 19.01.2005: Fitting |
|
Once you're happy with the position of the pipe, you can start putting
everything back together. This is a good time to clean the O2 sensor heads
with carb cleaner and check if the holes in the sensors are clogged with
soot. Fit the rear O2 sensor before putting the hangers on. Put some
antiseize on the threads to make the future removal
easier. Tightening torque for the sensor: 41 ft-lbs.
|
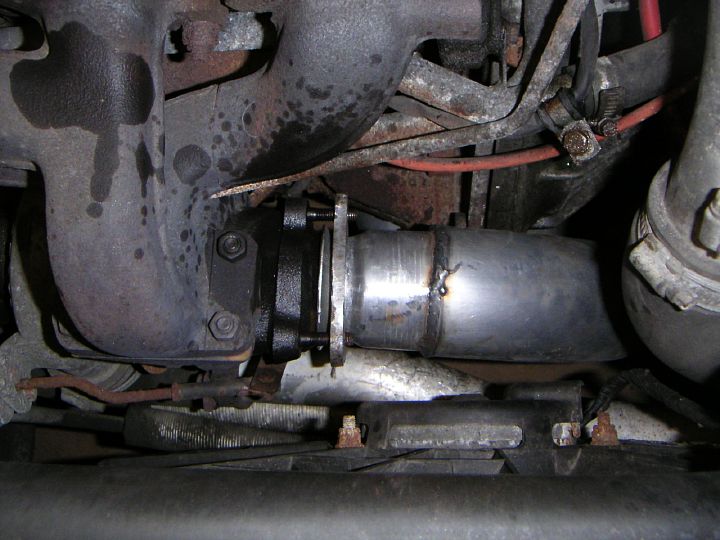 |
| 19.01.2005: Front pipe |
|
Once the hangers are on, fit the front end of the downpipe to the turbo.
|
 |
| 19.01.2005: Front pipe |
|
Make sure the the nuts are screwed on evenly, tighten at 18.5 ft-lbs.
|
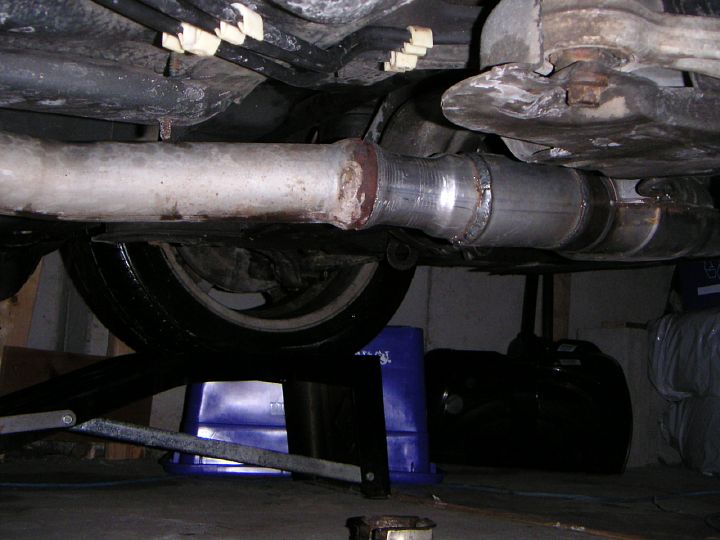 |
| 19.01.2005: Exhaust joint |
|
Clean the end of the flex pipe with a wire brush and fit it to the
pipe from the catalitic converter.
|
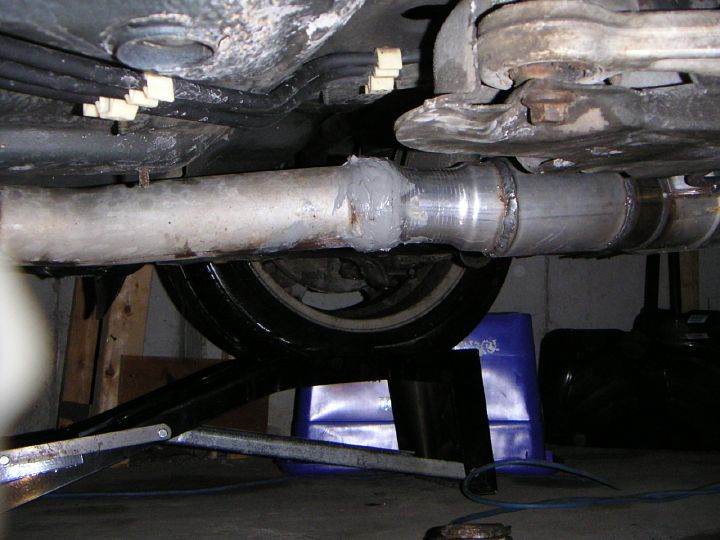 |
| 19.01.2005: Sealant |
|
Apply some exhaust sealant on the joint.
|
 |
| 19.01.2005: Exhaust clamp |
|
Put the clamp on and tighten the bolts to 15 ft-lbs.
|
 |
| 19.01.2005: Front O2 sensor |
|
Fit the front O2 sensor (also 41 ft-lbs, and don't forget the anti-seize),
clean up and take the car for a test drive.
|


