 | 17.06.2004
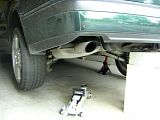
Car on jack stands
The car is secured on jack stands.
|  | 17.06.2004
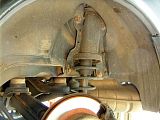
Spring bracket
The wheel is off. The spring bracket is attached with four 16 mm bolts.
We need to remove the lower bolts and slacken (but not remove) the top
ones.
|
 | 17.06.2004
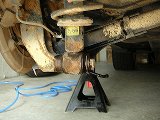
Lower bolt
The next step is to remove the lower retaining bolt (21 mm)...
|  | 17.06.2004
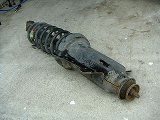
Strut assembly
...and the assembly falls down. Note how incredibly rusty the top nut is.
It is a 16 mm nut when new, but with all this rust I could only fit a 17
mm socket on it.
|
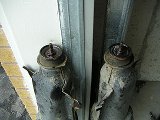 | 17.06.2004
Rusty nuts
Both shocks removed, the nuts are now soaking in WD-40. The rods have a
7 mm hex head on the end, but with this much rust it would be very hard to
remove the nuts with just regular tools.
| 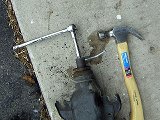 | 17.06.2004
Impact tool
An impact or air wrench would be helpful, but I don't have either. Instead,
I've got the best impact tool ever -- a hammer! The shiny wrench is thin
enough to hold the hex end of the rod through the hole in the black socket.
Insert a spare bolt into the side hole of the socket, whack it a couple of
times -- and the nut moves!
|
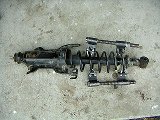 | 17.06.2004
Spring compressor
The spring has to be compressed to disassemble the damper safely.
|  | 17.06.2004
Victory!
A few more minutes of cleaning the threads with a wire brush, and the nut
comes off.
|
 | 17.06.2004
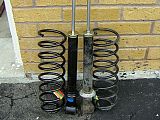
Old vs new
The Aero dampers and springs are 10 mm shorter the regular ones. The spring
appears to have the same coil thickness, but it is definitely stiffer.
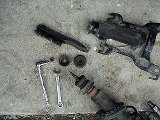
|  | 17.06.2004
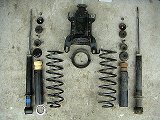
New vs old
The kit comes with a complete set of washers and bushings. Note the zinc
spacer ring at the bottom -- my old shocks had it melted a long time ago.
|
 | 17.06.2004
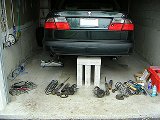
Work in progress
The old parts are on the floor, and I'm ready to install the new ones.
For those who asked again: NO, the car DOES NOT stand on these concrete
blocks.
|  | 17.06.2004
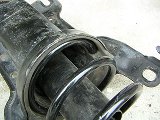
Spring closeup
A correctly installed spring should fit in the recess of the spacer ring.
|
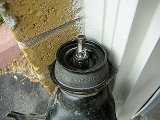 | 17.06.2004
Retainer nut
The new retainer nut is a beauty! Not too tight, just 15 ft-lbs.
| 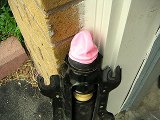 | 17.06.2004
Baloon
This pink birthday baloon will hopefully keep the moisture away. I would
really like to see the face of the next person to take these shocks apart ;)
|
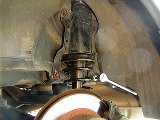
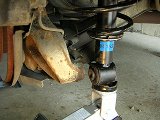 | 17.06.2004
Aligning the holes
After the spring bracket is fit with the top two bolts, we need to align the
hole of the lower retaining bolt.
| 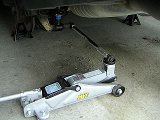 | 17.06.2004
Hydraulic wrench
140 ft-lbs of torque is not the kind of power I can boast while cramped
under the car, so I'm using the jack on my torque wrench.
|
 | 17.06.2004
Spring bracket
The four spring bracket nuts need to be tightened at 40 ft-lbs.
| 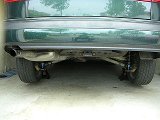 | 17.06.2004
Rear view
A completed install.
|
|


